Panoramic photos weren’t interesting to me from the beginning but since Nick Carver shows how wonderful panoramic photos can be, and other Youtubers’ talked about the Xpan and panoramic photos, I slowly get curious of this format. After awhile, I think I enjoy looking at panoramic photos because of the wide scenes and so much elements we can include in one frame. The feeling of looking at a photo from left to right slowly to appreciate the details and how the elements interact with each other in the shot is very enjoyable to me. So I tried panoramic photos for the first time, with my Pentax 6×7.
In other methods I saw on Youtube, most people use the adapter for the 35mm film canister and load the film into the camera with an extension paper at the beginning of the film roll so they don’t waste the film while winding the camera for the first shot. The down side of this method is you have to unload the film in the dark when you finish the roll, because you cannot rewind the film back into the canister when you finish so you have to go into a dark room or put your camera in a dark bag to take the film out of the film back and rewind it into the canister. This will limit your shooting experience in the field, if you can’t have a access to a dark room or dark bag, you cannot take the film out and load the new roll in. So I came up with this method, including 2 film canisters/cassettes, one is your brand new canister and one to take the film in, this one acts like the pick up spoon in normal scenario, but it can protect your film from the light.
First, I made 2 pairs of 35mm film cannister adapters from old empty 120 film spoons. You can buy them dirt cheap online but on the day I wasn’t be patient enough to wait for the delivery so I made my own. It’s not beautiful at all but it works well. If you do it yourself like I did, one thing you should make sure is checking the length of the adapters carefully, so when you put it on the 35mm film canister, it will have the same height as a regular 120 film spoon. If it’s too high, it won’t fit in your film back, if it’s too short, it won’t stay straight and neat in your film back, this may cause damage to your film back.
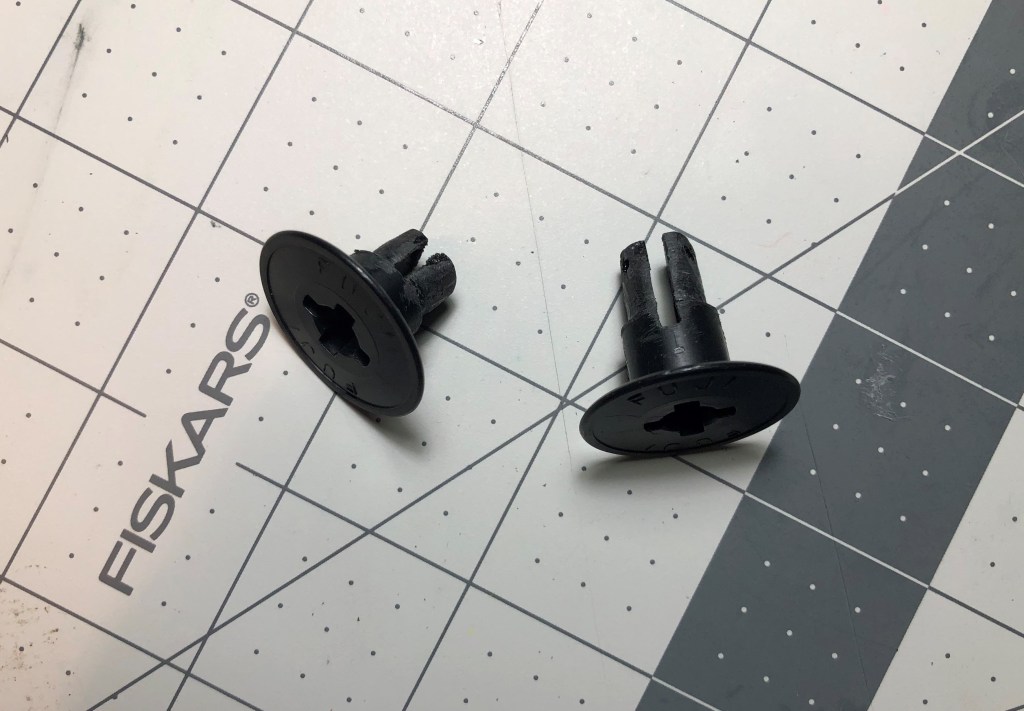
One pair of adapter 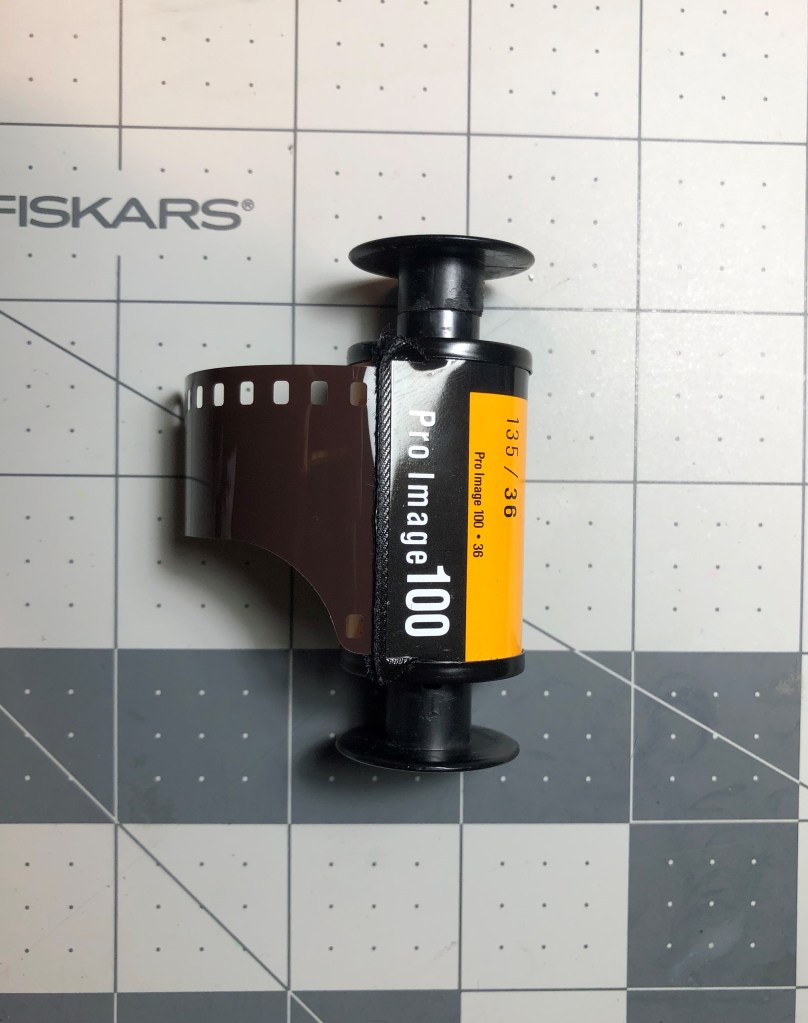

Left to right: regular 120 film spoon, 35mm empty cannister and 35mm new film cannister. Make sure they have the same height.
So, how to prepare your pick up canister? We’re going to step 2.
Step 2: Made the pick up canister/cassette from a old empty film canister/cassette, which still has a short amount of film left so you can tape a piece of paper on the actual film left. This piece of paper I cut from a backing paper of a 120 film roll, measured the wide is 35mm (same as the wide of the actual 35mm film) and the length is 18 cm. I taped one end of the paper strip to the film left on the old cannister and then taped the film lead from the new film roll to the other side of the paper strip, as photos below (step 2b).

Step 2a: Tape the paper strip to the piece of film left inside the empty cassette 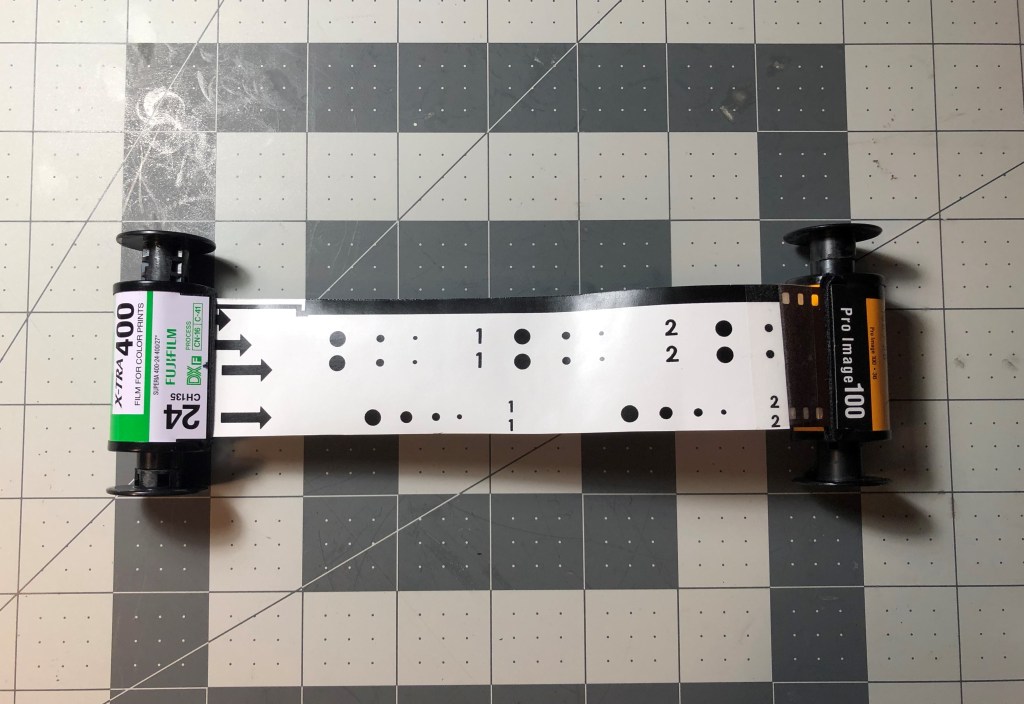
Step 2b: Then tape the other side of the paper to the film lead from the new film roll
Step 3: Transfer the film from the original cassette into the empty cassette in the dark bag. So now you have 2 cassettes connected, and the film will be transferred from the new cassette into the empty cassette. Of course the transfer process is done in the dark bag. Why you must transfer the film from new cassette to the empty one? Because the point of this method is to let you unload the film in day light. So when you finish the roll and wind all the film to its original cassette, you open the camera back to take the film out, the backing paper strip that you taped earlier will be there at the end of the roll, and you don’t loose any last photo.

All the film was winded to the empty cassette, as you can see the white tape at the very end of the film roll is on the original cassette’s side.
Step 4: Cut out a rectangle in a piece of black paper, the dimension of the rectangle is 35x70mm. (This includes the area of the sprocket holes, if you don’t want to include the sprocket holes, cut out the rectangle 25x70mm). Then put this piece of paper on top of your ground glass. This is a guideline for your composition.
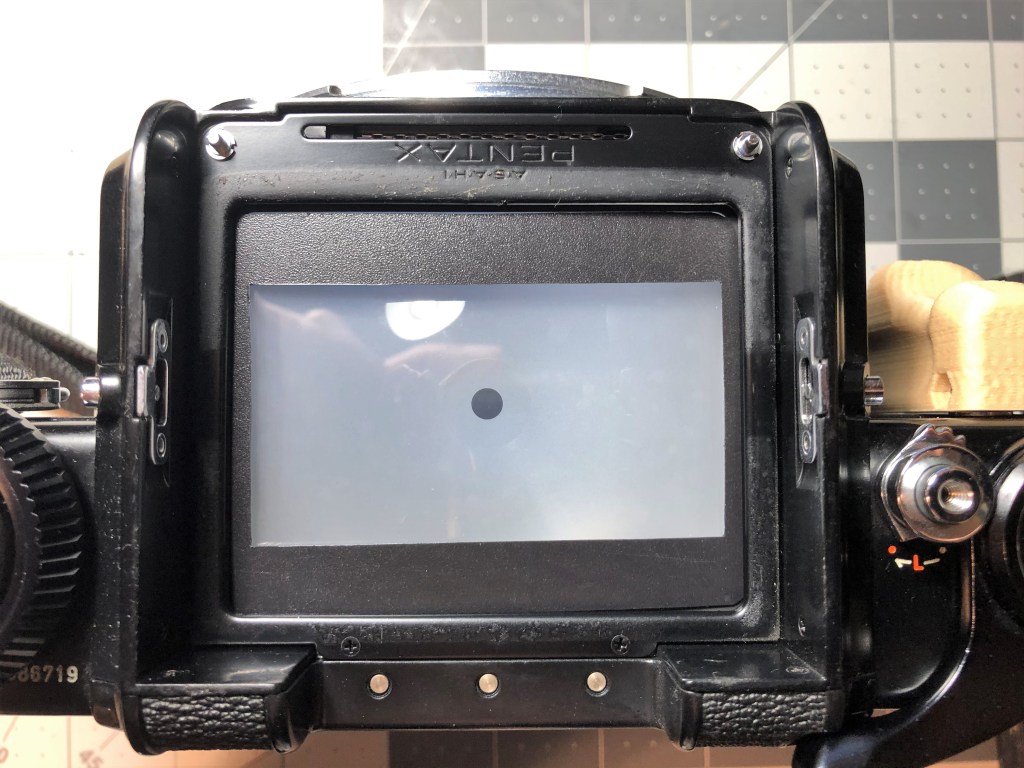
A cut out 35x70mm paper for composing in the viewfinder 
How you will see the aspect ratio looking through the viewfinder
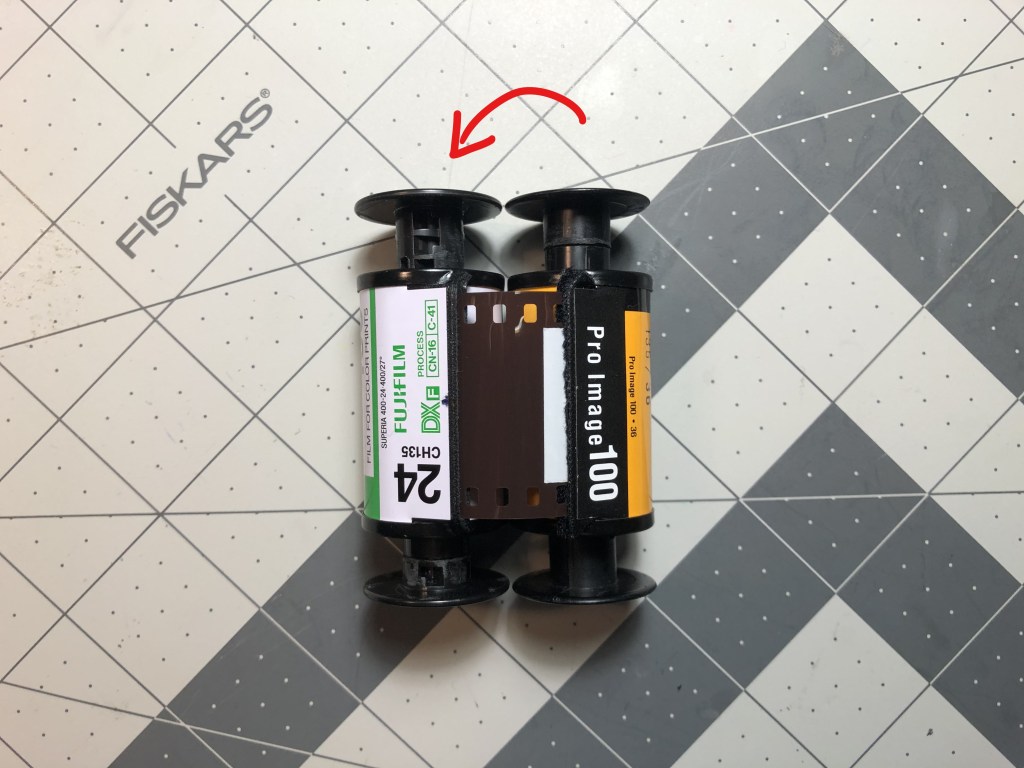
Step 5: Load the film into the camera. Remember to put the old film cassette (which now contains the film inside) on the left side and the pick up cassette (which is the original cassette) on the right side. So now when you take the photos and advance the film, you are actually wind the film back to its original cassette.
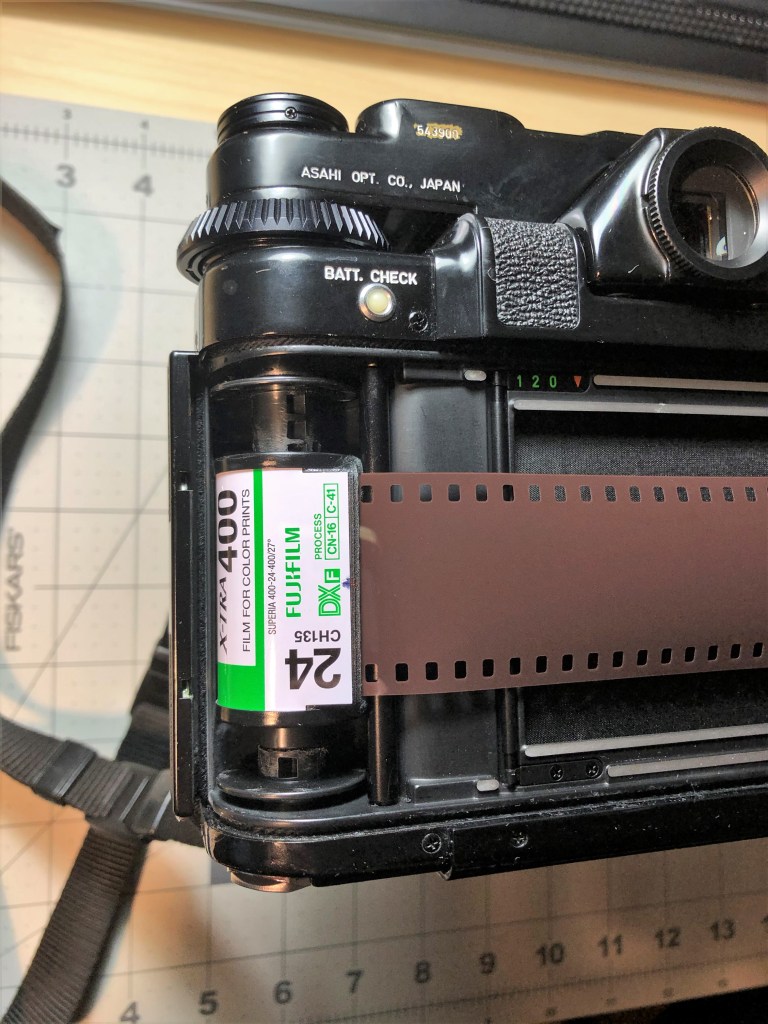
Film contained cassette on left side 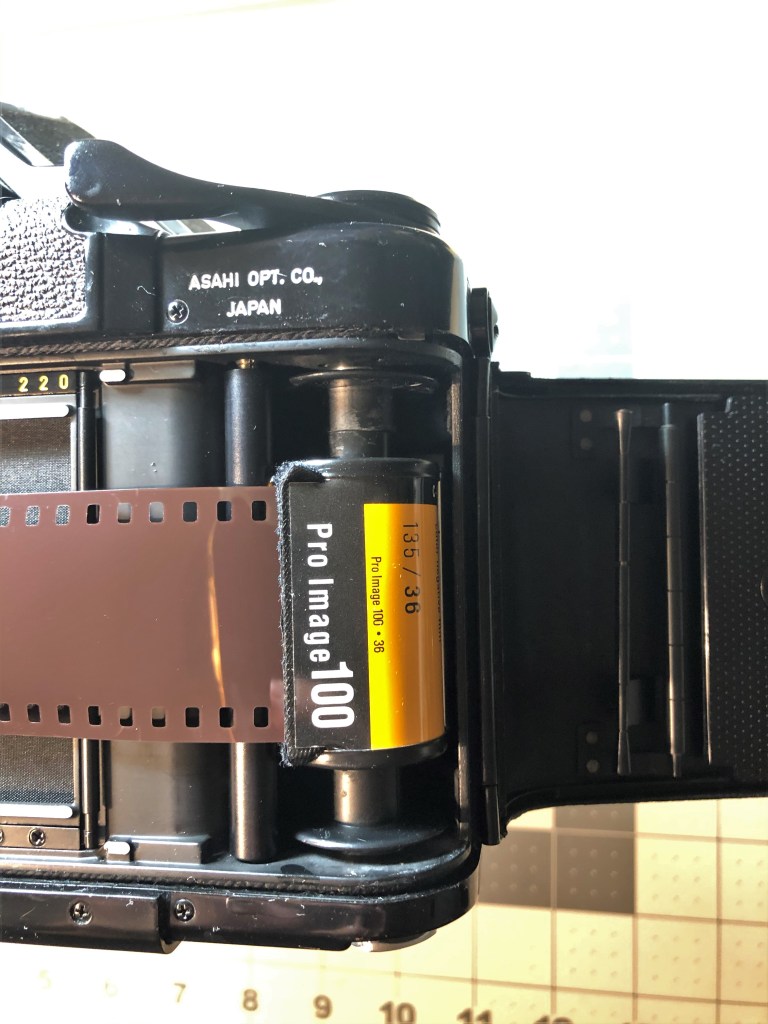
Pick up cassette on the right side 
Film will be transferred from the old cassette to the original one
Step 6: Finish the roll and unload the film. After you finish the roll, you can open the back and remove the cassettes out of the camera safely. You will see that the film in winded into the original cassette and the part exposes to the light when you open up the camera is the paper strip you taped in. You can just remove the film lead from the paper strip and reuse the old film cassette and the paper strip again.
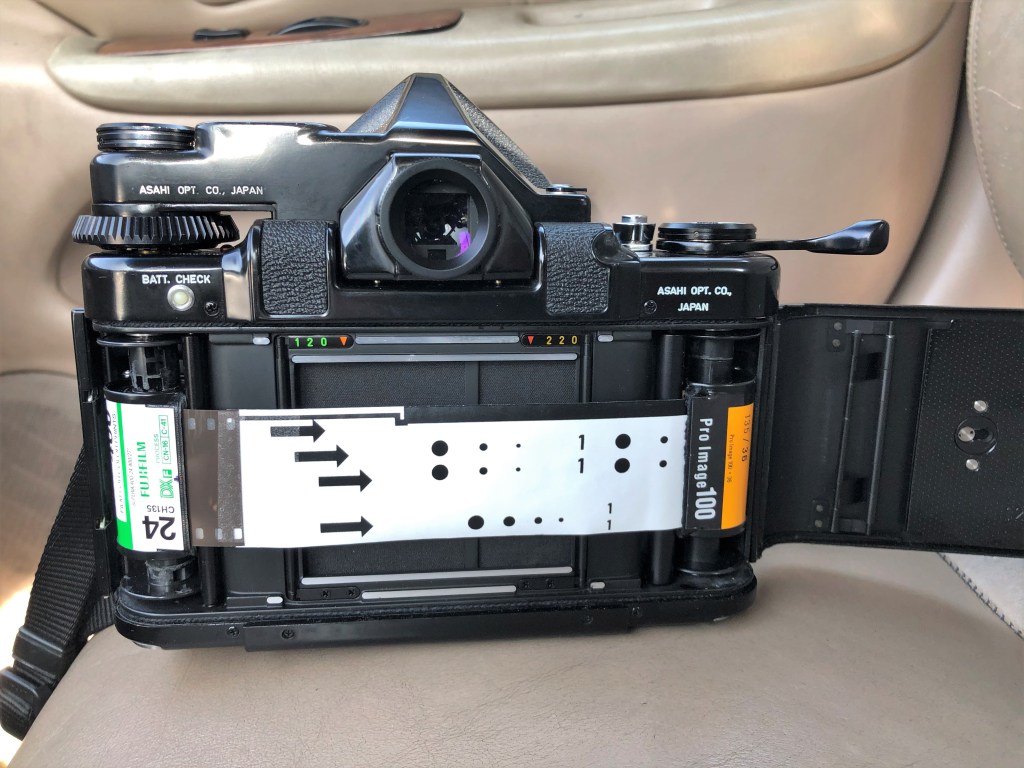
Open the back to unload film when you finish the roll
So now you have it, a method to take panoramic shots on your Pentax 6×7 without requiring going to dark room to unload your film. All you need to do is preparing your film upfront as a set of film cassette and pick up cassette, and you can have more freedom shooting in the field. I was able to get 15 shot out of the 36 exposes roll but I was messing with the loading part, I think if you can load the film more careful than me, you can get 18 out of the roll. I will update the exact number of the shots you can get when I finish the second roll.
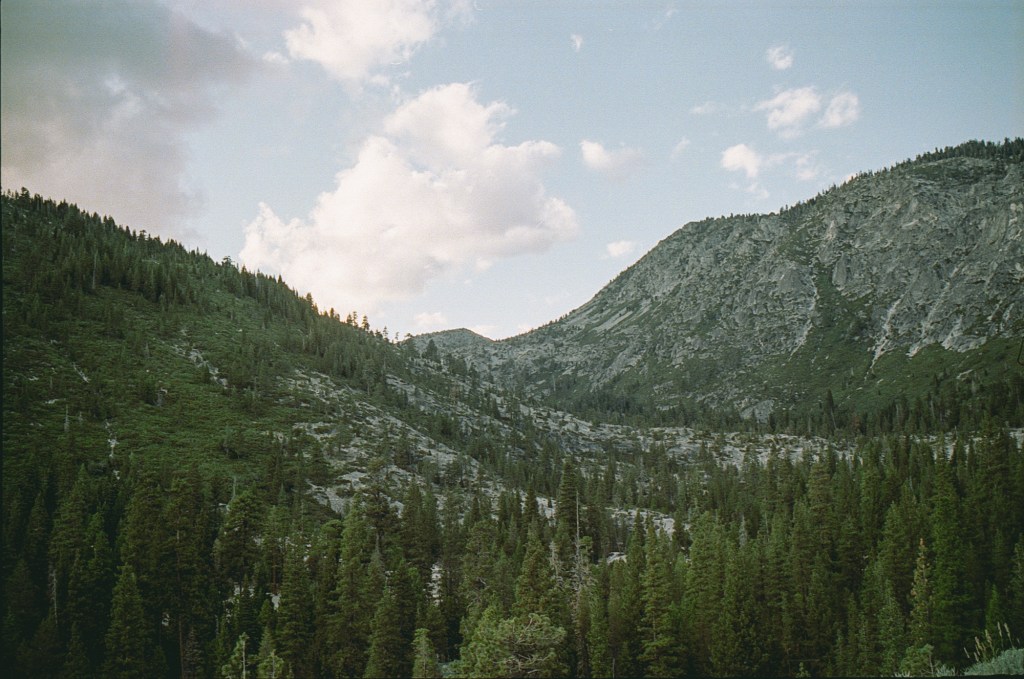
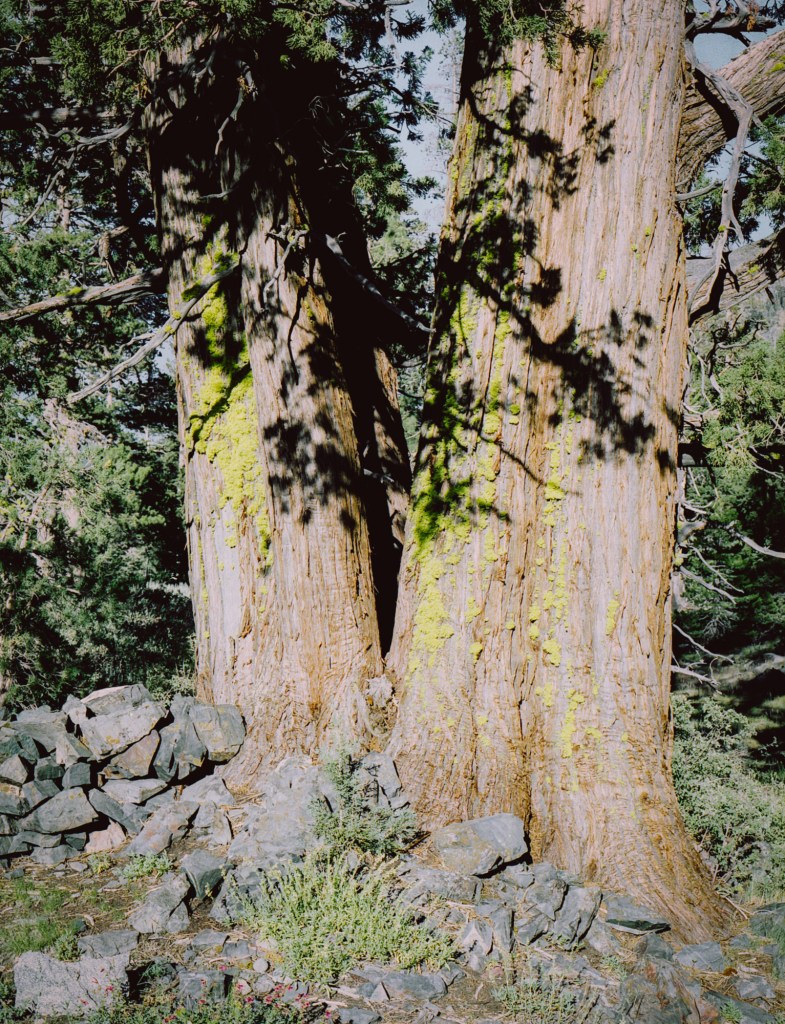
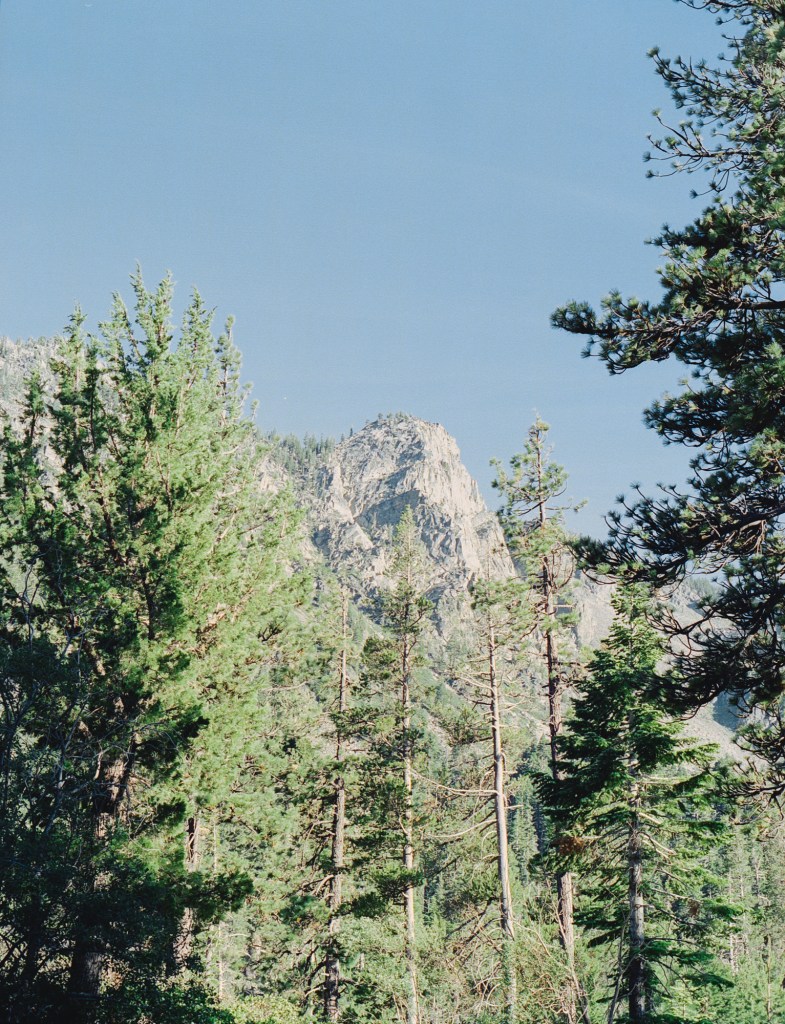
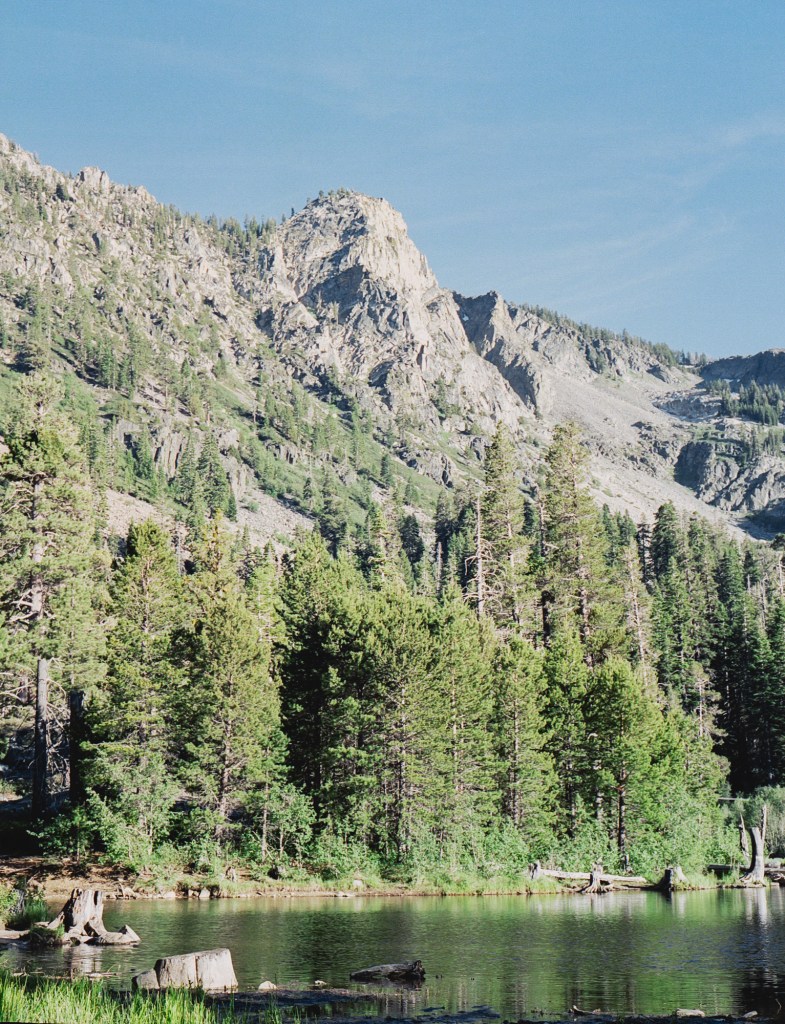
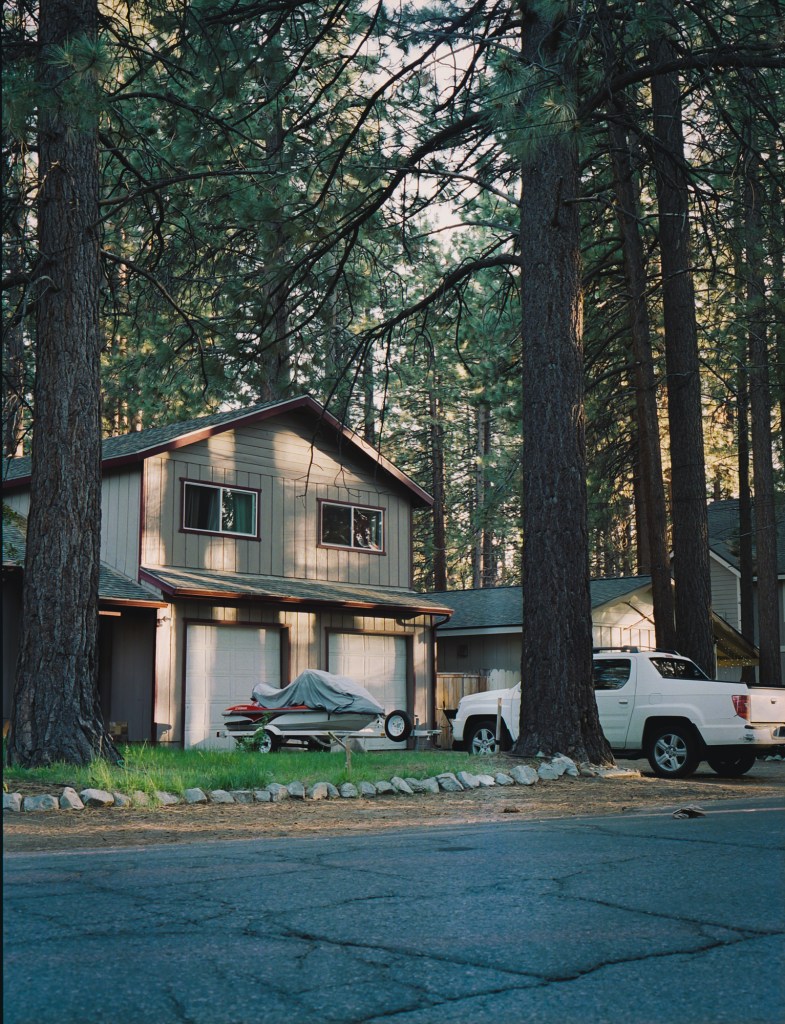
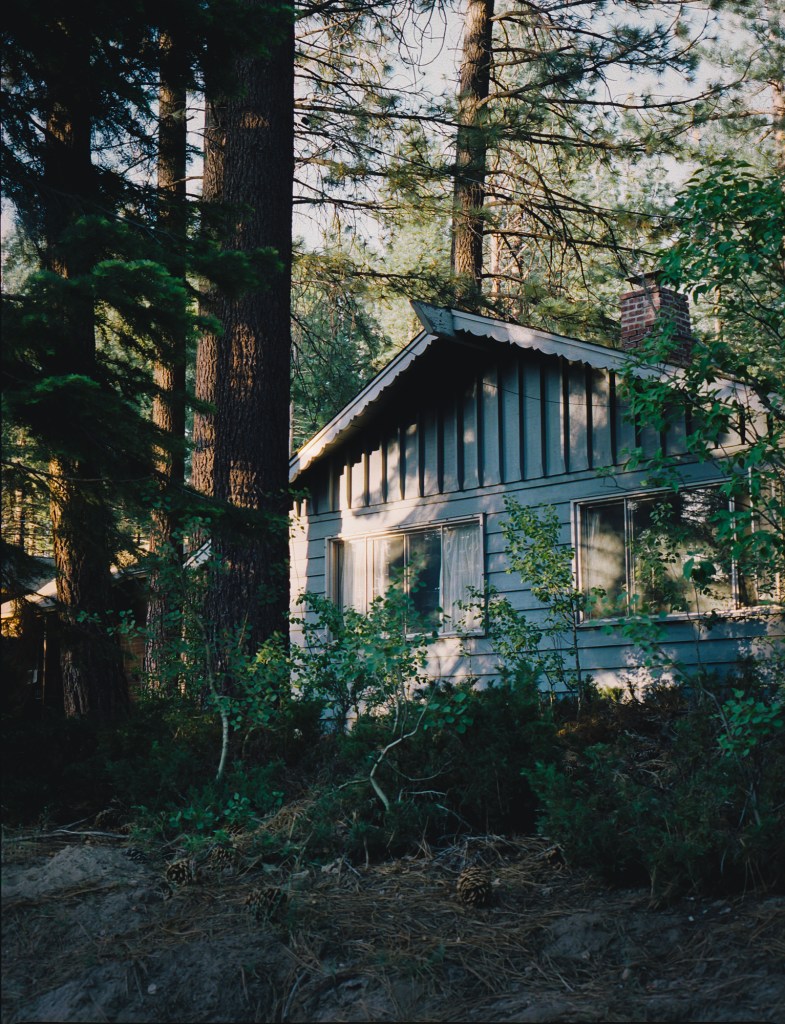
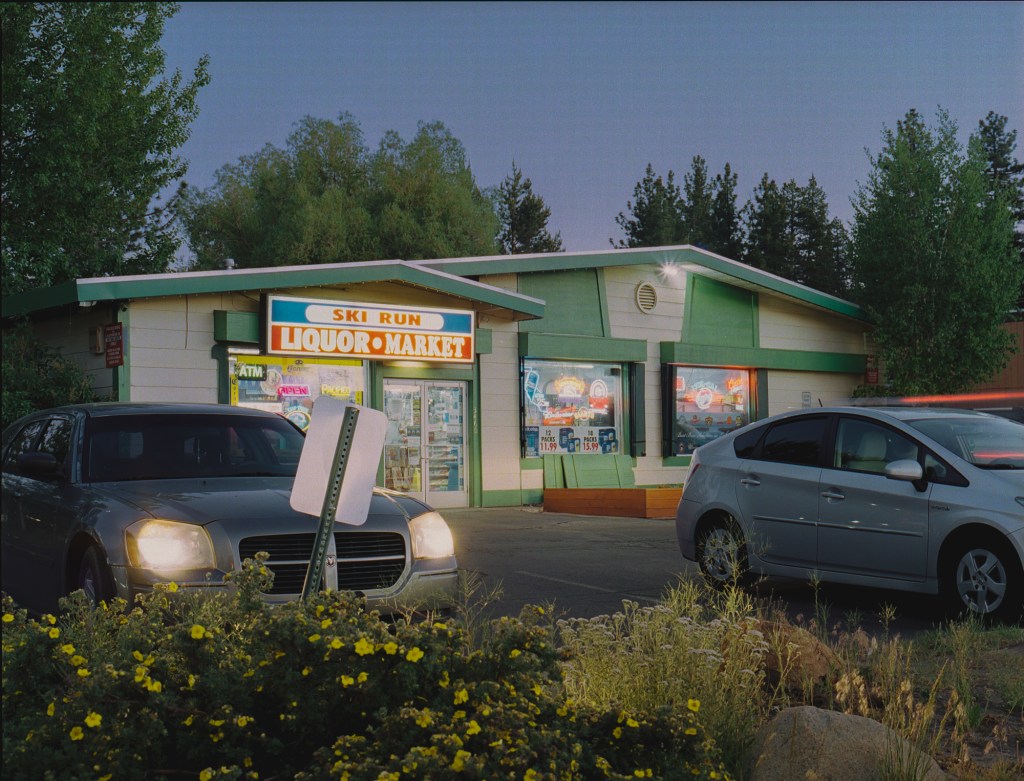
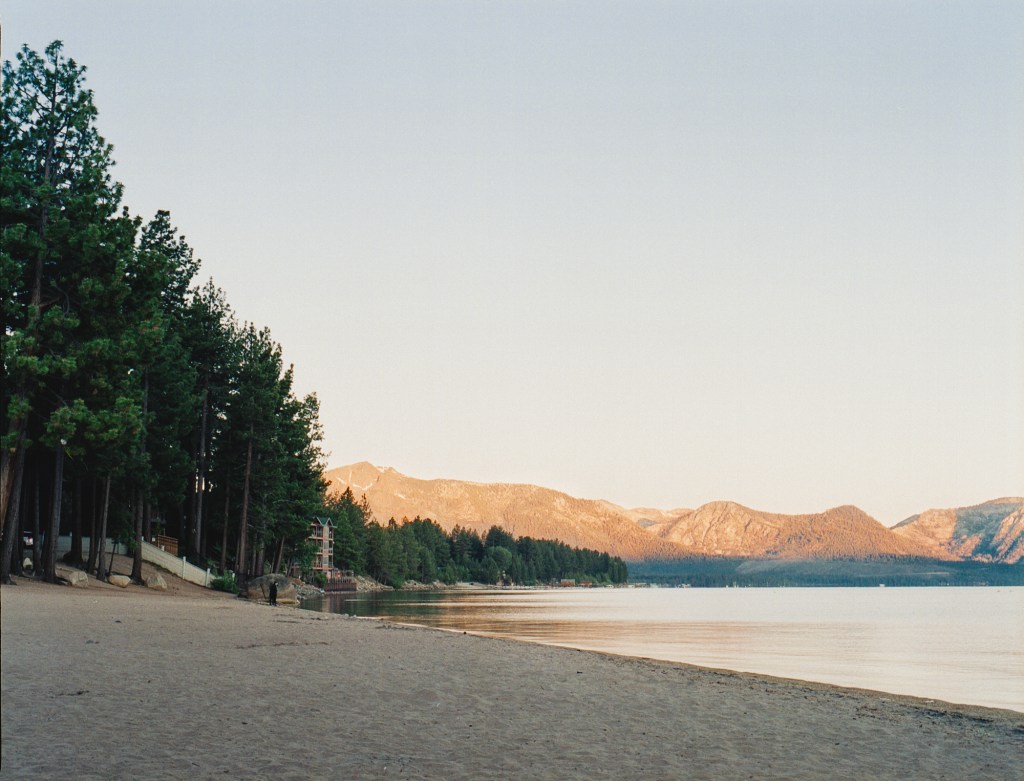
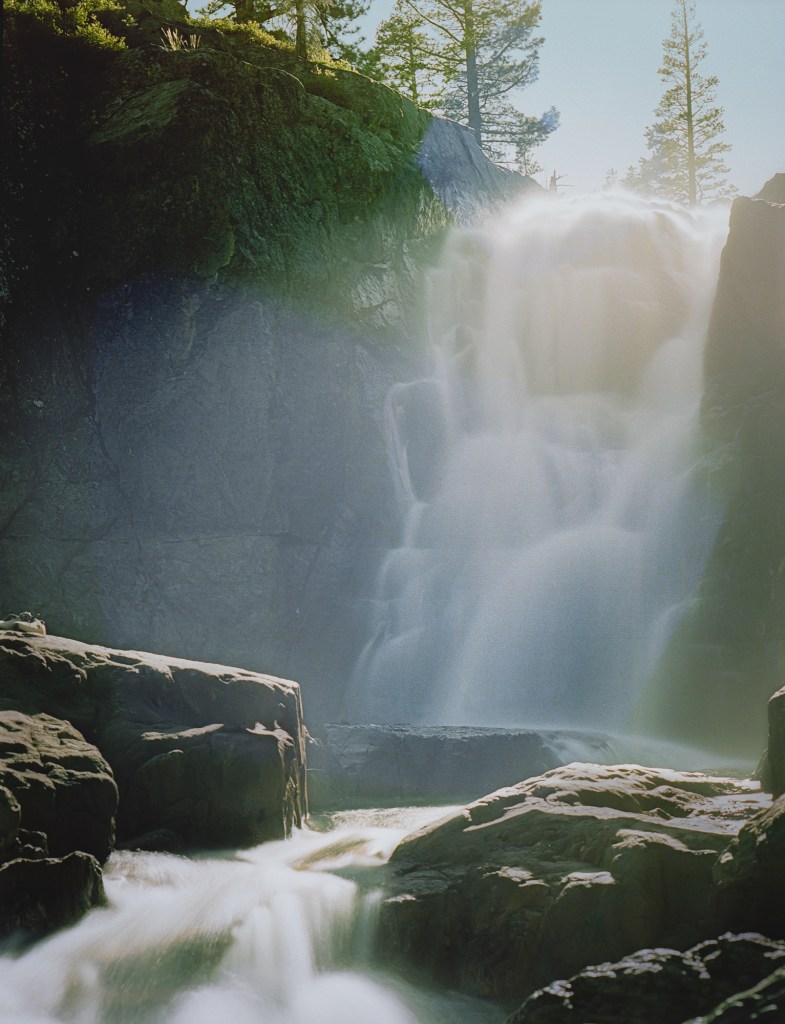
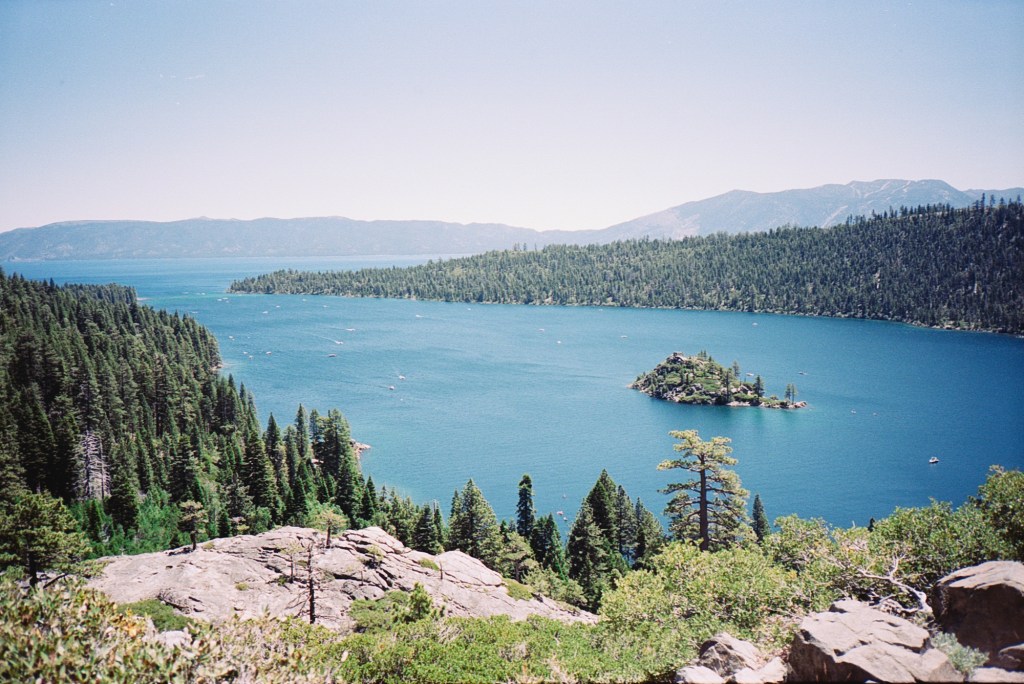
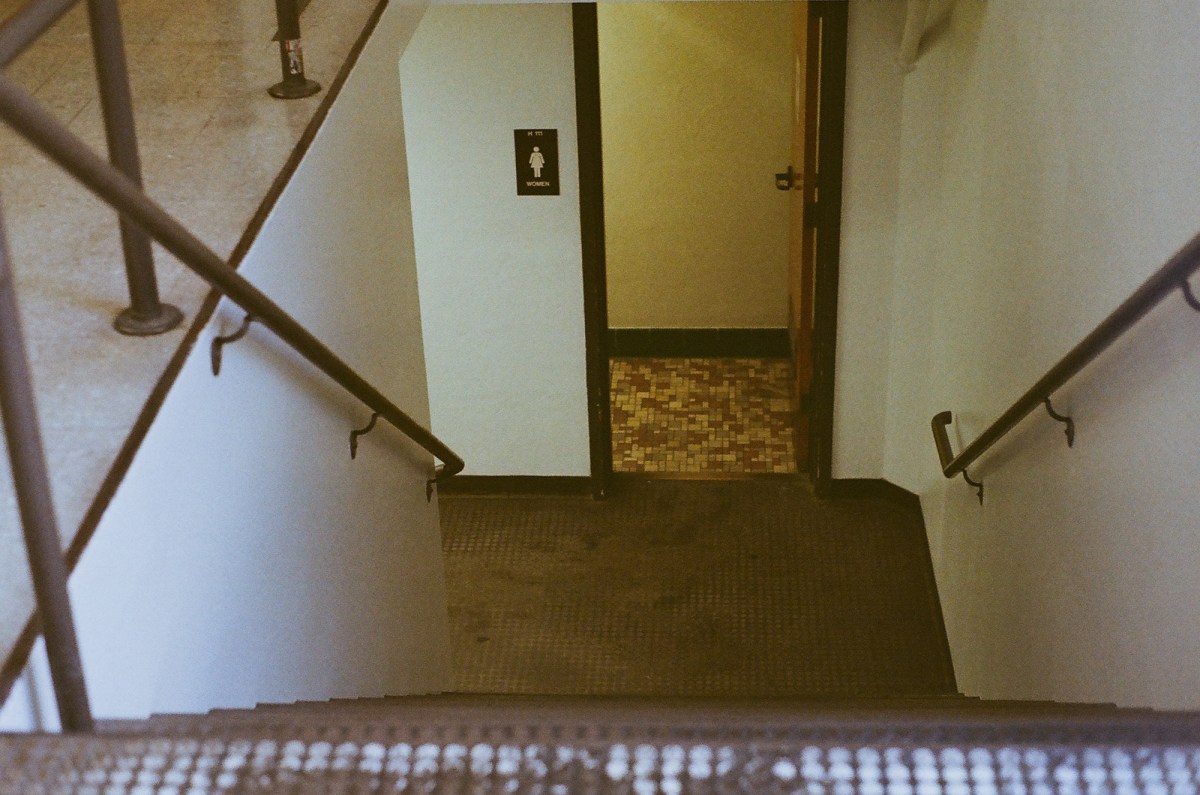
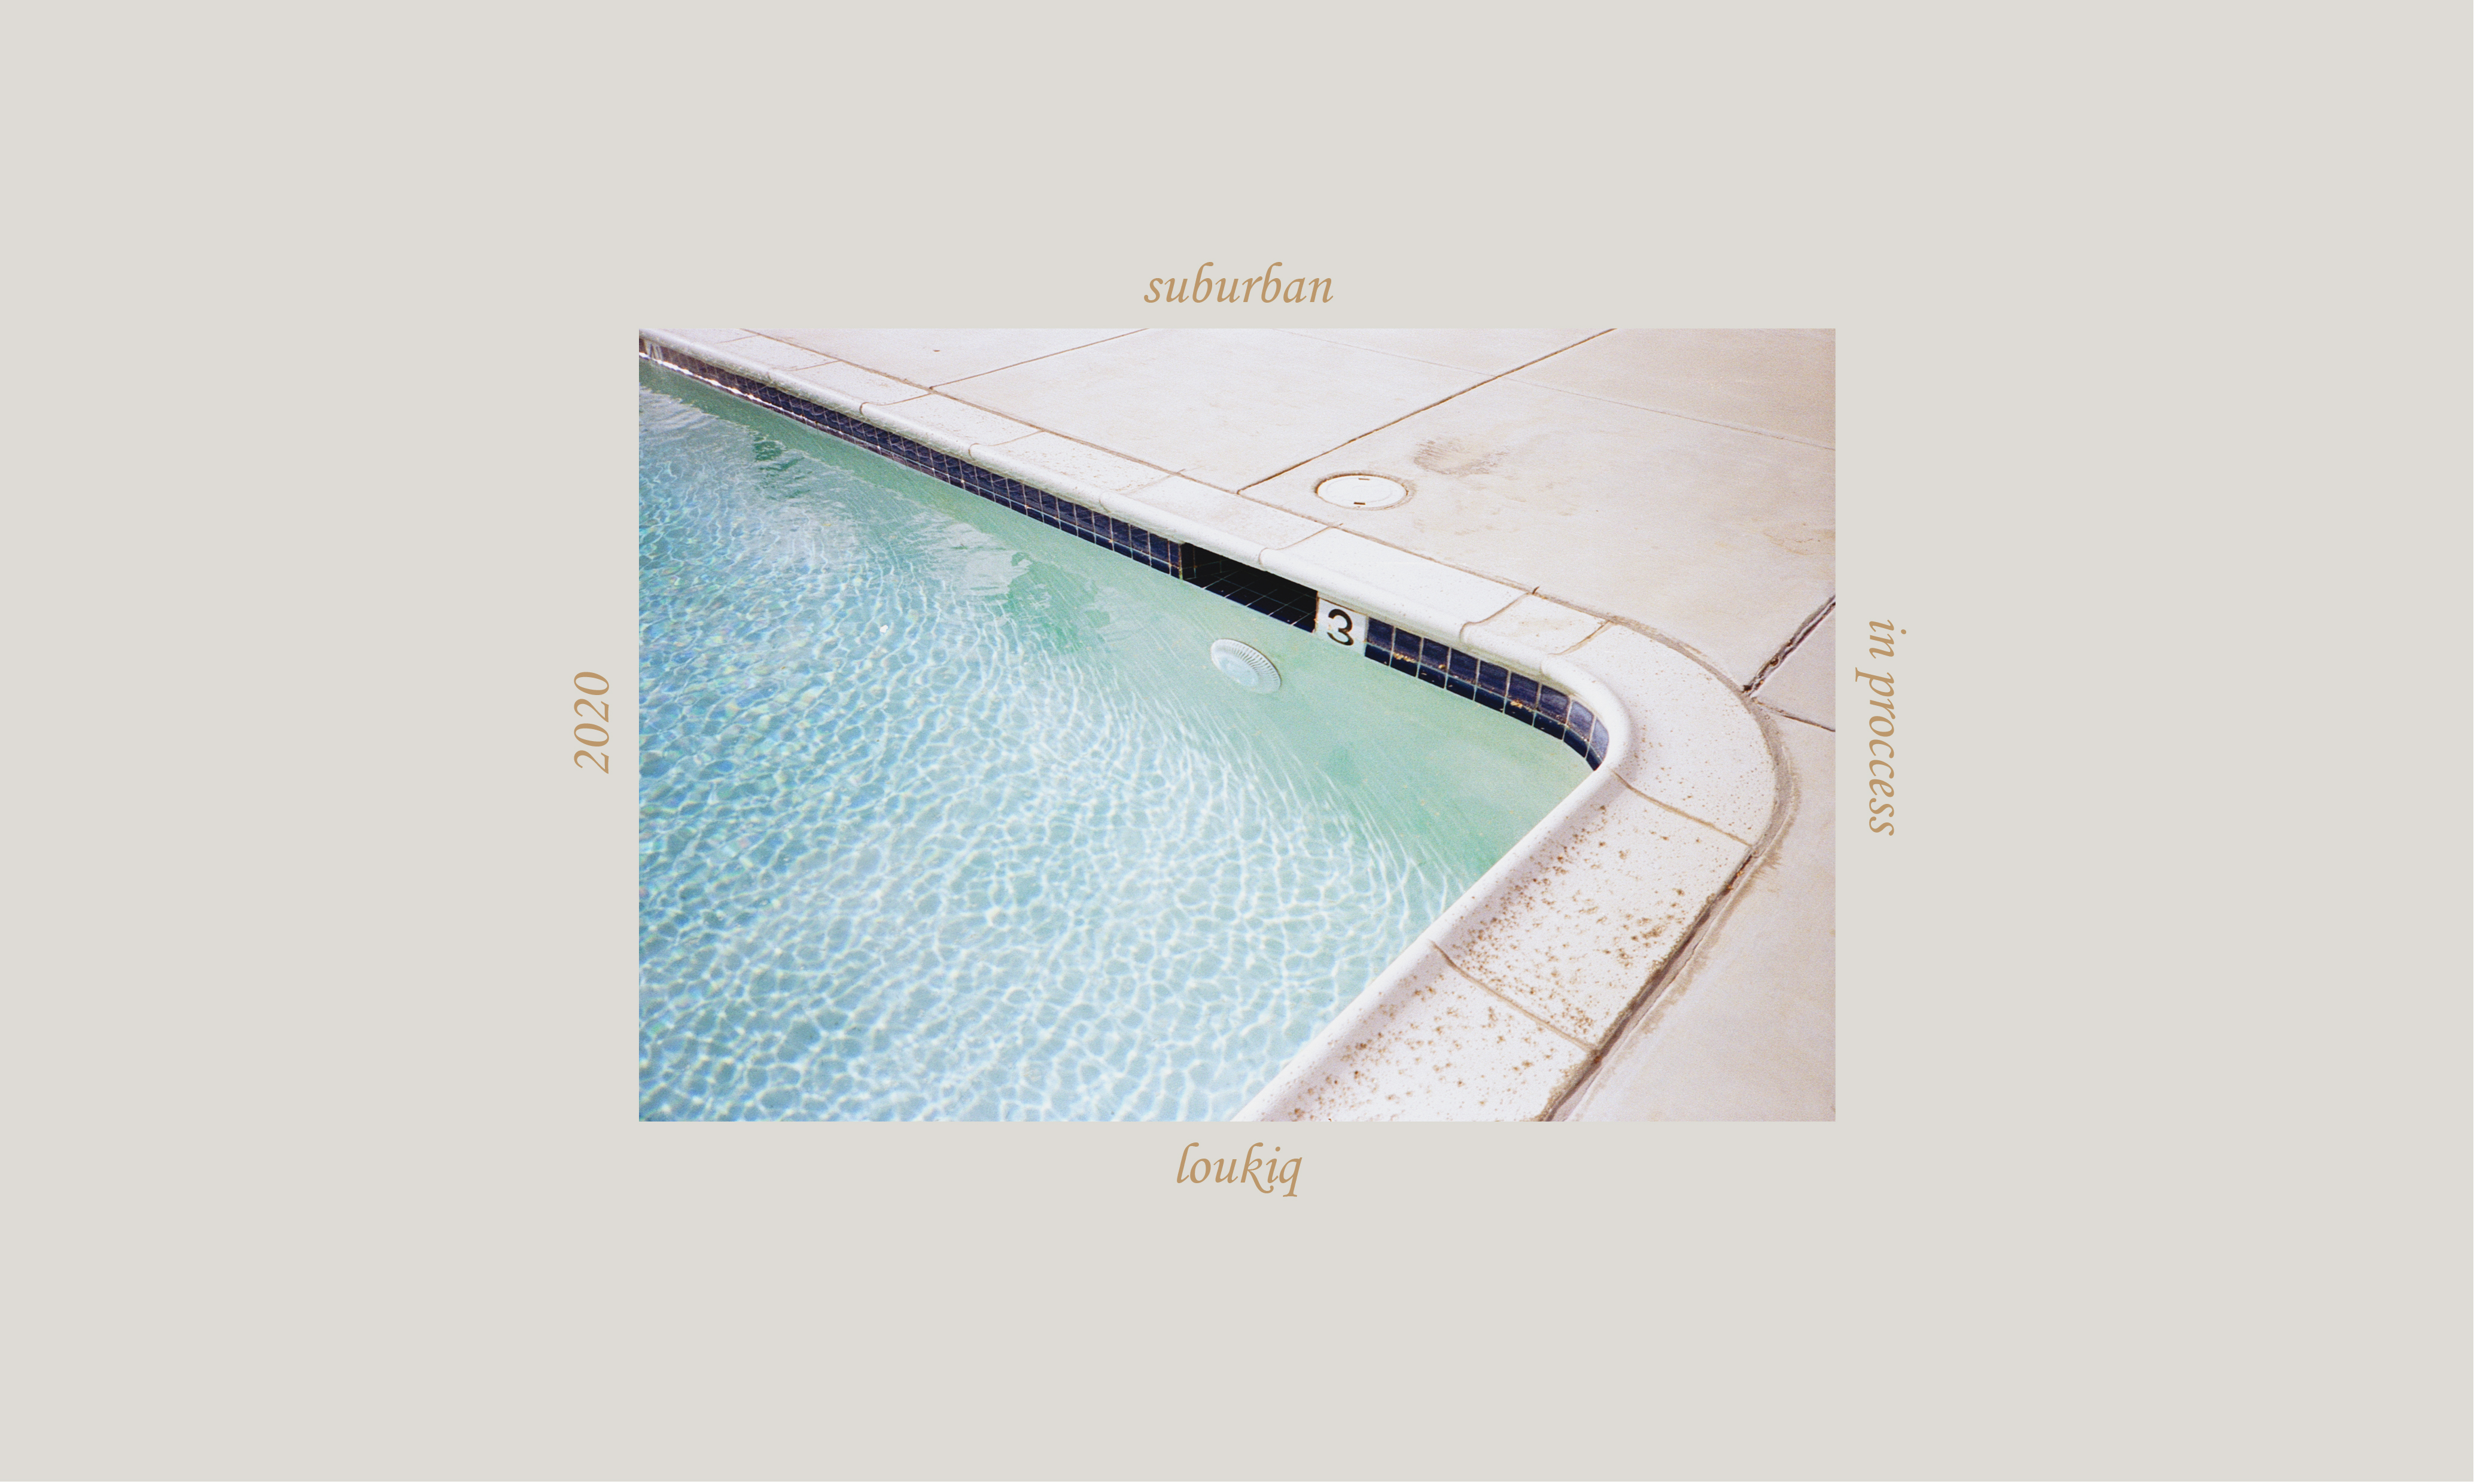
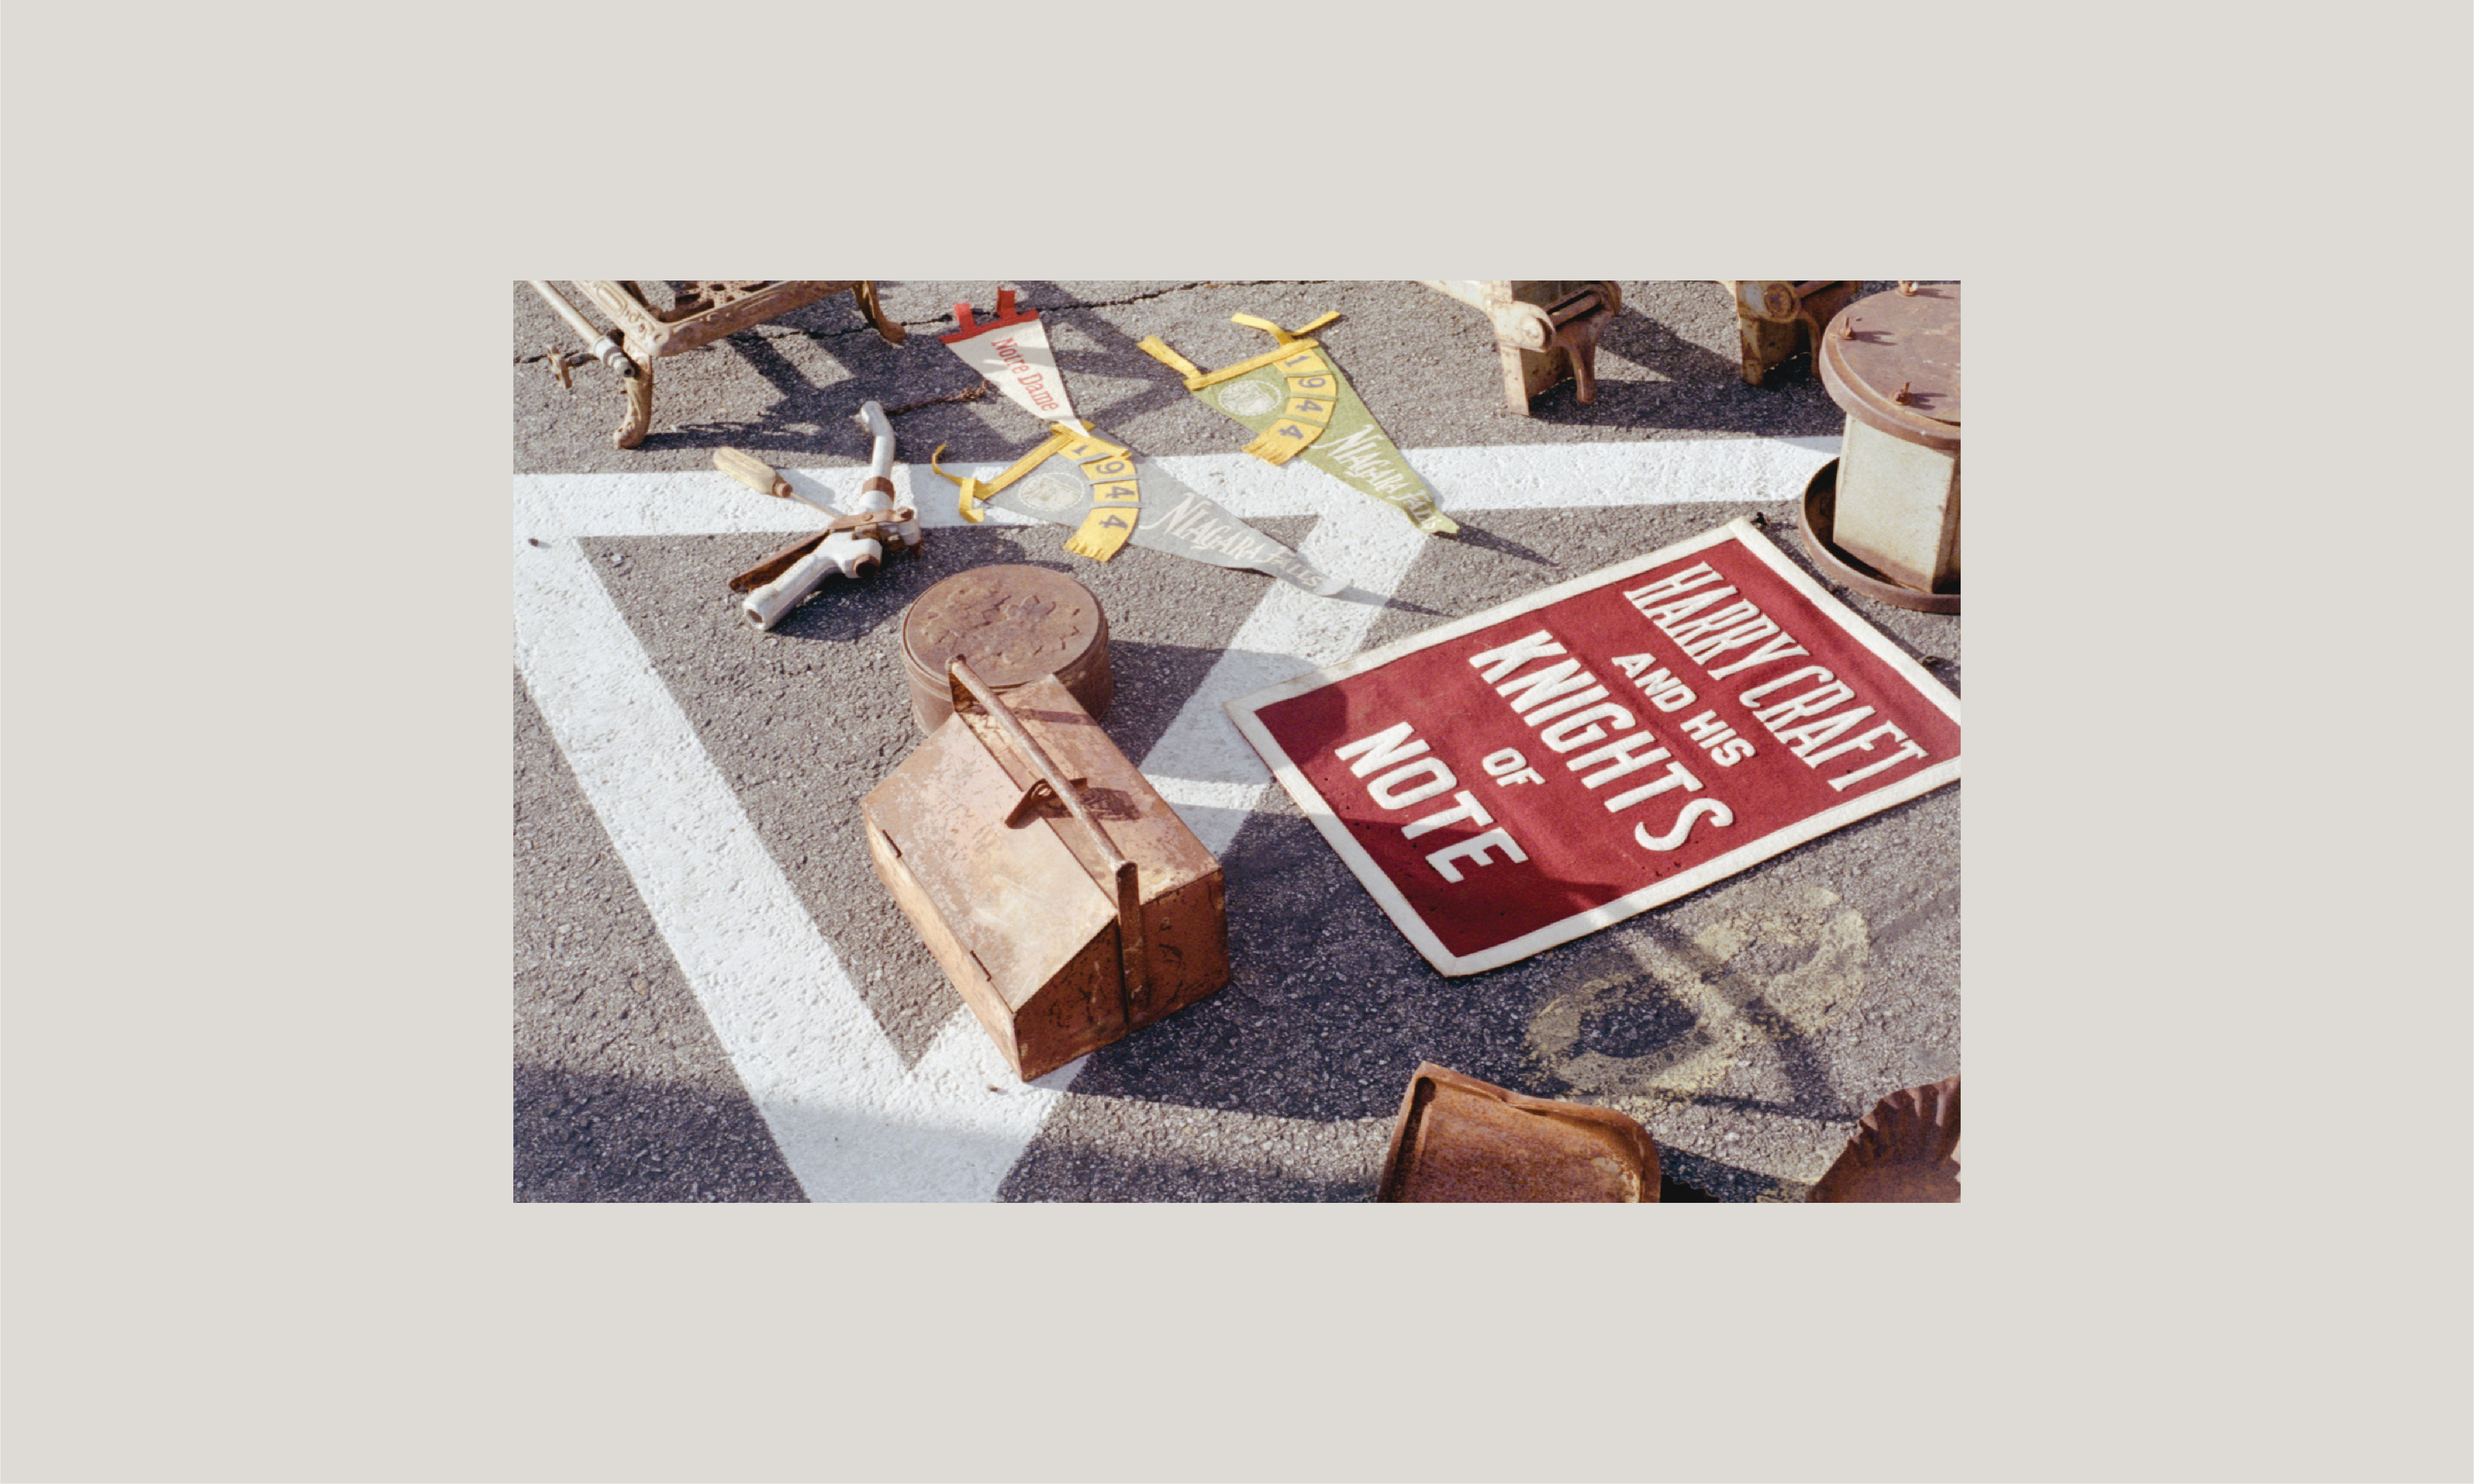
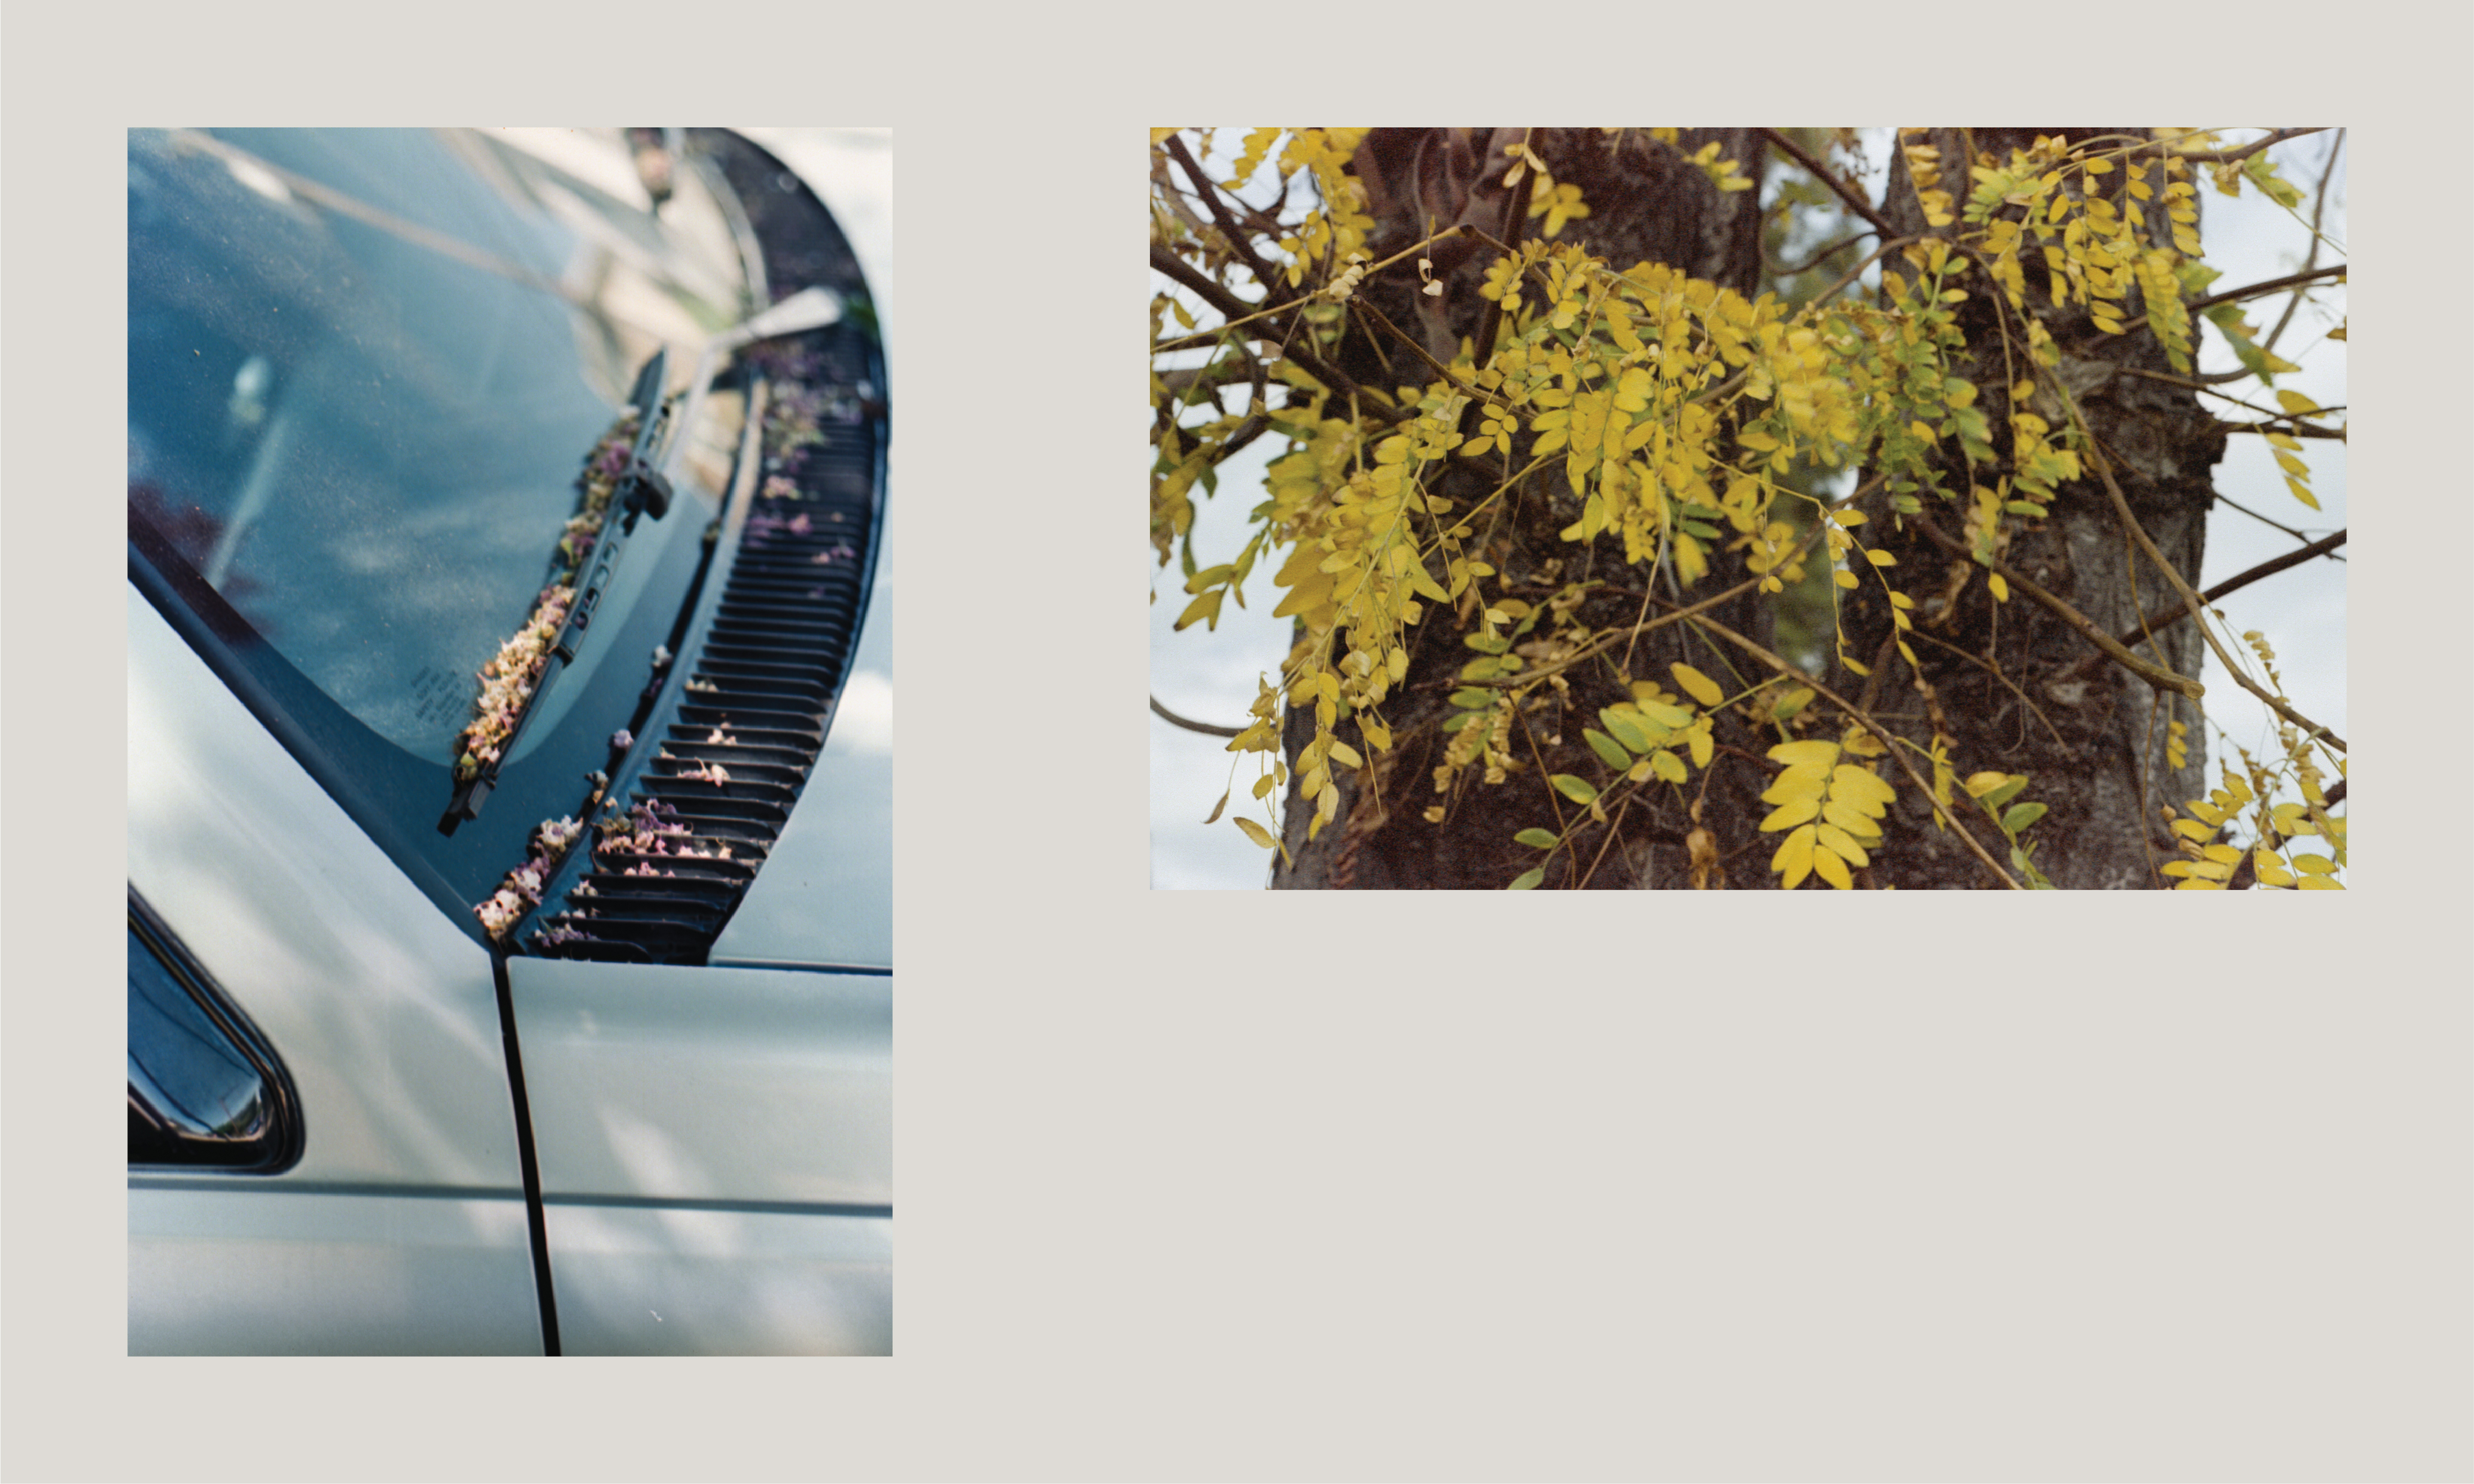
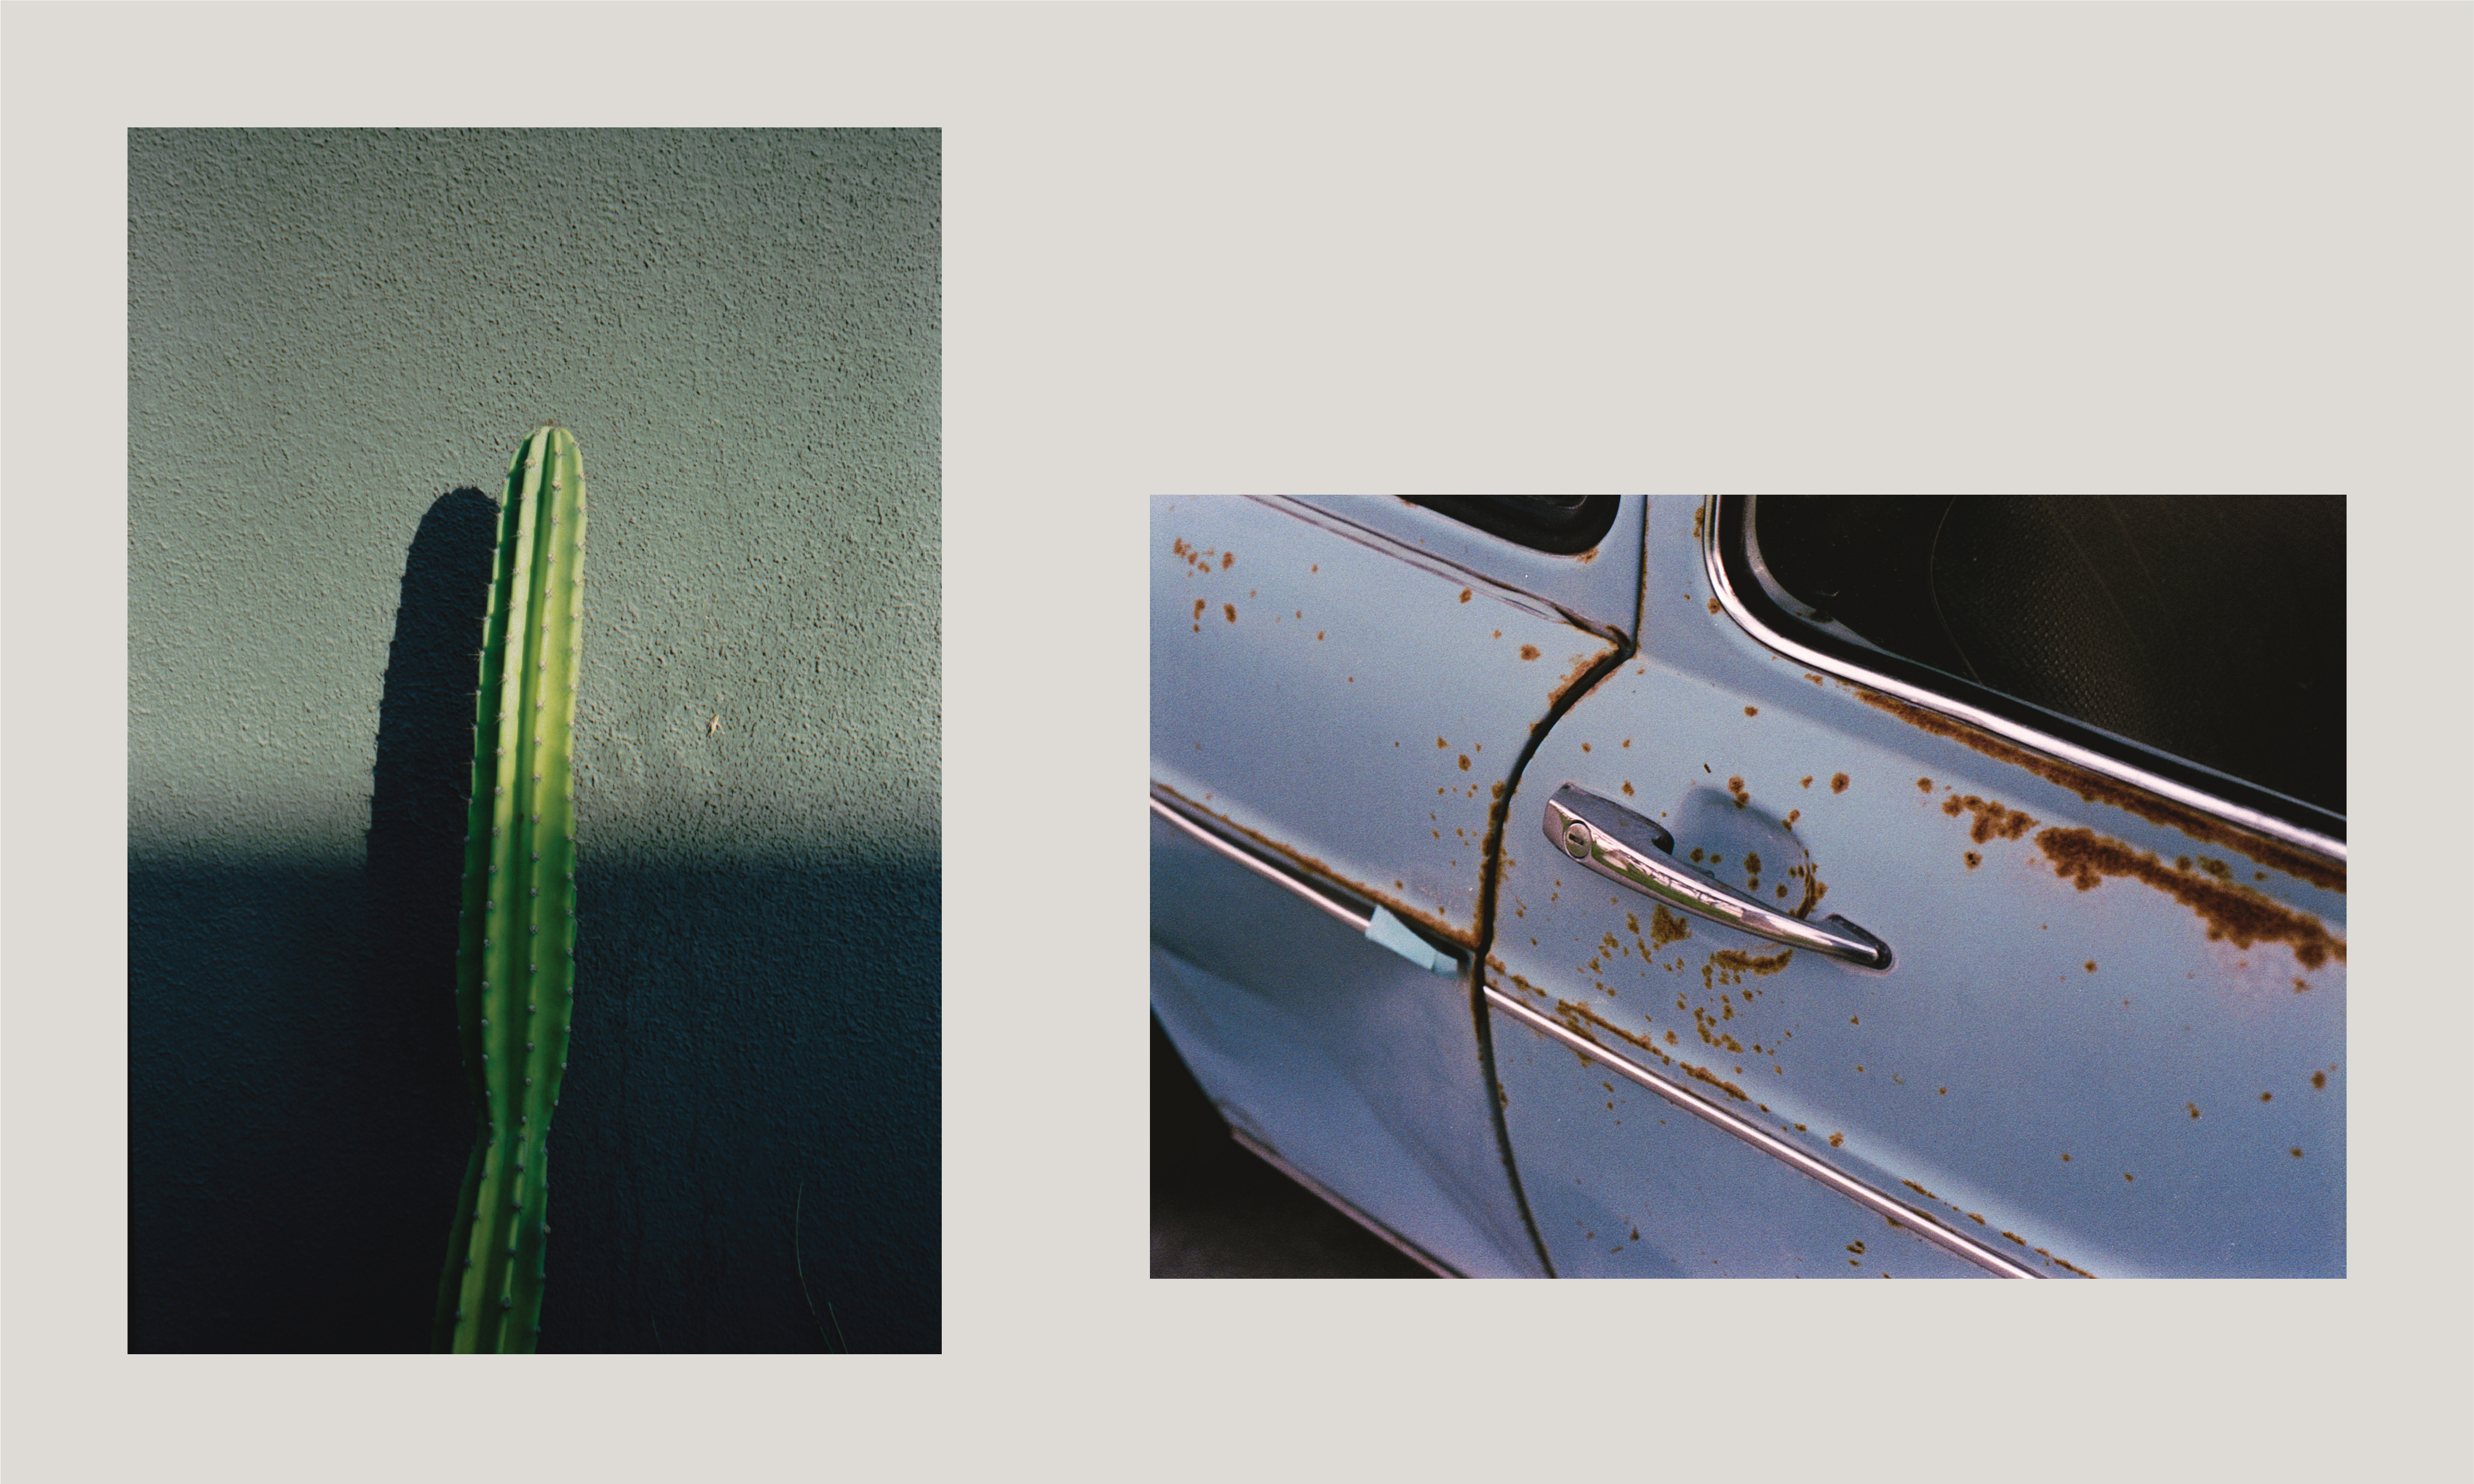
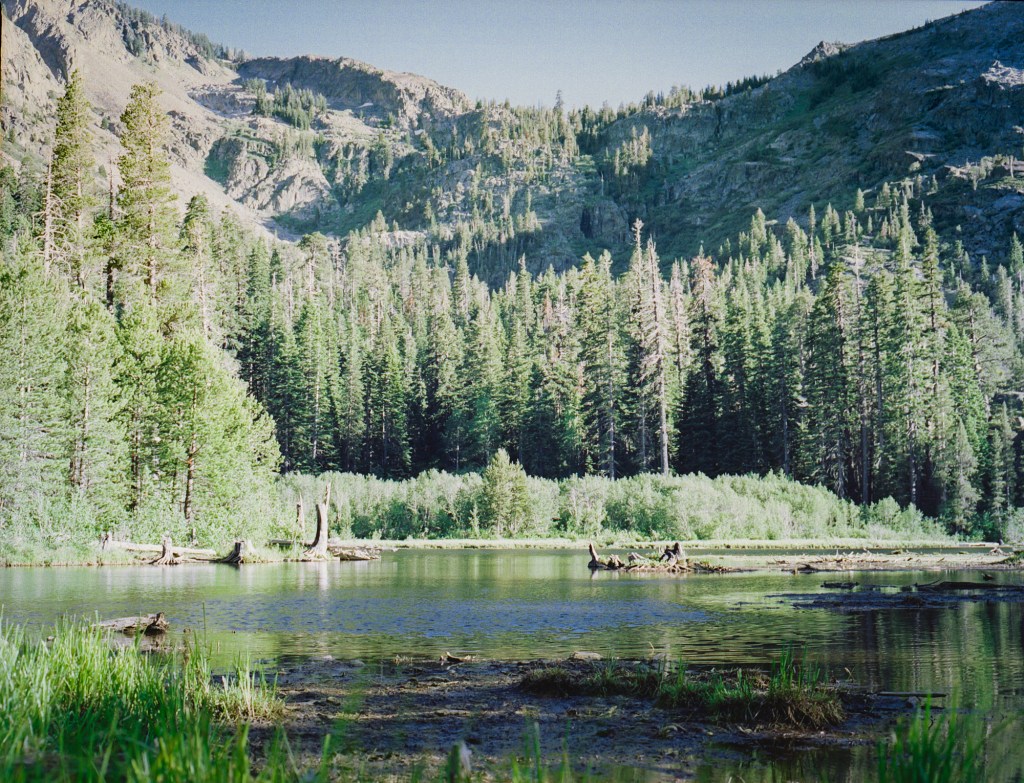
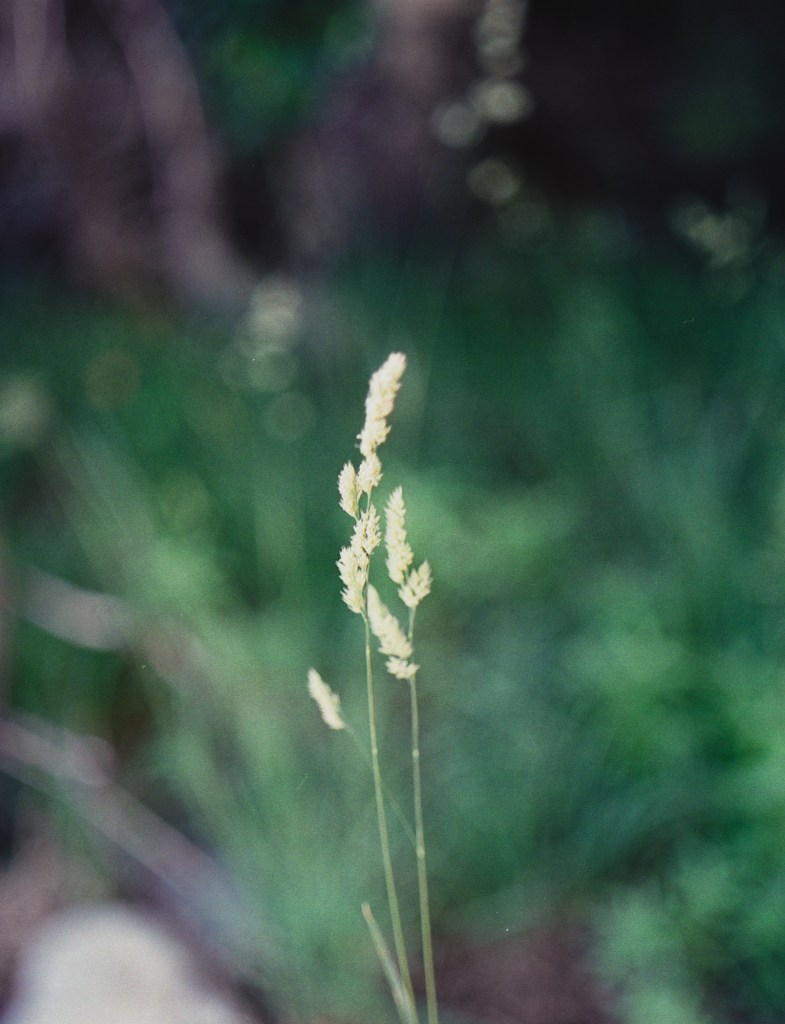
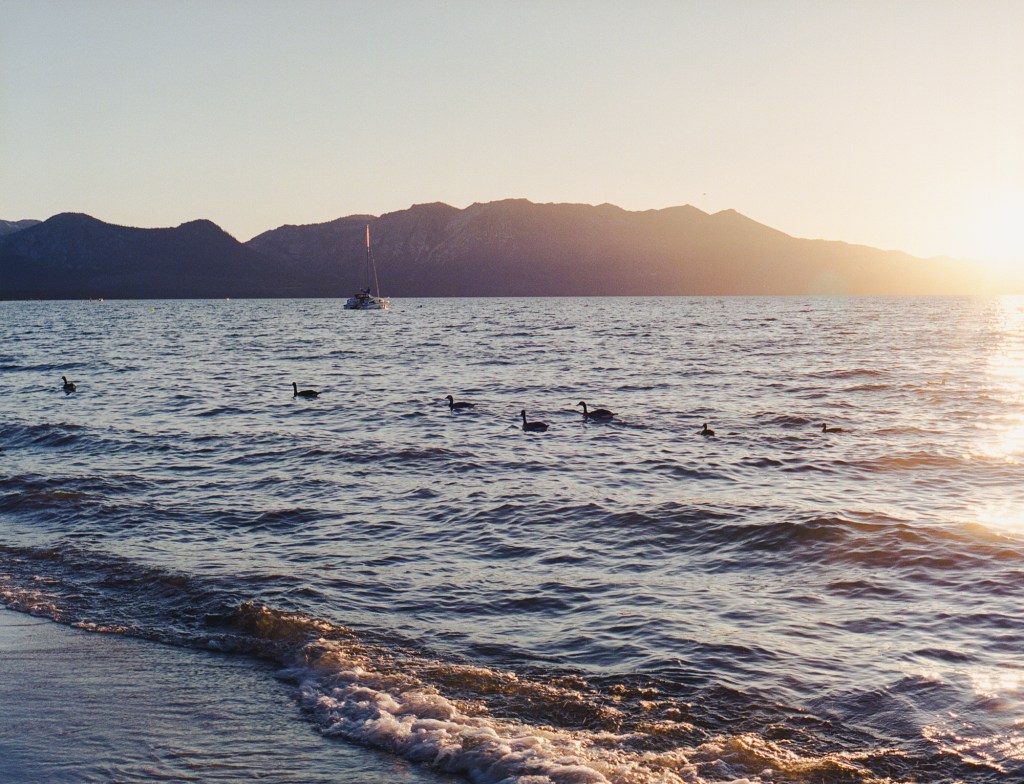
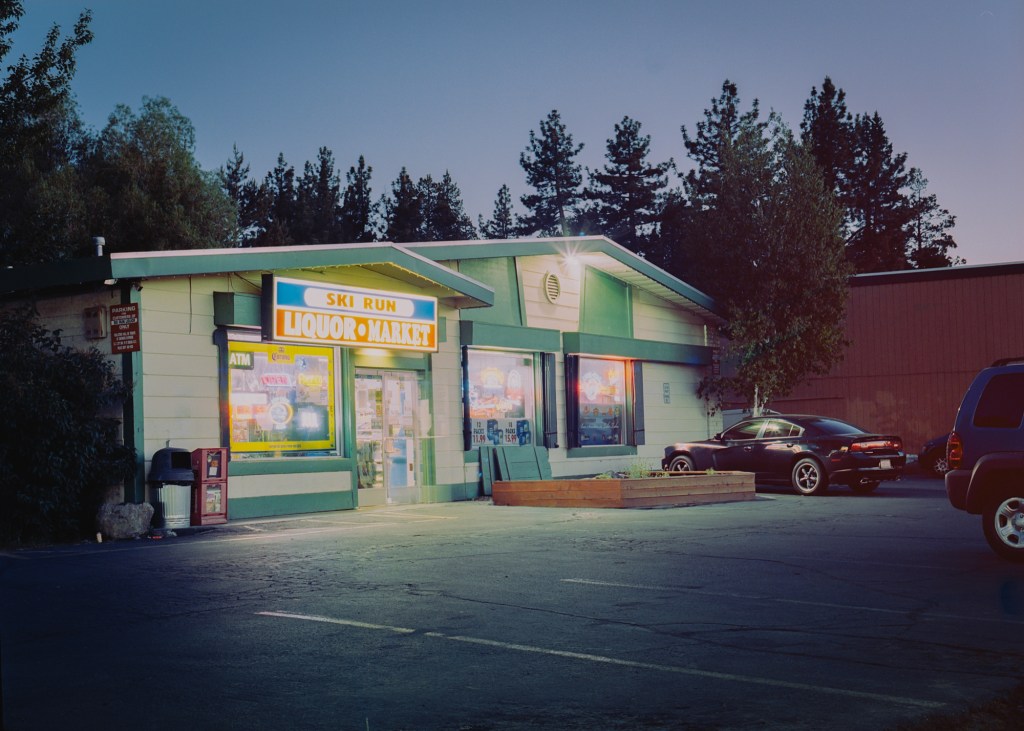
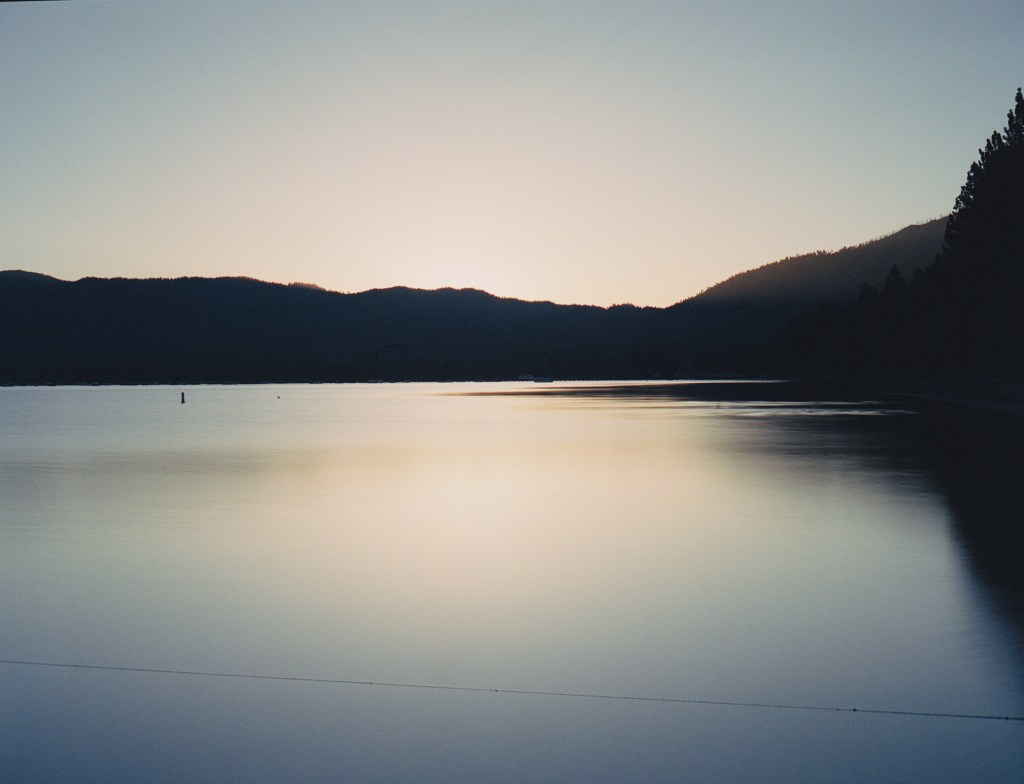
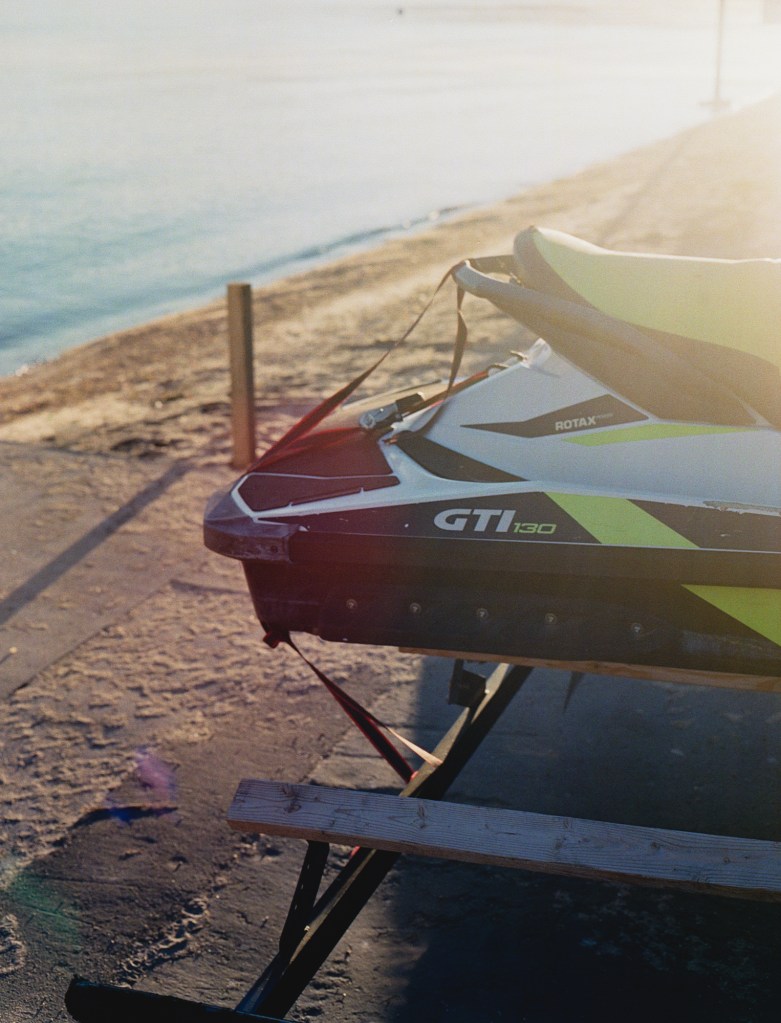
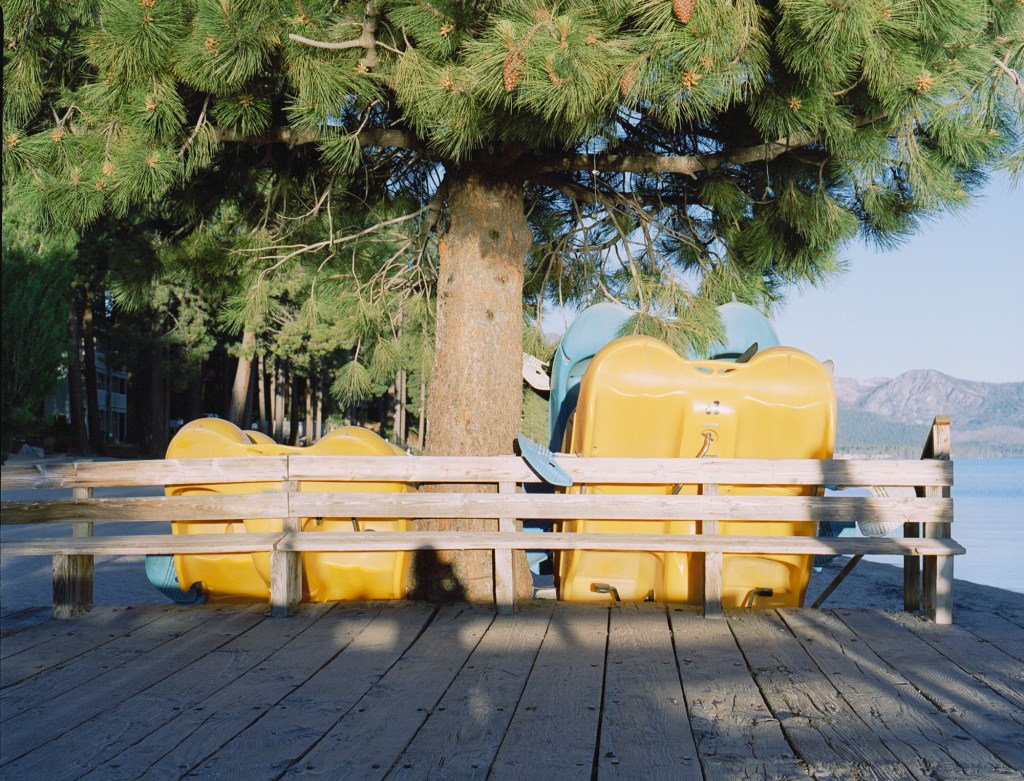
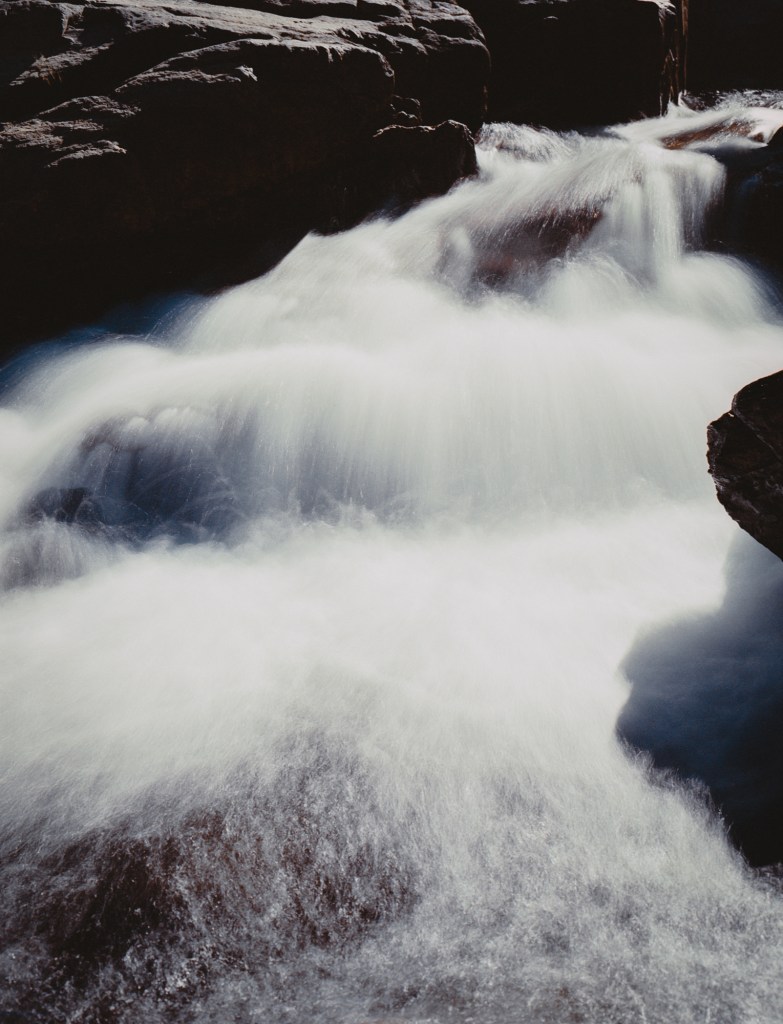
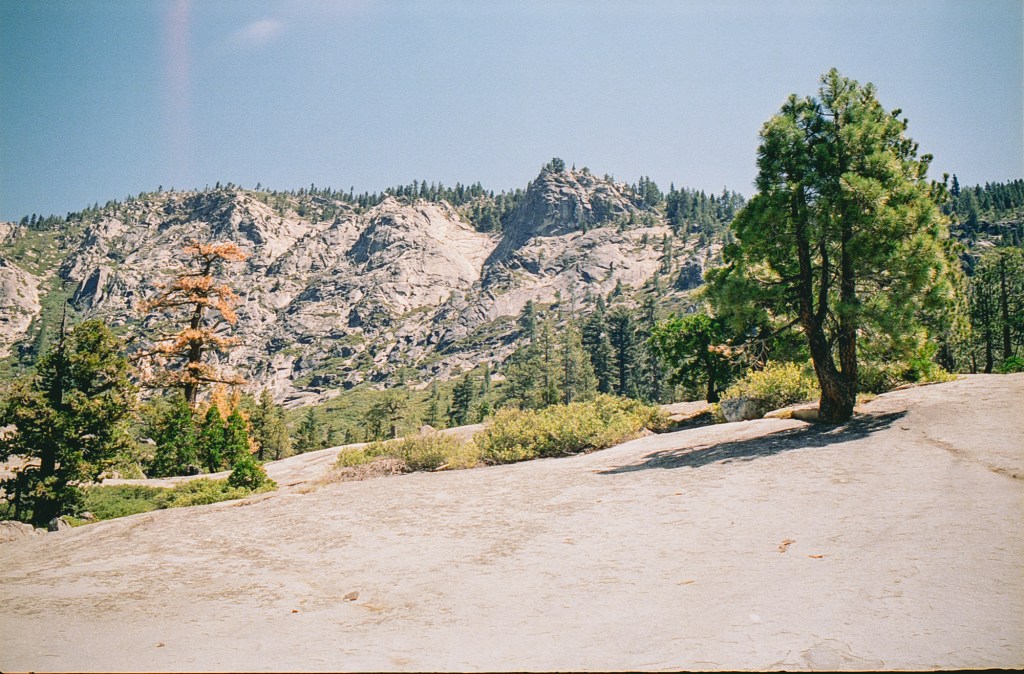
Here’re some photos I made with this first try. Taken with Kodak ProImage 100.
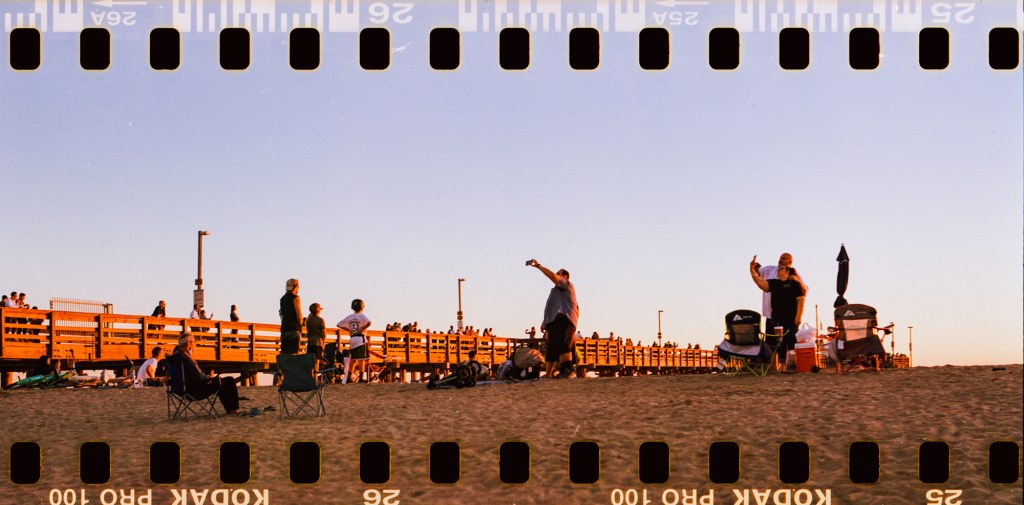
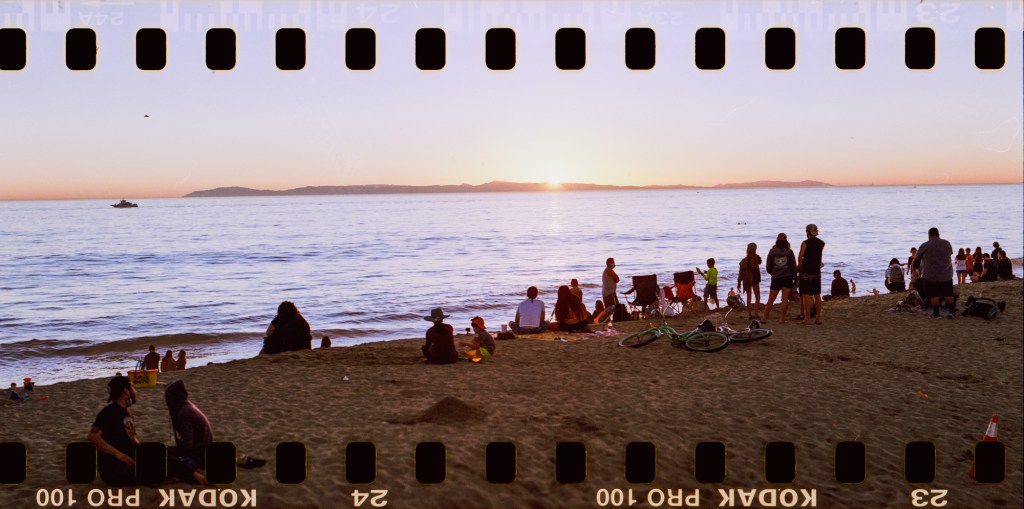


I love the photo of the man on the bike, it’s too bad that it’s underexposed but when I took the shot I knew this would work well on panoramic aspect ratio. You can also see that the ones with no sprocket holes are the ones I couldn’t get the horizon line straight 🙂
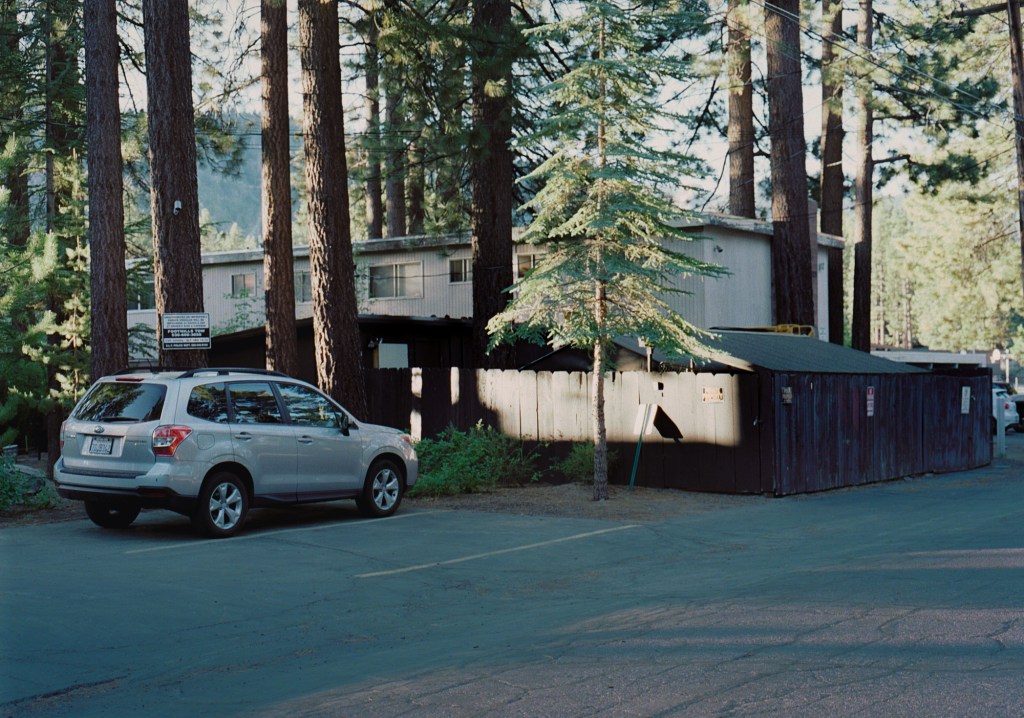
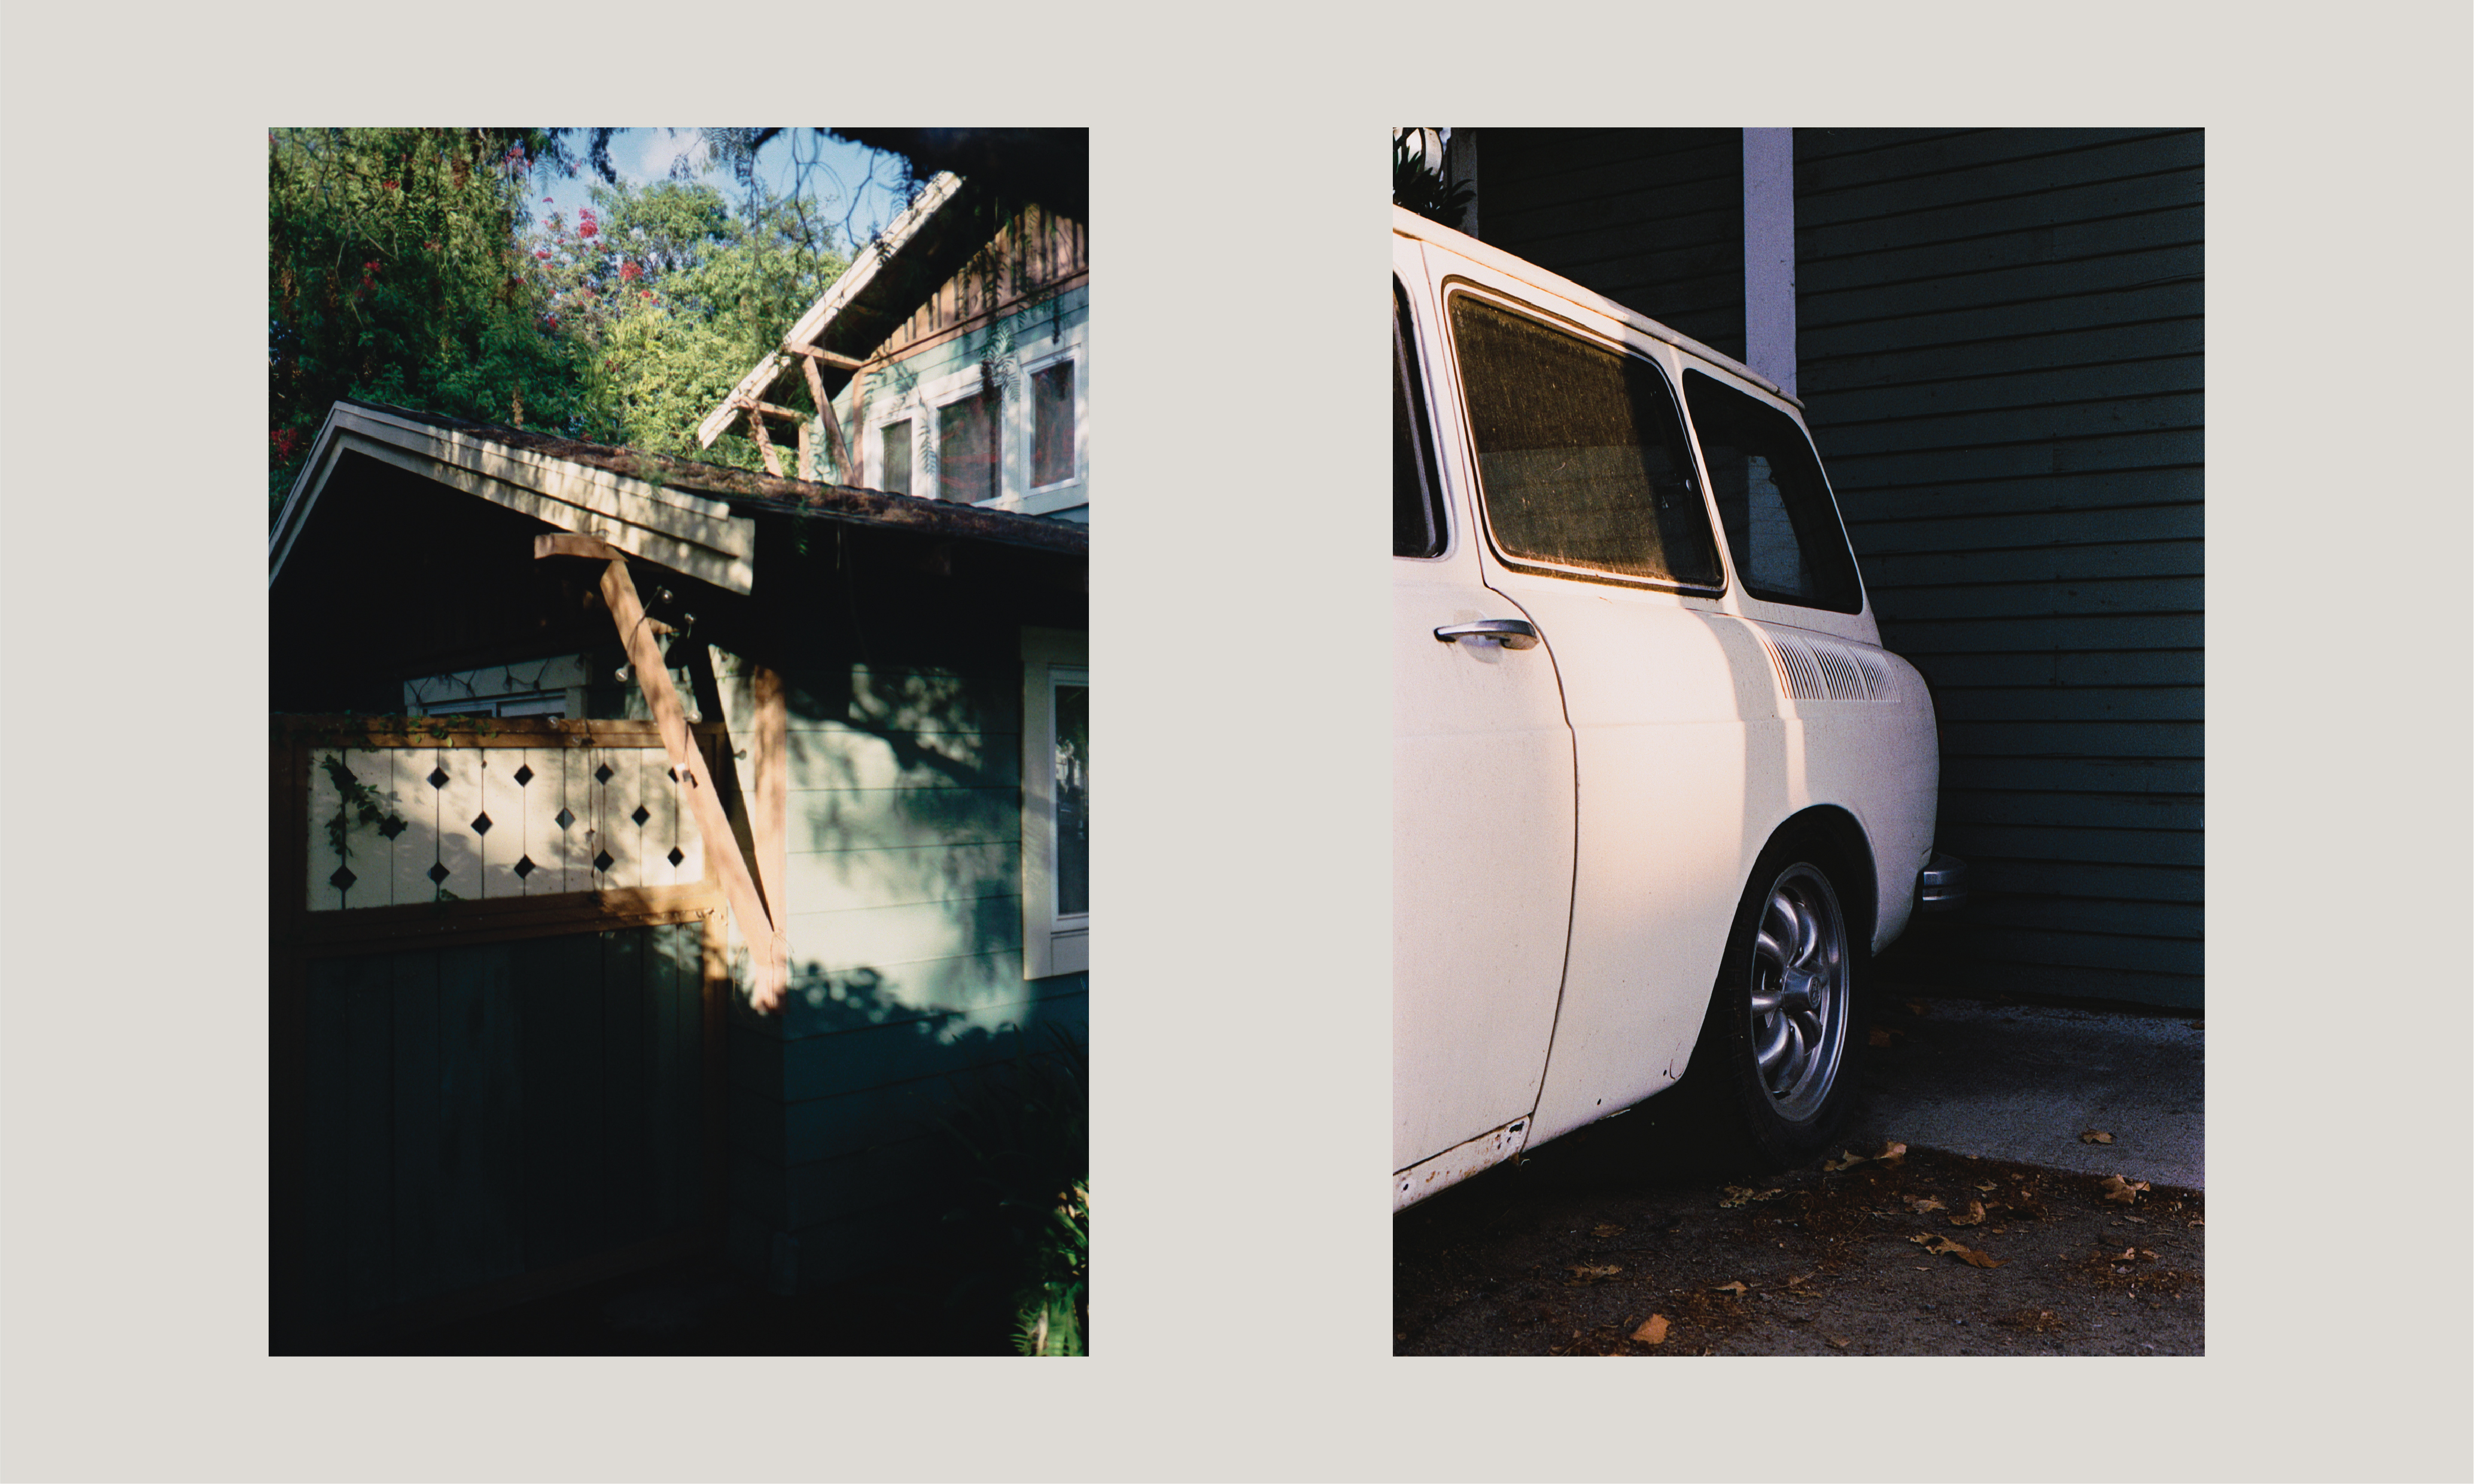
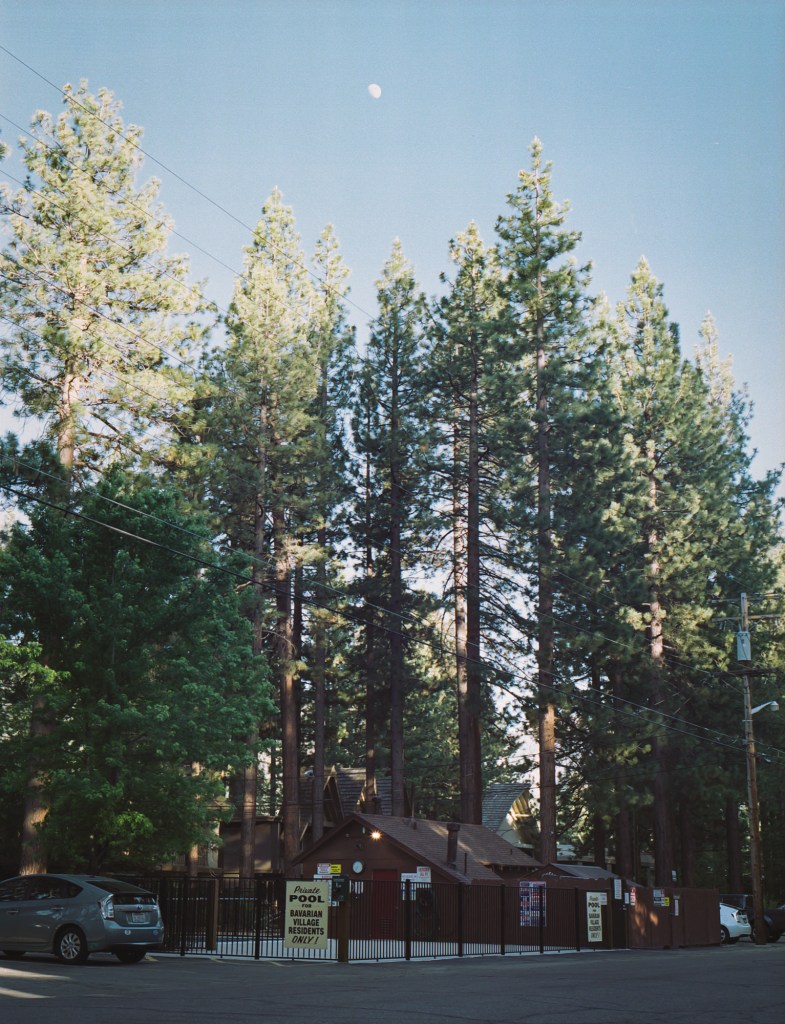
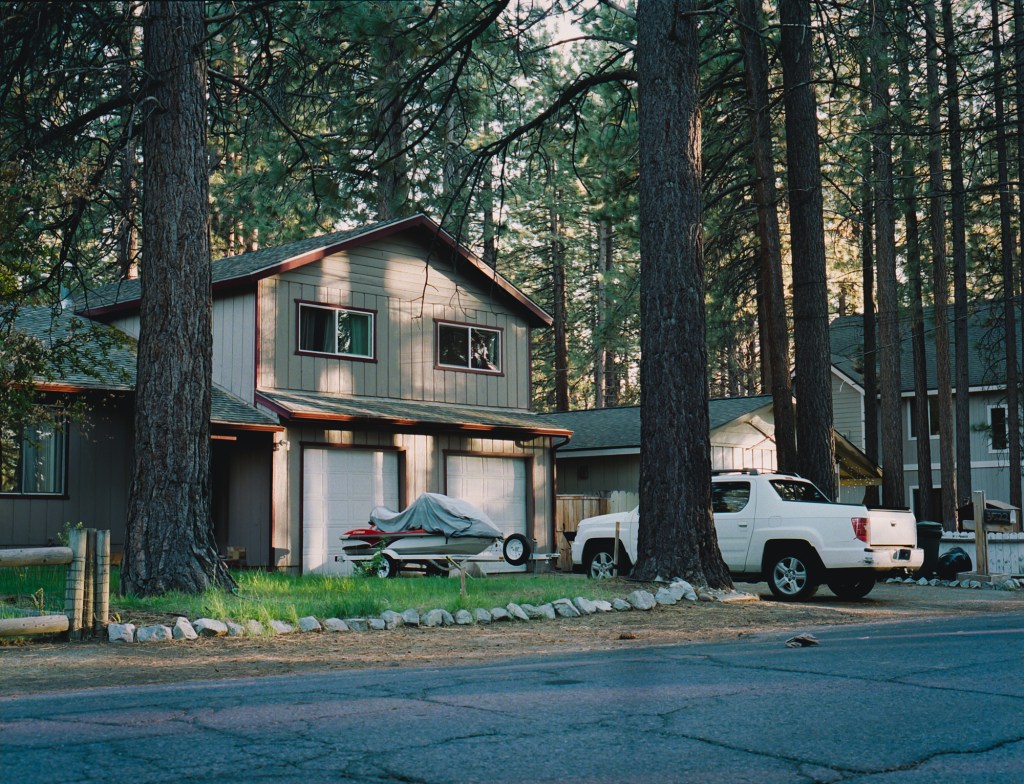
My favorites from the roll is this pair of photos, taking of the car in front of the house. I took the photo on the right side first and walked couple steps more to realize that the tail of the car and the scene was quite interesting and could make a good photo, so I took the second one. I think these 2 look very nice together because the continuation of the object, which is the car make the photos stand well next to each other. And I also like the idea of “the beginning is the end” cycle in the left photo, it’s not that literally but the photo starts with the head of the black car and ends with the tail of the silver car, like the end and the beginning come after each other. Or maybe I like series “Dark” a little too much 🙂


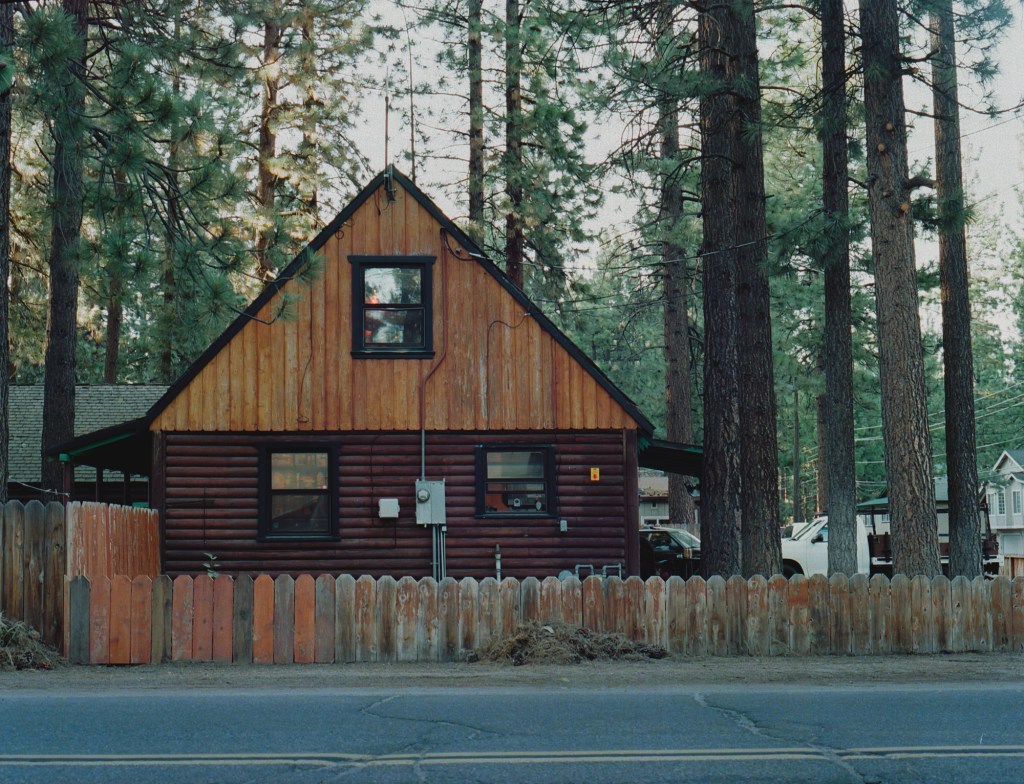
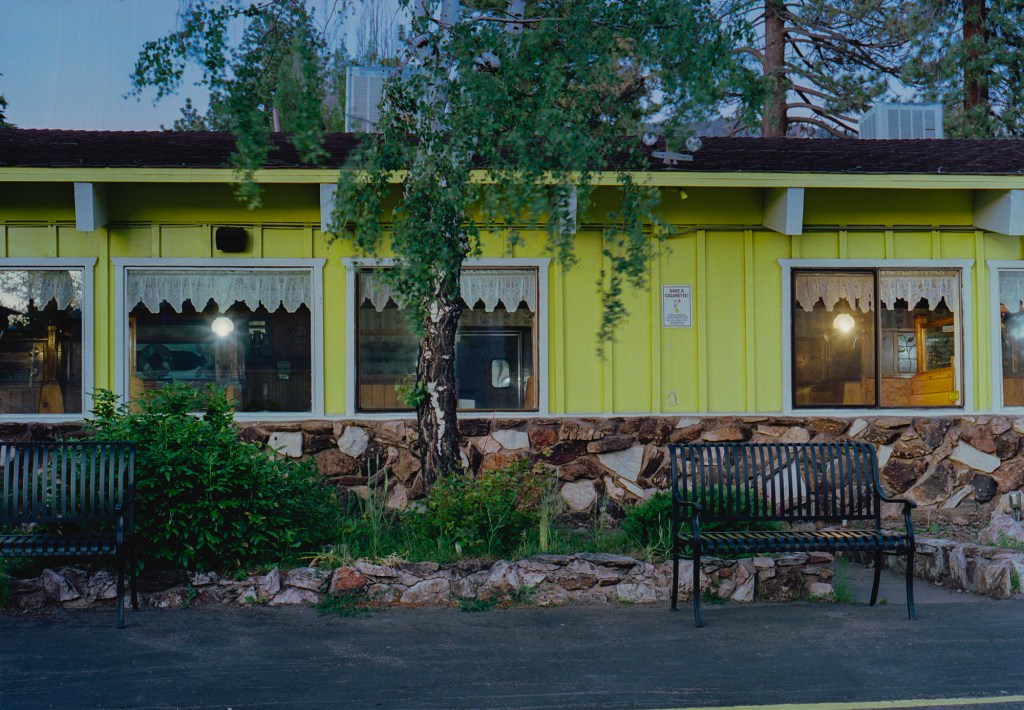
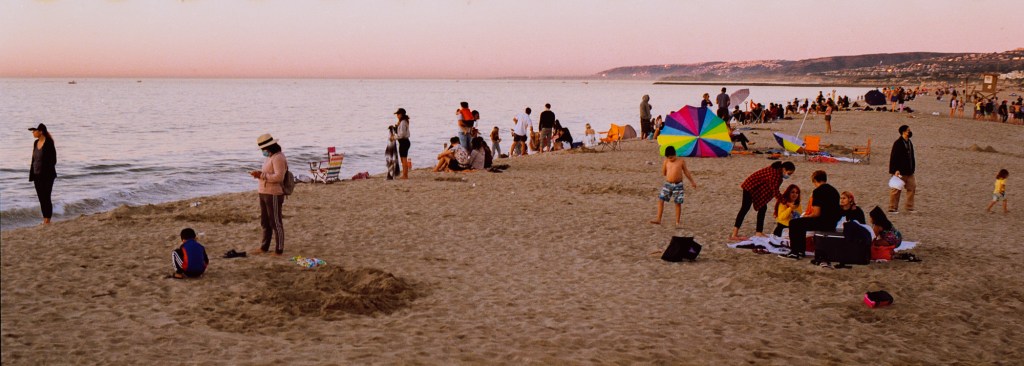
I love the last photo also. The frame feels a bit too much and messy but I like the overall feelings and colors of it.
Thank you for making it to the end. Hope you like these experimental photo ideas. Cheers!