suburbs scenes from the Rolleiflex SL66E

This is the third roll in my photography journey in 6×6 ratio, still getting used to it but I’ve been enjoying the experience a lot. I think it doesn’t matter what aspect ratio I shoot with, just the experience of taking a camera and making some photos is already a sweet thing to me. That’s why I enjoy shooting with the 645, 6×6, 6×7 or panoramic regardless. The downside of this is I don’t spend enough time to master a camera or a ratio and might not get the most out of one aspect ratio. But I think keeping my context consistent throughout different ratios is also an important skill. I’m not an educator or a proper educated photography student so I’m not 100% sure my way of learning in this case is right but I think I made a little progress in my development through this.

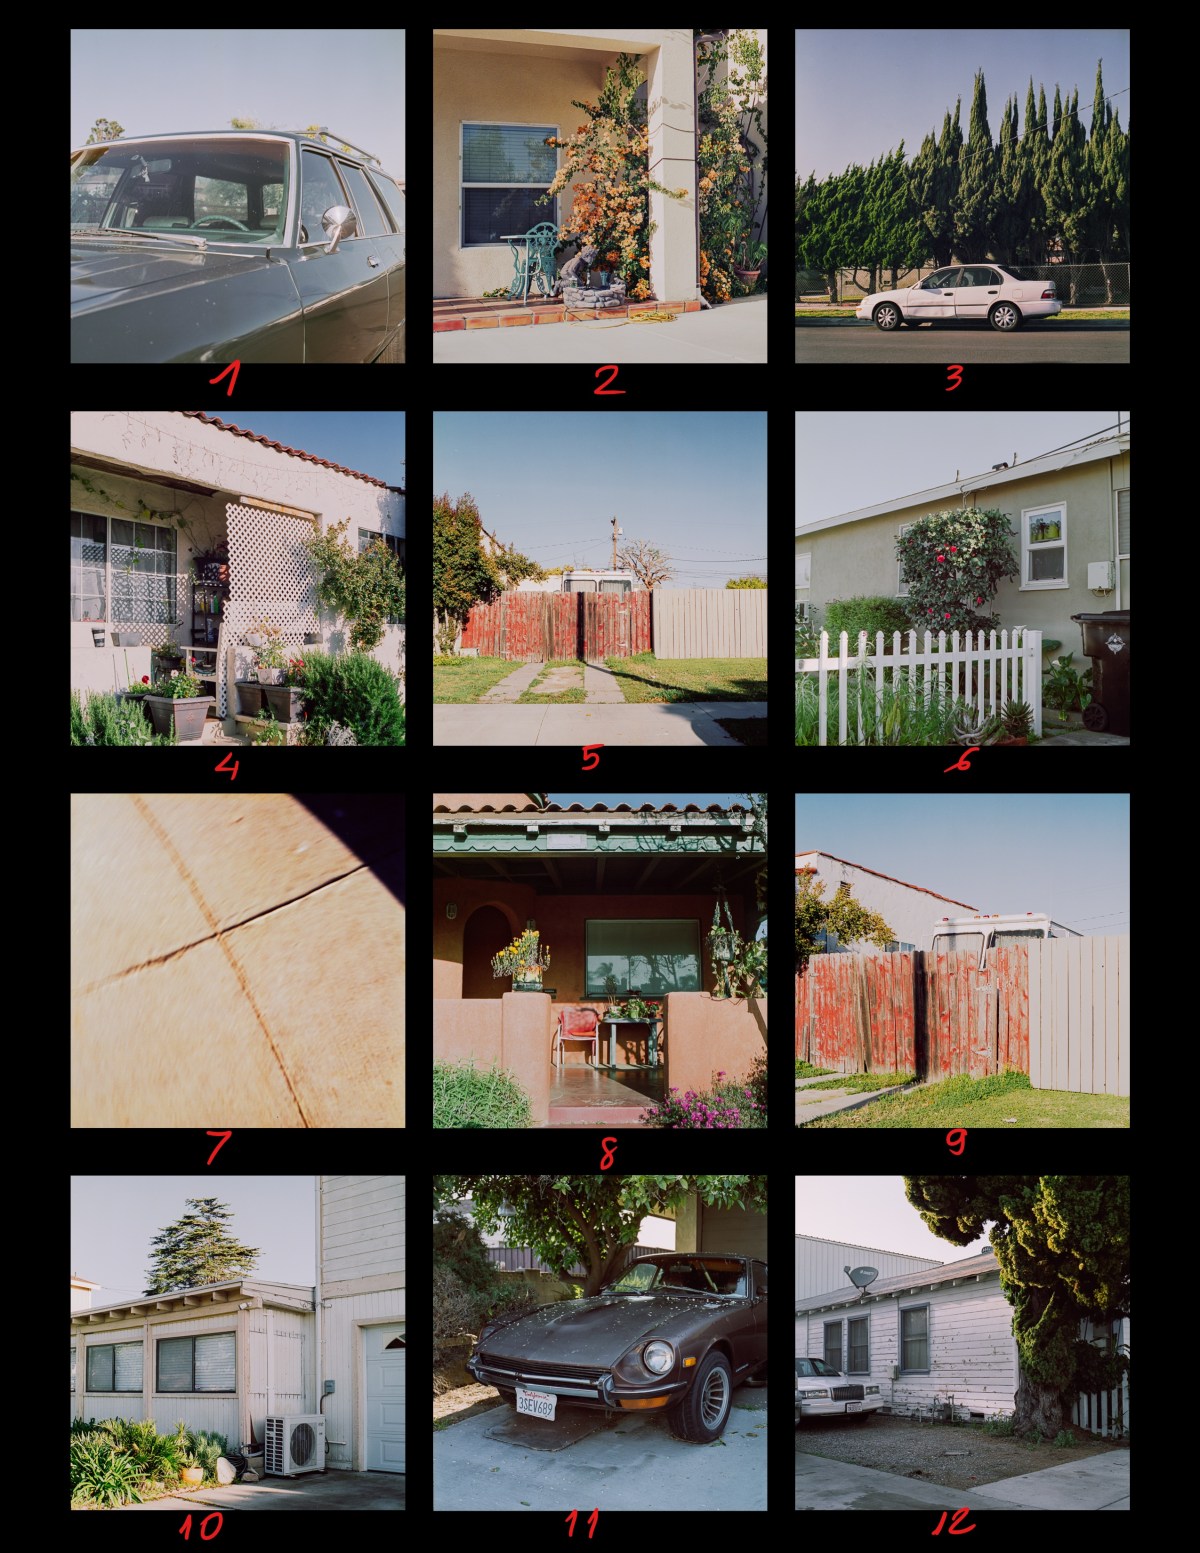
In this particular roll, I spent about 2 hours walking in a a suburbs neighborhood in the afternoon. The weather was so nice and the afternoon sunlight was gorgeous. There’re few scenes that I like because of the messiness and mundane feeling about them, something quite inadequate but humanistically poetic. I always love the image of something crooked but beautiful in their own sense. Below is the digital contact sheet of the roll.

Shot with Rolleiflex SL66E and Fuji Pro 400H

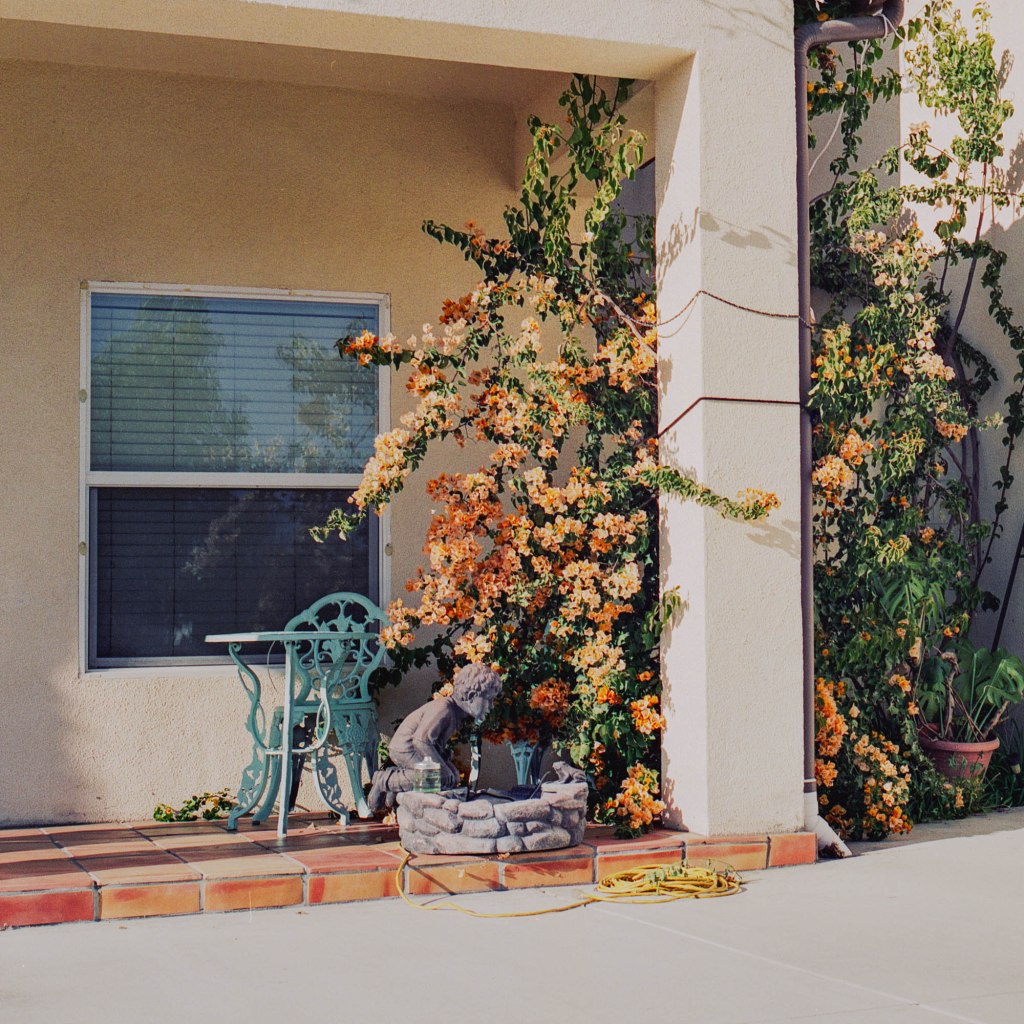
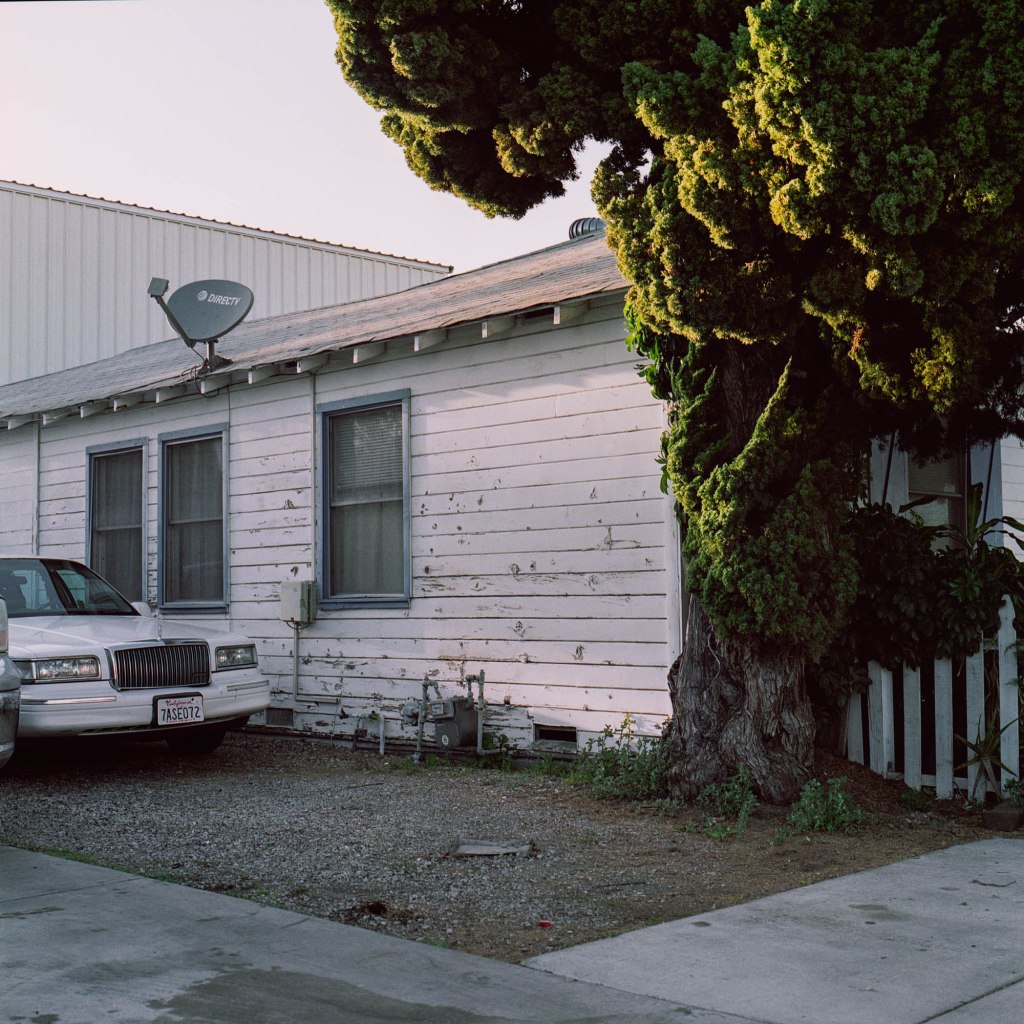
As a whole, I’m very happy with the roll. There’re 6 out of 12 that I like. The first two shots is not that good as I imagined when I took them. The car shot might be good if there weren’t any tree peak out behind it. The second one was appealing to look at in real life but I don’t think I can present a clear context in the photo. The white car shot is pretty much comes out as I imagined, I like the warm sunlight hitting it and the trees behind are kind of tilting to the right and gradually high up, the electric wire is also parallel in the movement of the trees, one bonus is the car’s door is damaged and add a bit context to the photo.

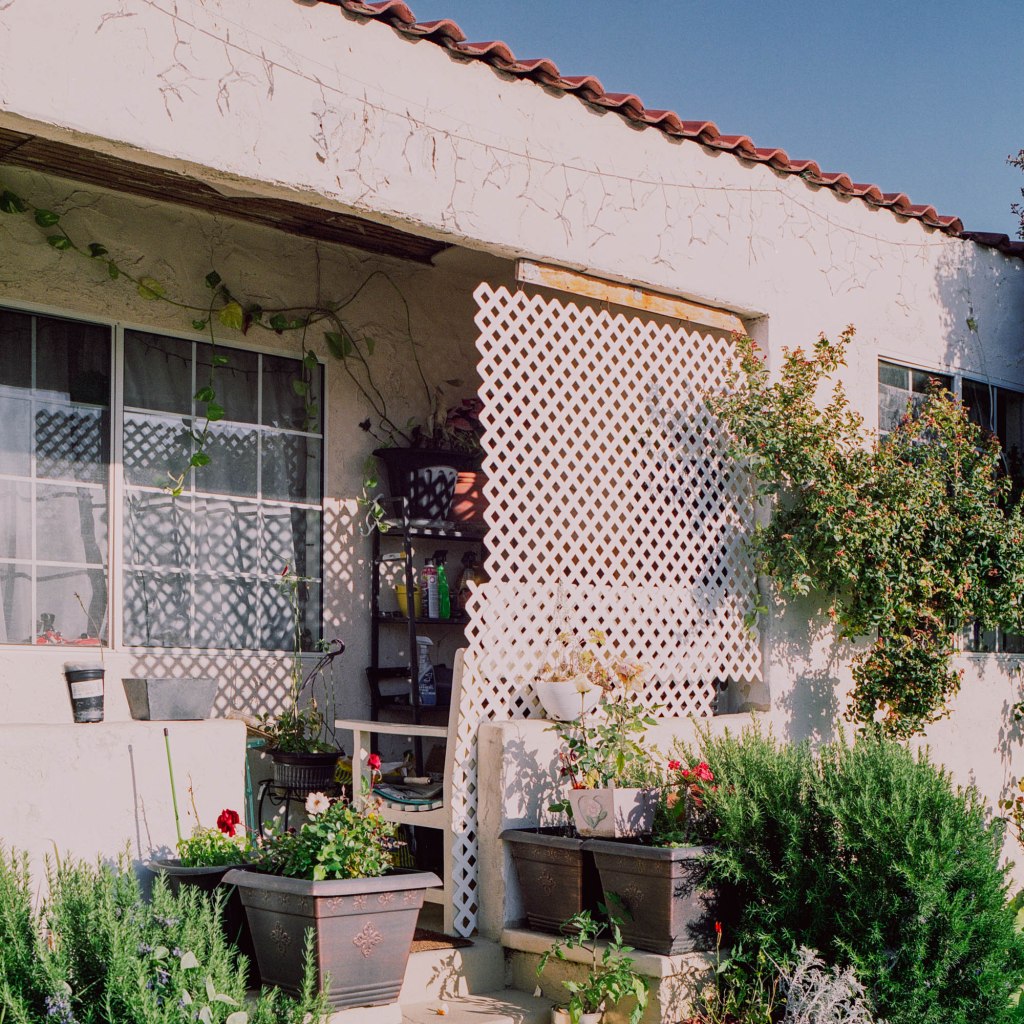
The 4th photo is my favorite scene. As you know, I like the messiness and inadequateness in a complex scene. There’s no human in the photo but you can have a sense of how’s the person’s life and characteristic.

The 6th is compositionally nice but the context is not strong.

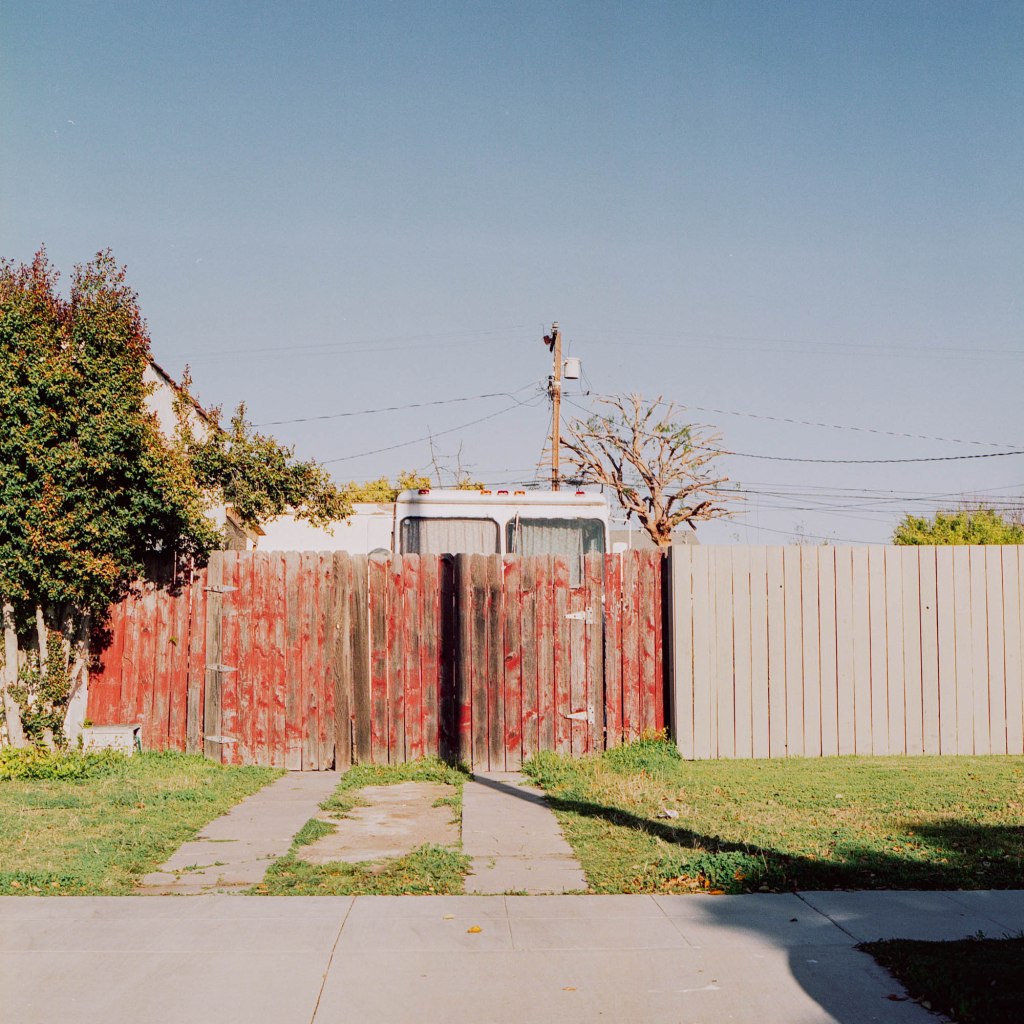
The 5th and 9th are a nice pair. I took the 5th first and wonder if I should take another angle but them I walked around to shoot some few more shots, when I passed the camper van[?] again I decided to shoot at another angle which line up the gap in the fence with the middle front frame of the van. I think the second shot is better than the first one, but overall I like the colors and composition in both of them.

The 7th is a accident shot when my camera bump to my bag, I’m having this kind of accident more frequently.

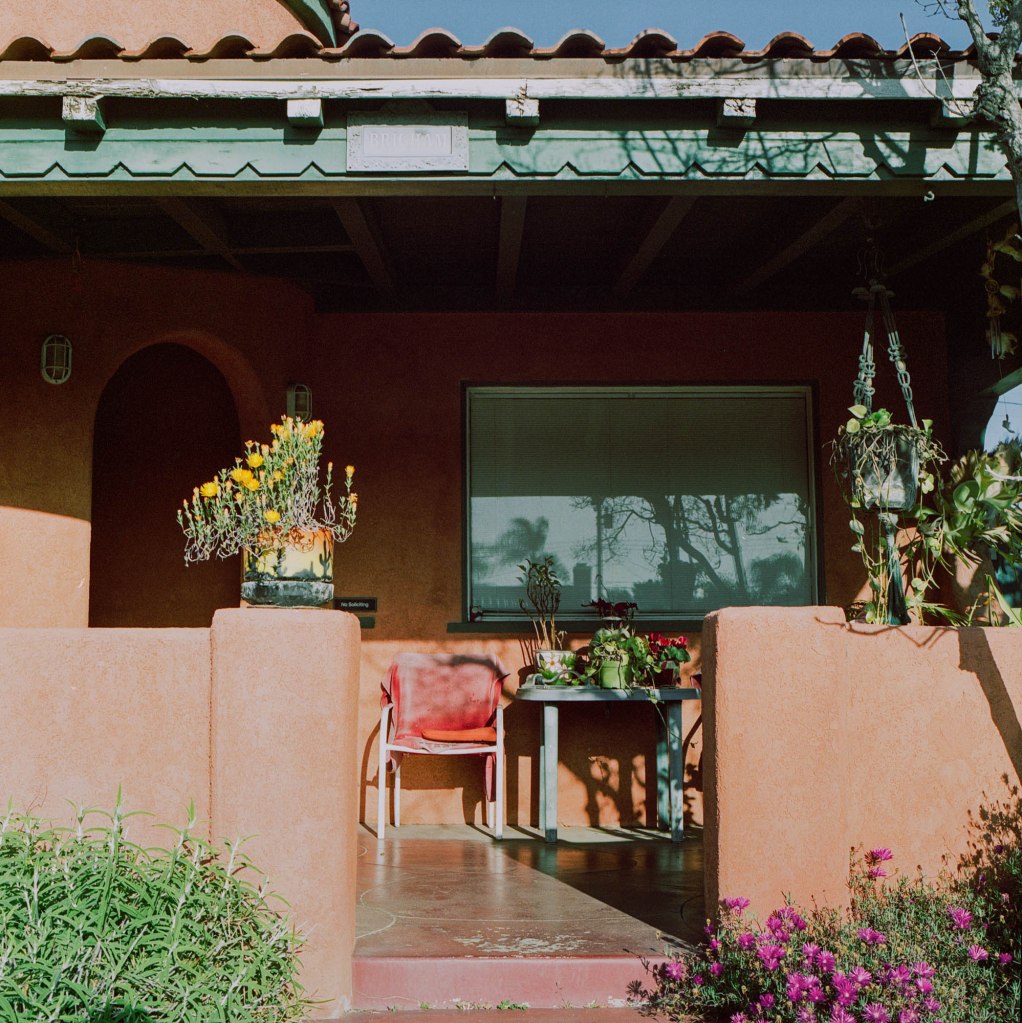
The 8th one is another favorite too. I think it’s have a similar vibe to the 4th one but in a more vivid and opened way. I like how the chair and the table is completely facing forward to the opened doorway[?] and stylobate. I think it tells a bit about the person, it’s must be an out going and straight forward kind of guy.

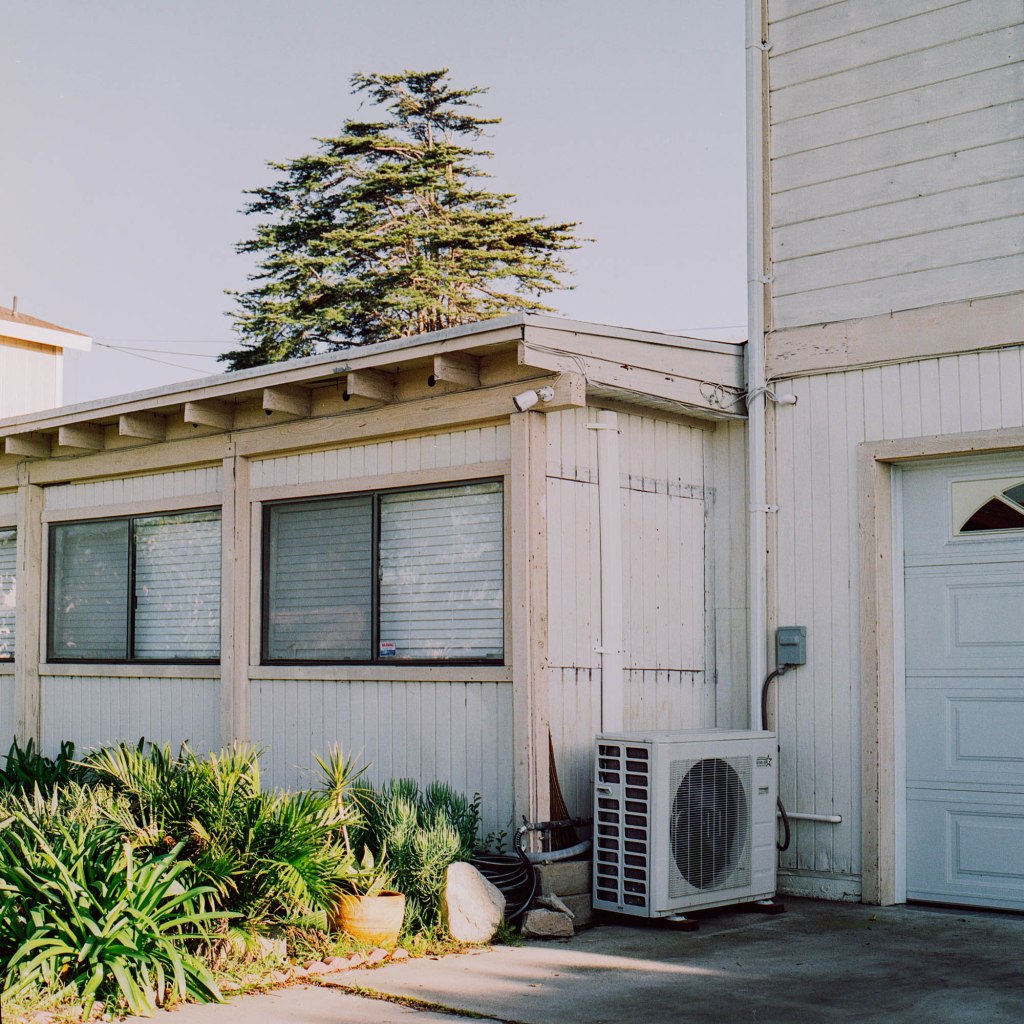
The 10th one I personally like because it reminds me of a street or a neighborhood in District 3, HCMC where I spent a lot of time hang out and buy art supply for school. I like how the air conditioner is completely put out of the building and the lower part of the building is jutting outward from the plane of the garage door, creating a nice little space that fits the air conditioner perfectly. The plants on the ground are bathing in sunlight and shine up is also a nice touch. I love this photo.

The 11th photo is not so special. The car has a nice shape but I couldn’t get a nice angle for it. However I like the fact that there’re a lot of tiny white petals fall all over the front hood of the car.

The last photo from the roll is nice but I think the context again is not strong enough. I like the shape of the tree and how the sunlight hitting it create beautiful outlines. The light hitting the wall also look gorgeous. The car on the left side is cool but I feel like it’s stuffed in the frame because of the front side of it is just barely fit completely in the frame, I don’t like that crop very much.

That’s all for my third roll of 6×6. Still want to shoot more with this aspect ratio. Hope you like it. More photos next time!

replace light seal and clean up Minolta Autocord CdS

I came across this camera in a thrift store and couldn’t help myself but buy it. I’ve been wanting a TLR for a while now but decent TLRs are not cheap. Although I never touch a TLR before but I know enough about cameras in general to check the basic functions and this camera seems to work fine. So after purchased it, the first thing I did is cleaning it up. I always clean things up after I buy them, and also because of the Covid situation. I used rubbing alcohol and damp tissue to wipe the outside of the camera, I also used Q-tips and toothpick to get into places that I can’t with my fingers. For the lens, I used lens wipe and microfiber cloth to wipe them gently. Here’re some photos of the camera after I clean it. How beautiful it is!

After the basic cleaning, I opened up the viewfinder to clean the ground glass and also to remove the old light seal and apply the new one. Here’s what you need for the process: a set of small screwdrivers, light seal foam ( I used the 1mm thickness), rubbing alcohol, and some additional stuffs such as baking soda, aceton, sewing machine oil.

To remove the focusing hood off the camera, you need to unscrew the 4 screws on top of the camera, using a flat 1.6mm screwdriver.

This is the focusing hood after I take it out (photo #8), you can see the dust on the glass surface and in between the ground glass and the focusing mat. I also need to remove the metal thin bars (there’re 2 of them) as in the photo on the right in order to remove the ground glass out of the hood.

Big advice: DON’T USE RUBBING ALCOHOL OR LENS WIPE TO CLEAN UP THE FOCUSING SCREEN!!! Because they will make the screen foggy and white and will destroy your screen. So what I read on the Internet told me that I can wash the focusing screen and ground glass with water and gentle soap and use my fingers to gently scrub them, so I did. And it worked fine. One tip is you can use the hair dryer to dry the screen and glass so they don’t have water drop marks on them. I also cleaned the magnifying glass with lens wipe and Q-tips.

So when I finish the focusing screen and ground glass. I put them back into the viewfinder hood. Now it’s time for replacing the light seal. So, the first thing I do (and recommend you too) is using tape to cover the film chamber so the dust and old light seal crumb cannot fall on the taking lens.

Also, remember to remove the pressure plate out of the camera door, just so the film back would be easier to clean.

Next, I used toothpicks and the small flathead screwdriver to remove the old light seal and dust on the camera door. I put the camera on a thick book for more convenient. Then, I used Q-tips, toothpicks and rubbing alcohol to remove the crumb and rusted waste from the camera body, right at the hinge of the film door (as photo #13). As you can see, my flathead screwdriver is very affective at removing the old light seal in the small gaps along the film door.

After clean the hinge area, I continued to clean the rest of the light seal, along the film door edges. The photos below show you the before and after I remove the old light seal.

Before

After

And I also used baking soda and water to wipe the metal parts that’s rusted along the way, such as screws or back door locking mechanism.

Next step is cutting the new light seal foam into the stripes to apply on the camera’s door. I asked Mr. Karl Bryan, who is a famous Minolta Autocord repair man, for the instruction of the replacement light seal since I couldn’t find the light seal pattern on the Internet, he did kindly reply me with the instructions. The light seal for the door should be 2-2.25mm wide and 1-1.5mm thickness, the light seal for the bottom of the door, right at the hinge should be wider. So in the end, I cut 2 stripes of foam 2mm wide, 250mm long (250mm is the length of the whole form, I didn’t measure for the length because I can always trim it later); 1 piece 5mm wide and 65mm long for the edge at the hinge. To cut it, I used regular paper cutter and a long ruler to guide the straight lines and put pressure on the ruler to stable the foam when I cutting.

Mr. Karl Bryan also gave me a tip that applying rubbing alcohol onto the back of the light seal and on the surface of the area where we need to put the light seal on, and then lay the light seal down, slide it into place and let the alcohol evaporate. The nice thing here is the alcohol makes the adhesive backed foam and the camera door don’t stick together when they contact, so you can move or slide the foam into places easier. I used to replace the light seal in my Nikon F2 and didn’t know the trick, so when the light seal was put in the camera, it’s sticky and you may tear the foam stripe when you try to peal it out. As you can see from the photos below, I used a small paint brush to apply the rubbing alcohol on the gaps of the camera’s door and on the stripes (photos #21-22).

After replace the light seal for the back door, I also noticed that the viewfinder hood also need a foam right at the front side where it touch the name plate. So I clean up the surface, measured the area and cut the proper light seal foam for it (photo #28). I guess the foam was put here to avoid the two parts bump and scratch each other.

So the process almost finish here, but there’s still one last thing. As Mr. Karl Bryan advices, I applied sewing machine oil on each end of 3 film rollers (photo #33), on the upper film chamber gear (photo #34) and on the take up spoon gear (photo #35). Just put one drop of oil, spin the rollers or rotate the gear and wipe the excess oil. This will minimize scratching your film when winding.

In addition, I also put the oil on the hinge of the viewfinder hood since it’s a bit stiff to open and close. After applying sewing machine oil into the hinge, the viewfinder’s smooth like butter! Of course, always remember to wipe the excess oil because you don’t want the oil gather dust around in your camera.

Finally, time for the test roll. I used an empty roll that just has the paper back to test out the rollers and winding crank. Everything worked beautifully. After 12 dummy shots and winding, the roll’s transferred to the pick up spoon nicely, I open the paper back to check if there’s any scratches on the back but no, yay! This camera is now ready to shoot!

Thank you Mr. Karl Bryan for the instructions and advices. I didn’t know anything about the Autocord series or this CDS model particularly but when I read about it, I’m in love. Just because the design is so special and the quality is one of the top. So I wanted to give it a nice treat by having a CLA by Mr. Karl Bryan but since my camera doesn’t seem to have any functional problem, he suggested I should use the camera until something goes wrong. I definitely recommend Mr. Karl Bryan to anyone who’s looking for a repairman for the Minolta Autocord, he’s the best, and also a super nice man! You can reach him at karl.kathy@frontier.com

Thank you for making it here. Hope to share with you guys some photos taken with this camera soon. Cheers!