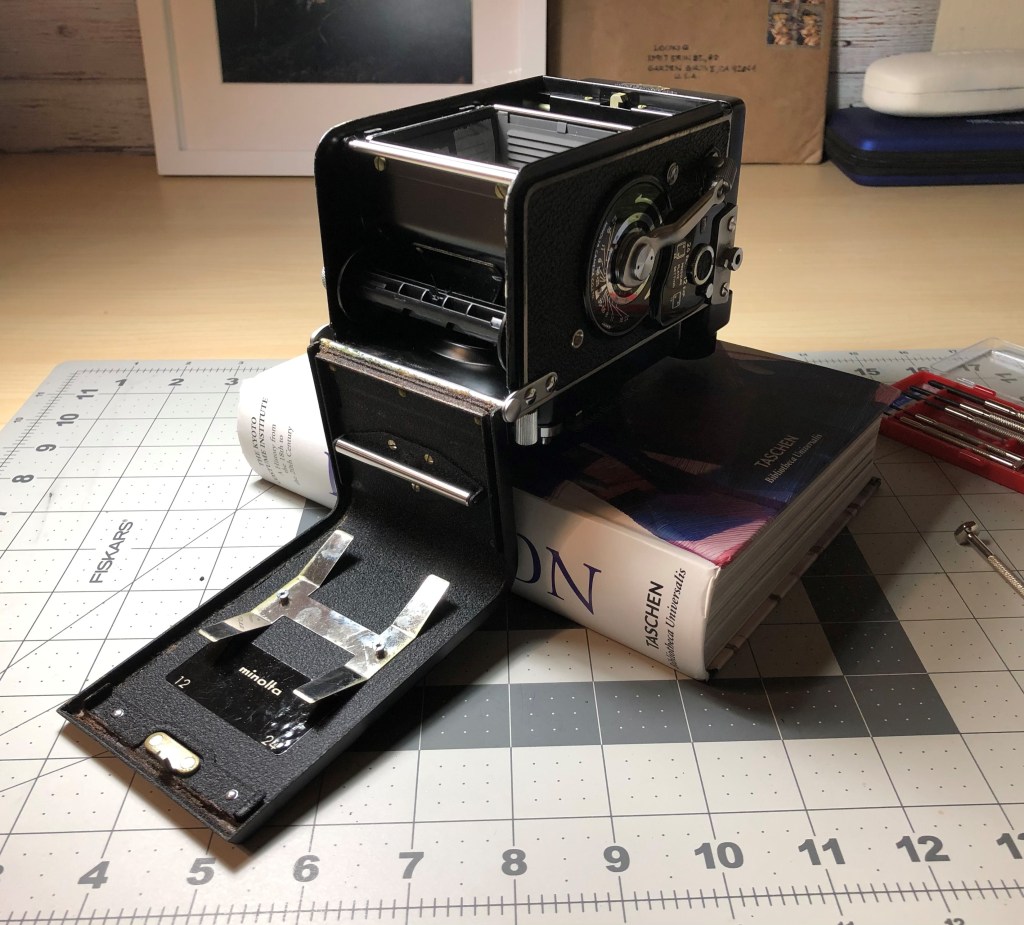
I came across this camera in a thrift store and couldn’t help myself but buy it. I’ve been wanting a TLR for a while now but decent TLRs are not cheap. Although I never touch a TLR before but I know enough about cameras in general to check the basic functions and this camera seems to work fine. So after purchased it, the first thing I did is cleaning it up. I always clean things up after I buy them, and also because of the Covid situation. I used rubbing alcohol and damp tissue to wipe the outside of the camera, I also used Q-tips and toothpick to get into places that I can’t with my fingers. For the lens, I used lens wipe and microfiber cloth to wipe them gently. Here’re some photos of the camera after I clean it. How beautiful it is!

1 
2 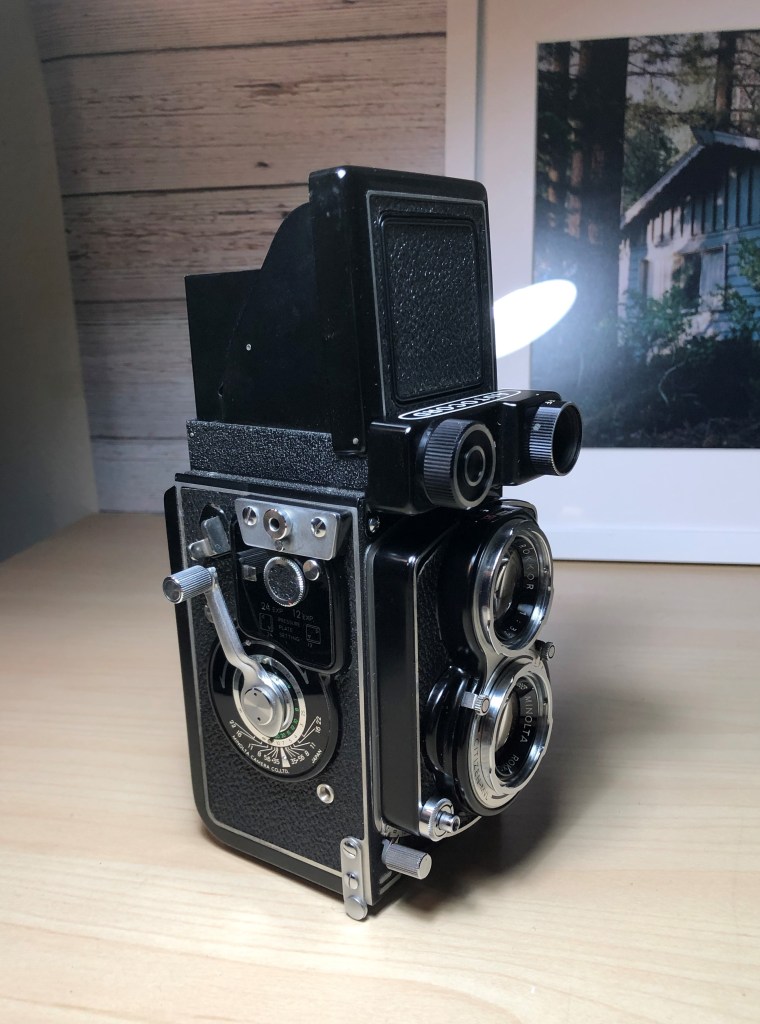
3 
4
After the basic cleaning, I opened up the viewfinder to clean the ground glass and also to remove the old light seal and apply the new one. Here’s what you need for the process: a set of small screwdrivers, light seal foam ( I used the 1mm thickness), rubbing alcohol, and some additional stuffs such as baking soda, aceton, sewing machine oil.

5
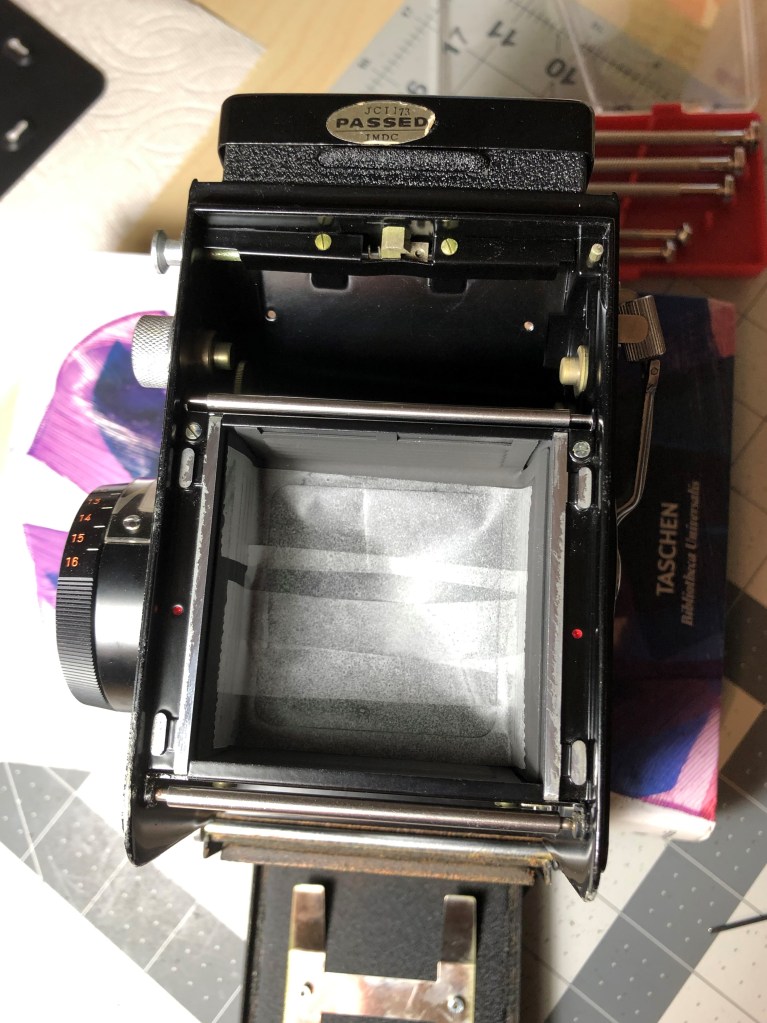
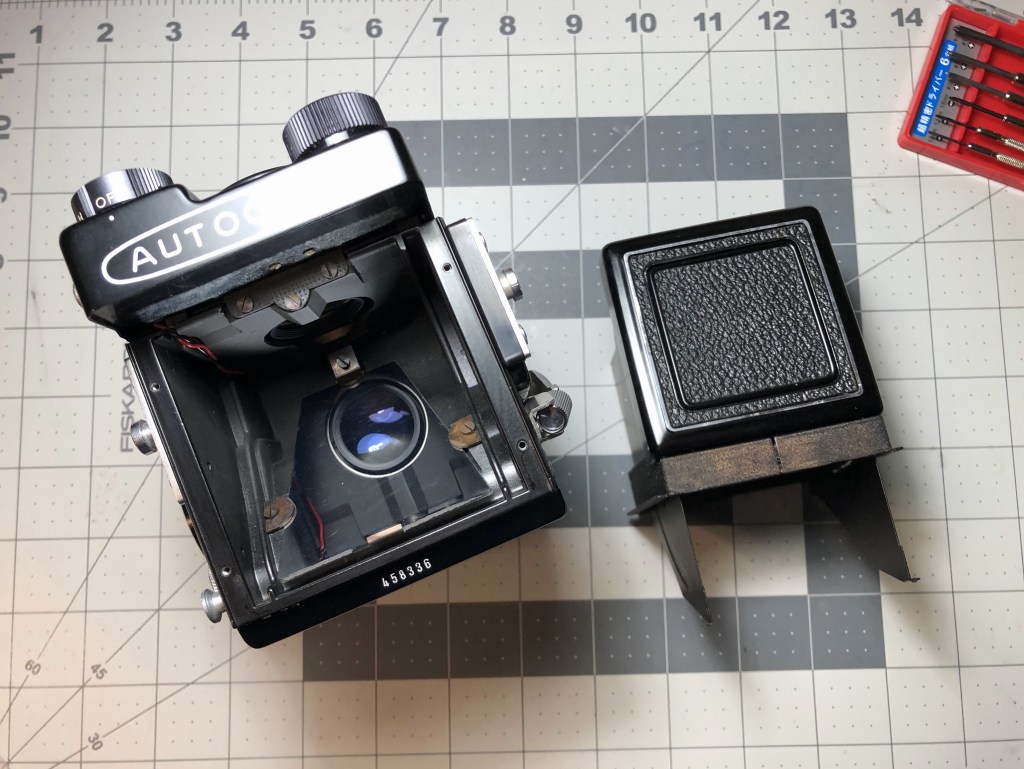
To remove the focusing hood off the camera, you need to unscrew the 4 screws on top of the camera, using a flat 1.6mm screwdriver.

6. The position of 4 screws 
7
This is the focusing hood after I take it out (photo #8), you can see the dust on the glass surface and in between the ground glass and the focusing mat. I also need to remove the metal thin bars (there’re 2 of them) as in the photo on the right in order to remove the ground glass out of the hood.

8. Bottom of the viewfinder hood 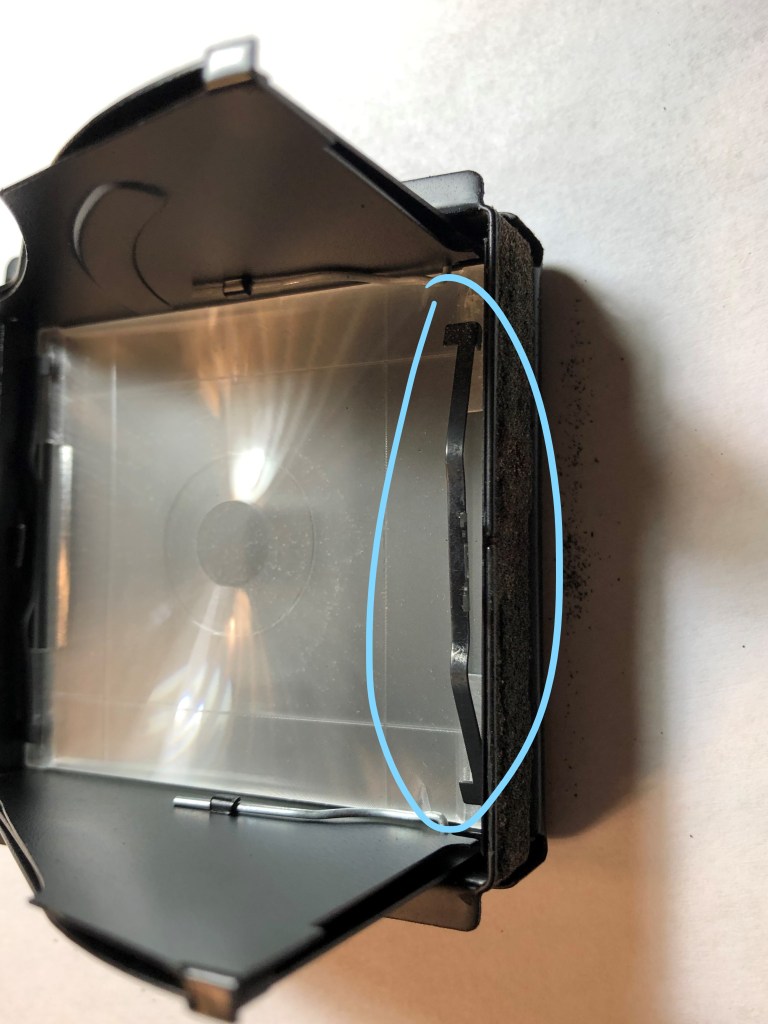
9. The thin metal bars that keep the glass in place
Big advice: DON’T USE RUBBING ALCOHOL OR LENS WIPE TO CLEAN UP THE FOCUSING SCREEN!!! Because they will make the screen foggy and white and will destroy your screen. So what I read on the Internet told me that I can wash the focusing screen and ground glass with water and gentle soap and use my fingers to gently scrub them, so I did. And it worked fine. One tip is you can use the hair dryer to dry the screen and glass so they don’t have water drop marks on them. I also cleaned the magnifying glass with lens wipe and Q-tips.
So when I finish the focusing screen and ground glass. I put them back into the viewfinder hood. Now it’s time for replacing the light seal. So, the first thing I do (and recommend you too) is using tape to cover the film chamber so the dust and old light seal crumb cannot fall on the taking lens.
10. I used tape to seal the film chamber from the dust and crumb
Also, remember to remove the pressure plate out of the camera door, just so the film back would be easier to clean.

11. Remove the pressure plate from the back
Next, I used toothpicks and the small flathead screwdriver to remove the old light seal and dust on the camera door. I put the camera on a thick book for more convenient. Then, I used Q-tips, toothpicks and rubbing alcohol to remove the crumb and rusted waste from the camera body, right at the hinge of the film door (as photo #13). As you can see, my flathead screwdriver is very affective at removing the old light seal in the small gaps along the film door.
12 
13 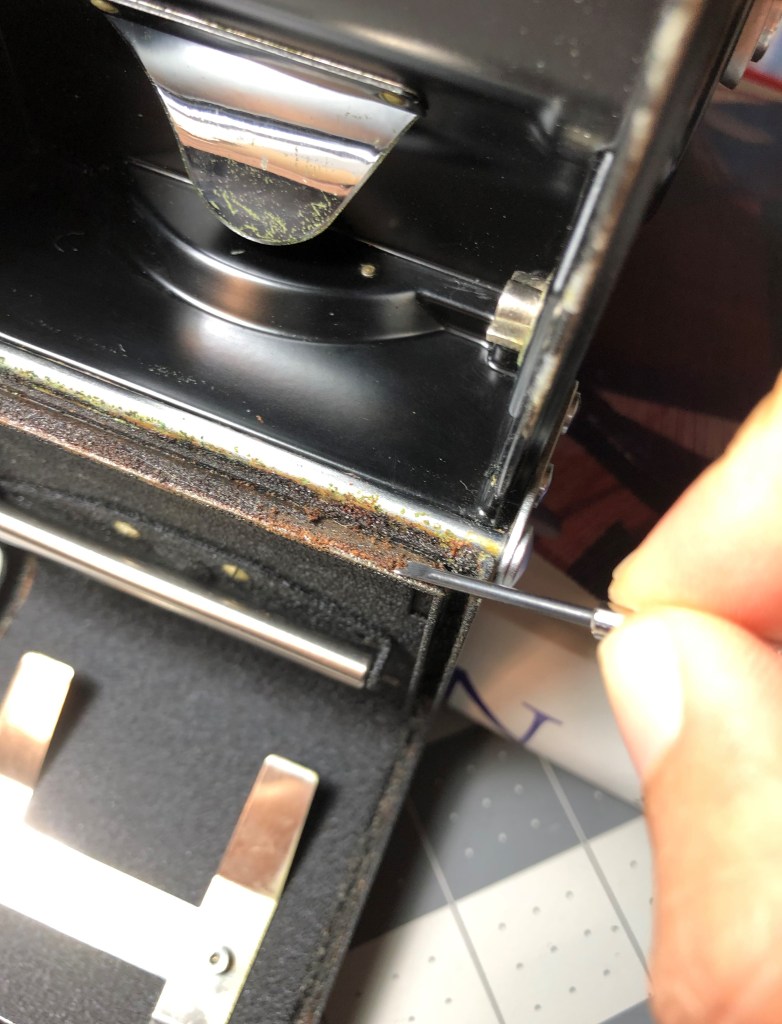
14
After clean the hinge area, I continued to clean the rest of the light seal, along the film door edges. The photos below show you the before and after I remove the old light seal.

15. Old light seal and crumb on the back door
Before

16. Old light seal removed 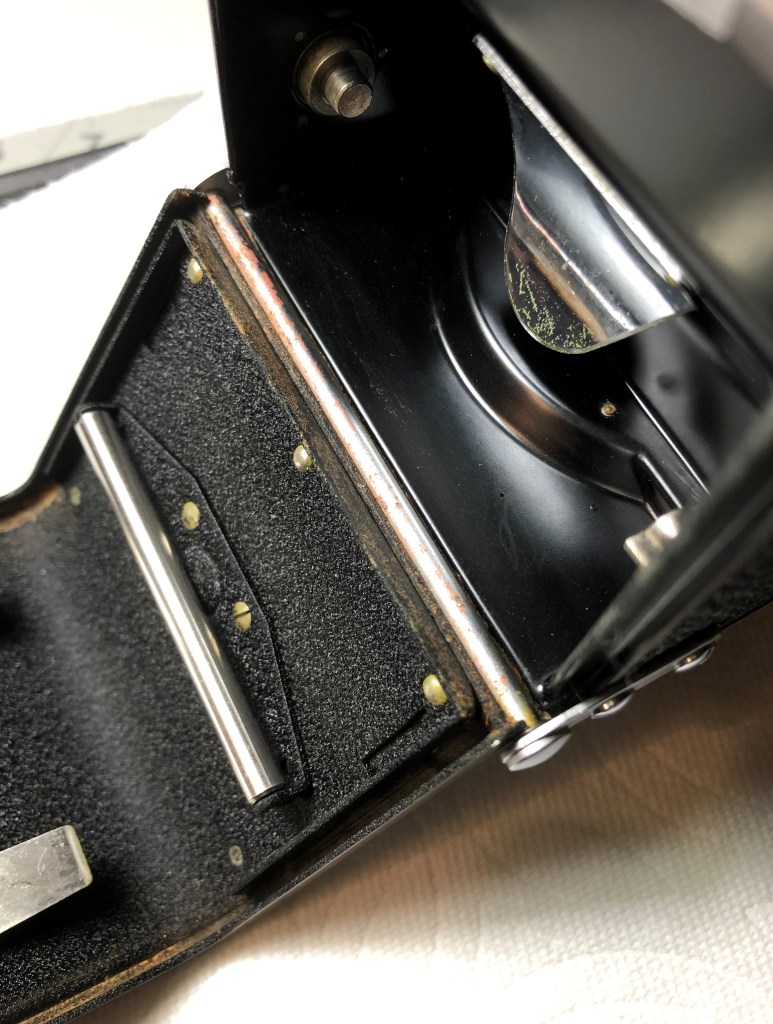
17. Crumb and dust removed on the hinge 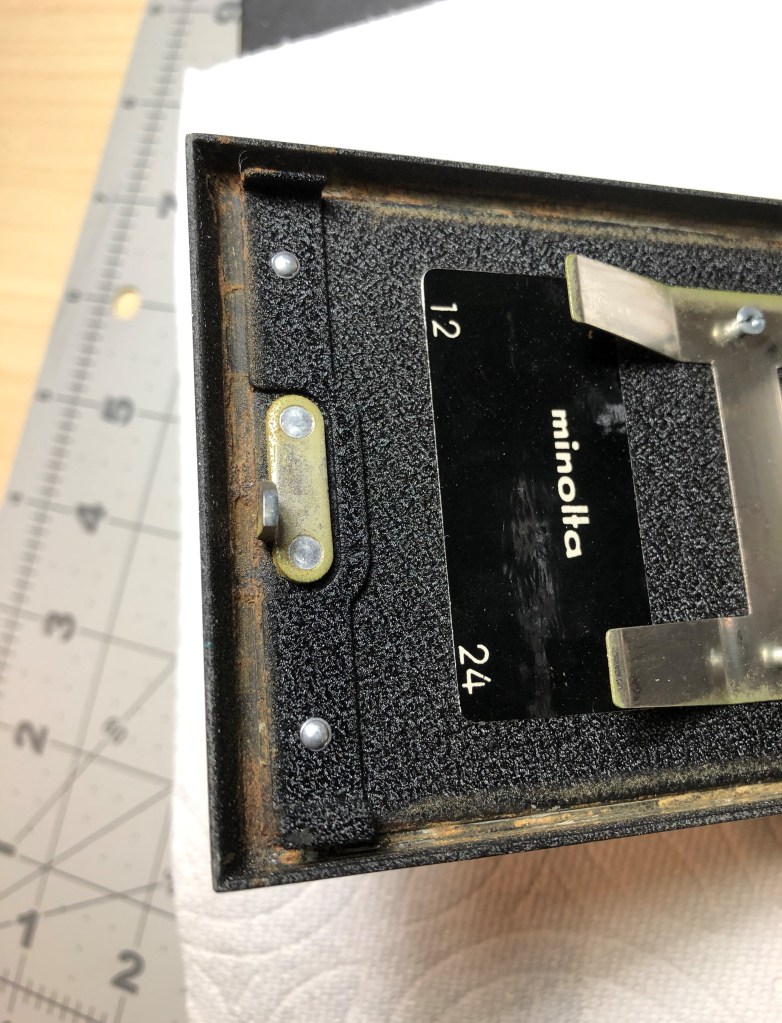
18. Close up of the back door after remove old light seal
After
And I also used baking soda and water to wipe the metal parts that’s rusted along the way, such as screws or back door locking mechanism.
Next step is cutting the new light seal foam into the stripes to apply on the camera’s door. I asked Mr. Karl Bryan, who is a famous Minolta Autocord repair man, for the instruction of the replacement light seal since I couldn’t find the light seal pattern on the Internet, he did kindly reply me with the instructions. The light seal for the door should be 2-2.25mm wide and 1-1.5mm thickness, the light seal for the bottom of the door, right at the hinge should be wider. So in the end, I cut 2 stripes of foam 2mm wide, 250mm long (250mm is the length of the whole form, I didn’t measure for the length because I can always trim it later); 1 piece 5mm wide and 65mm long for the edge at the hinge. To cut it, I used regular paper cutter and a long ruler to guide the straight lines and put pressure on the ruler to stable the foam when I cutting.

19 
20
Mr. Karl Bryan also gave me a tip that applying rubbing alcohol onto the back of the light seal and on the surface of the area where we need to put the light seal on, and then lay the light seal down, slide it into place and let the alcohol evaporate. The nice thing here is the alcohol makes the adhesive backed foam and the camera door don’t stick together when they contact, so you can move or slide the foam into places easier. I used to replace the light seal in my Nikon F2 and didn’t know the trick, so when the light seal was put in the camera, it’s sticky and you may tear the foam stripe when you try to peal it out. As you can see from the photos below, I used a small paint brush to apply the rubbing alcohol on the gaps of the camera’s door and on the stripes (photos #21-22).
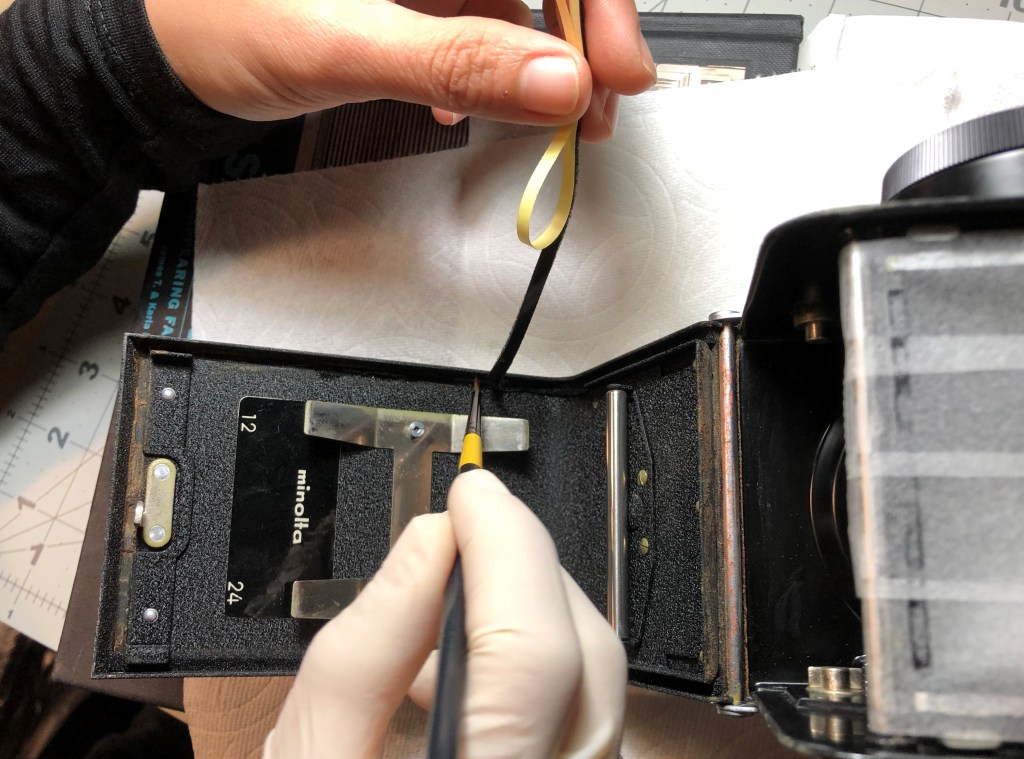
21. Applying rubbing alcohol on the area of the camera’s door 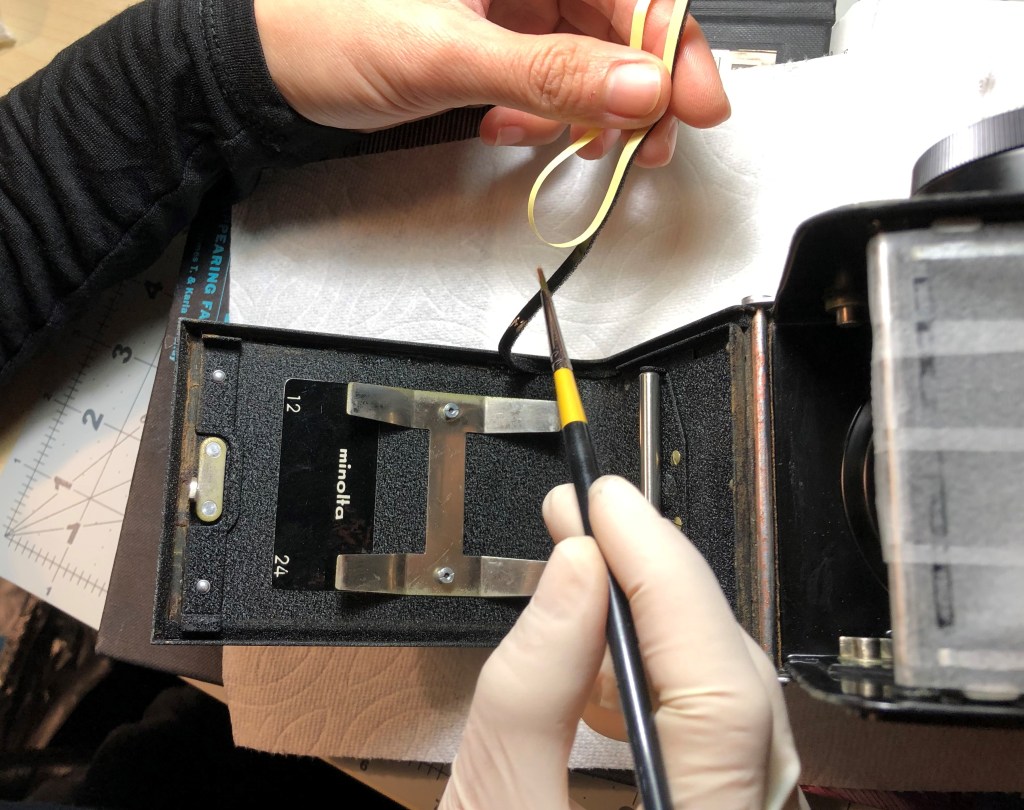
22. Applying rubbing alcohol on the back of the foam stripe 
23. Using small screwdriver to put the foam into place 
24. Applying rubbing alcohol for the door’s edge at the hinge 
25. New light seal installed at the hinge 
26. New light seal installed completely
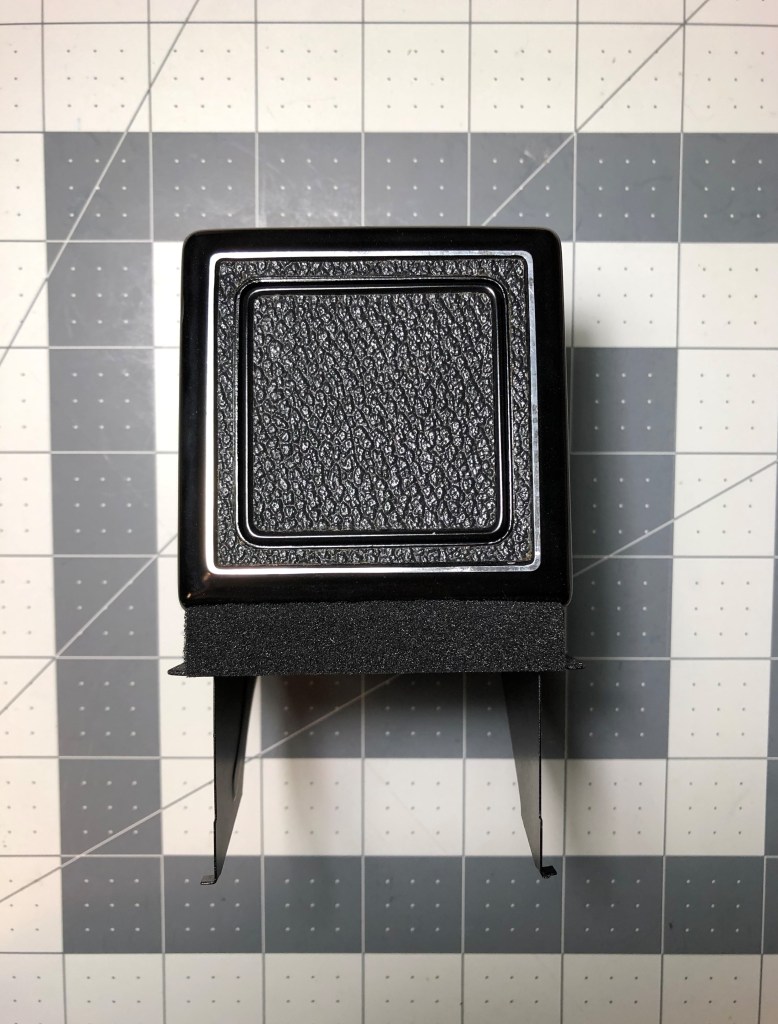
After replace the light seal for the back door, I also noticed that the viewfinder hood also need a foam right at the front side where it touch the name plate. So I clean up the surface, measured the area and cut the proper light seal foam for it (photo #28). I guess the foam was put here to avoid the two parts bump and scratch each other.
27 
28
29. New foam applied 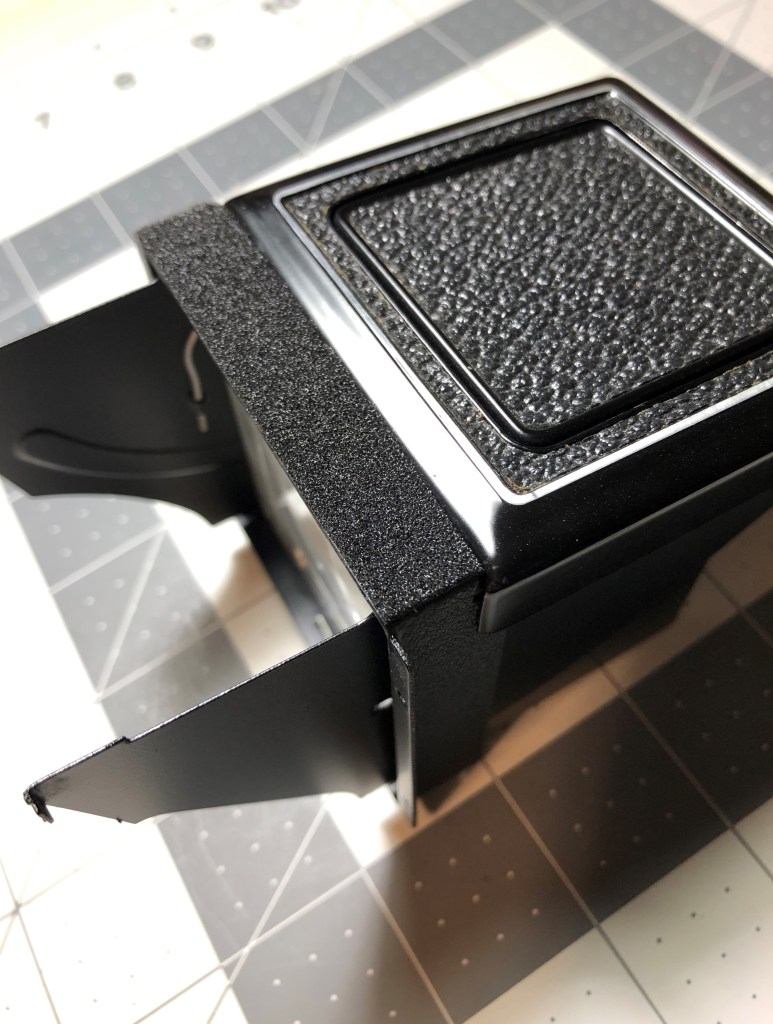
30. New foam applied 
31. Putting back the viewfinder hood
So the process almost finish here, but there’s still one last thing. As Mr. Karl Bryan advices, I applied sewing machine oil on each end of 3 film rollers (photo #33), on the upper film chamber gear (photo #34) and on the take up spoon gear (photo #35). Just put one drop of oil, spin the rollers or rotate the gear and wipe the excess oil. This will minimize scratching your film when winding.
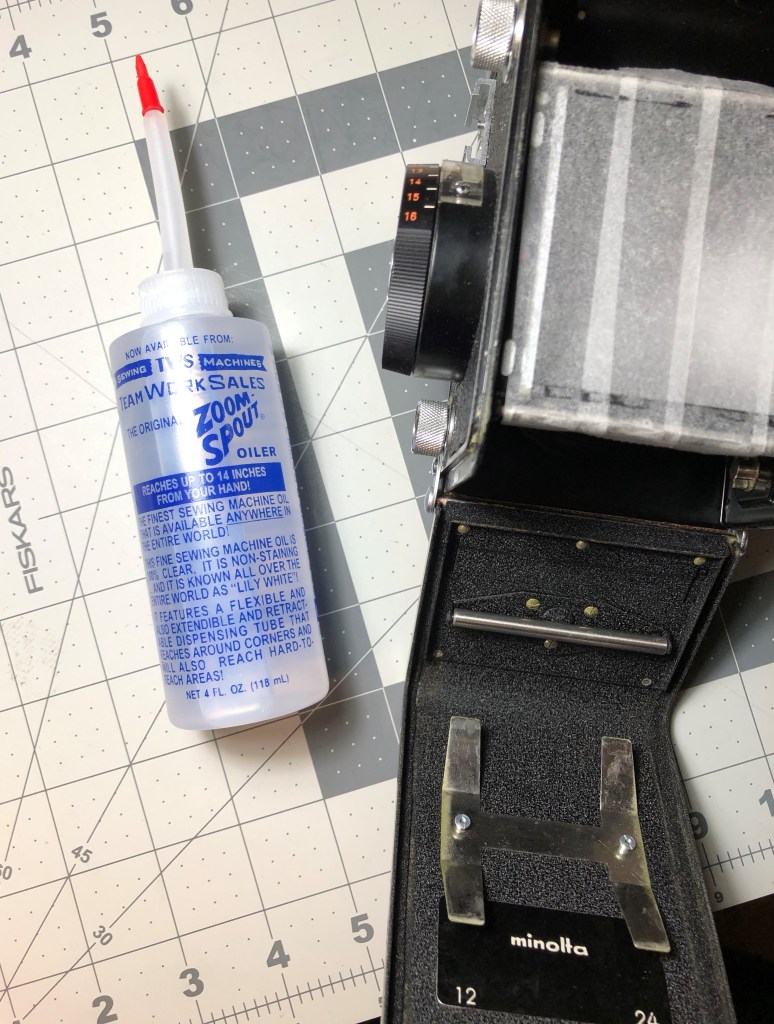
32. Sewing machine oil for the lubrication, comes with a long tube, nice! 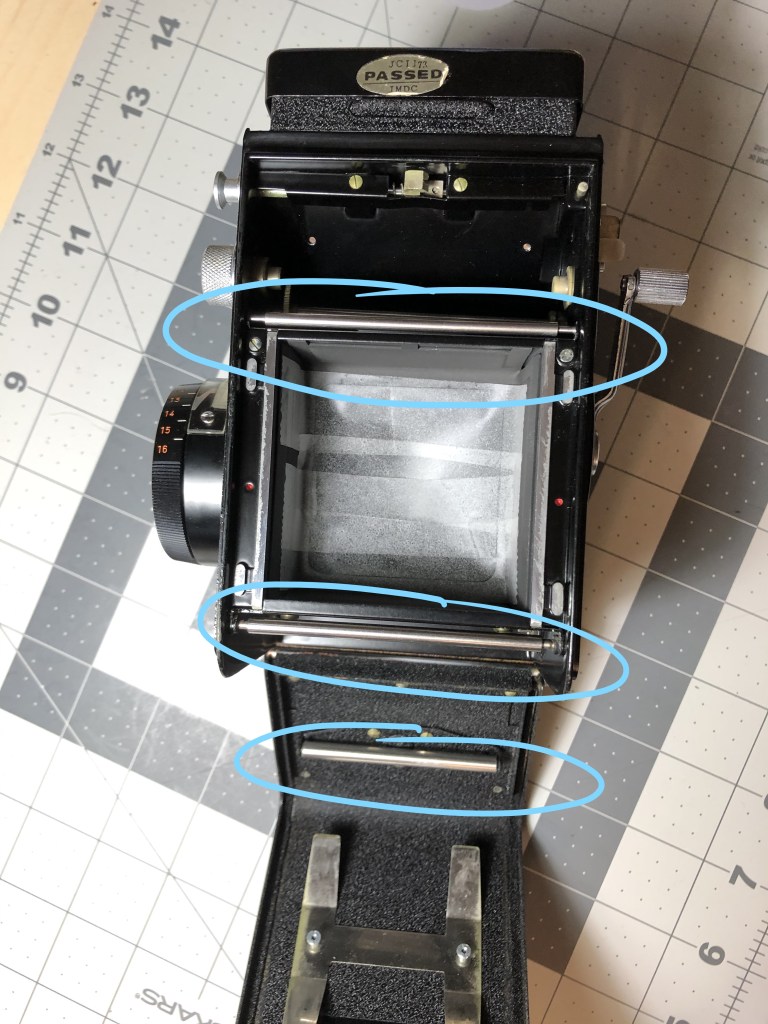
33. 3 film rollers 
34. Upper chamber gear 
35. Take up spoon gear (in lower film chamber)
In addition, I also put the oil on the hinge of the viewfinder hood since it’s a bit stiff to open and close. After applying sewing machine oil into the hinge, the viewfinder’s smooth like butter! Of course, always remember to wipe the excess oil because you don’t want the oil gather dust around in your camera.
Finally, time for the test roll. I used an empty roll that just has the paper back to test out the rollers and winding crank. Everything worked beautifully. After 12 dummy shots and winding, the roll’s transferred to the pick up spoon nicely, I open the paper back to check if there’s any scratches on the back but no, yay! This camera is now ready to shoot!
36. Time for a test roll 
37. Loading the test roll 
38. The roll’s transferred to the pick up spoon
Thank you Mr. Karl Bryan for the instructions and advices. I didn’t know anything about the Autocord series or this CDS model particularly but when I read about it, I’m in love. Just because the design is so special and the quality is one of the top. So I wanted to give it a nice treat by having a CLA by Mr. Karl Bryan but since my camera doesn’t seem to have any functional problem, he suggested I should use the camera until something goes wrong. I definitely recommend Mr. Karl Bryan to anyone who’s looking for a repairman for the Minolta Autocord, he’s the best, and also a super nice man! You can reach him at karl.kathy@frontier.com
Thank you for making it here. Hope to share with you guys some photos taken with this camera soon. Cheers!
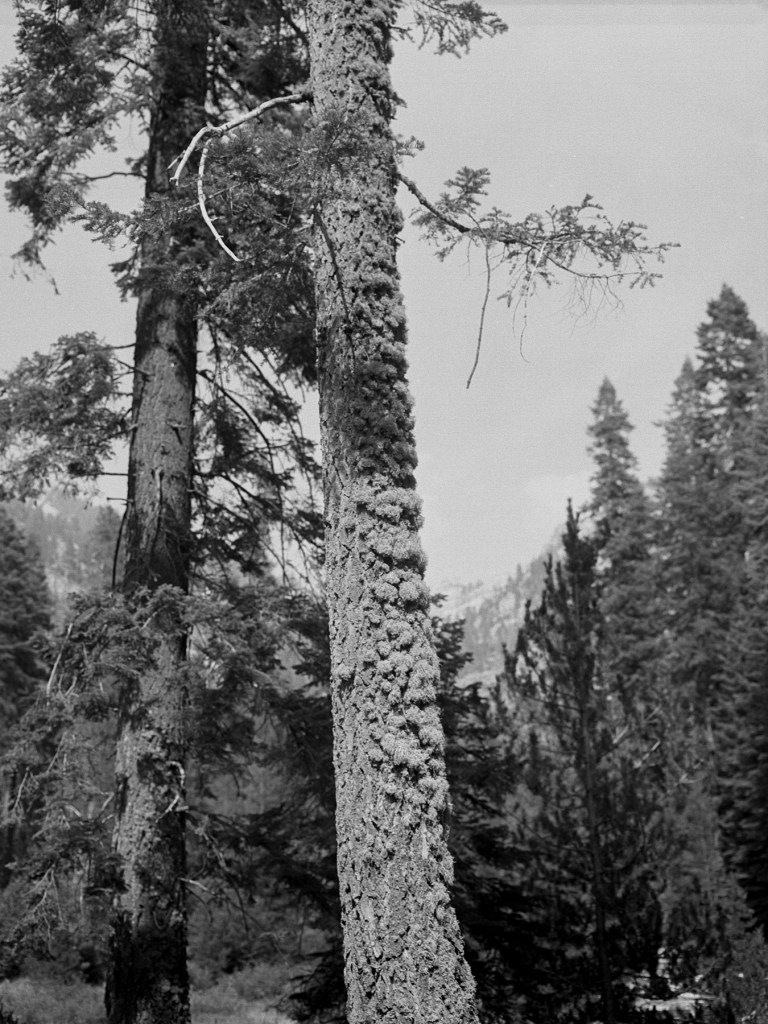
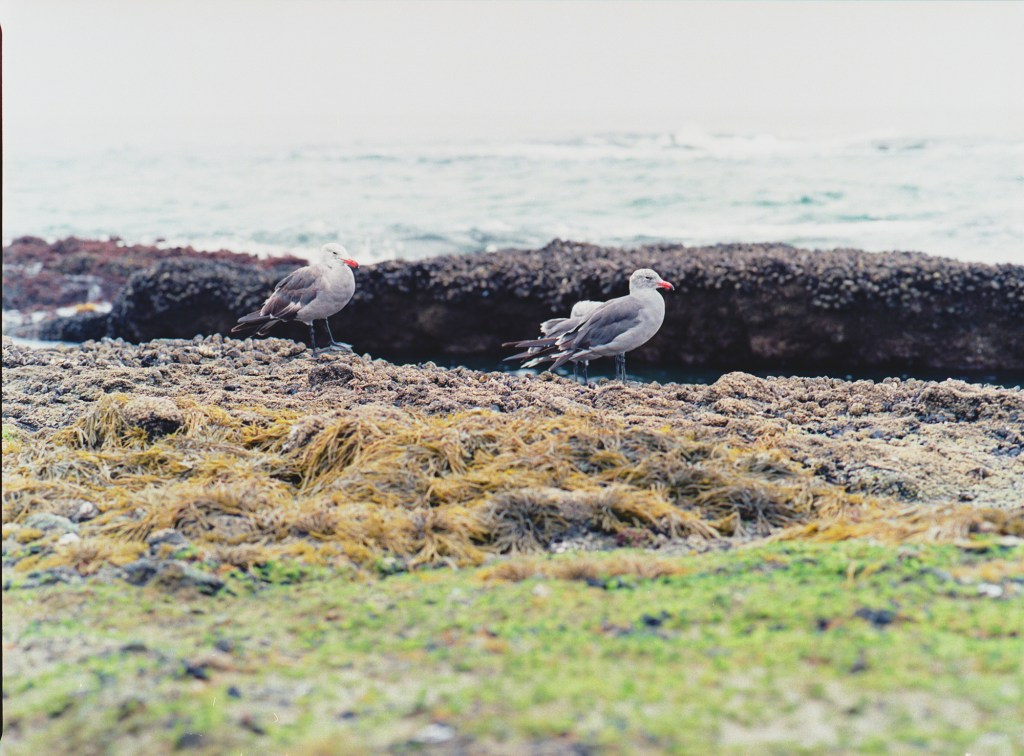
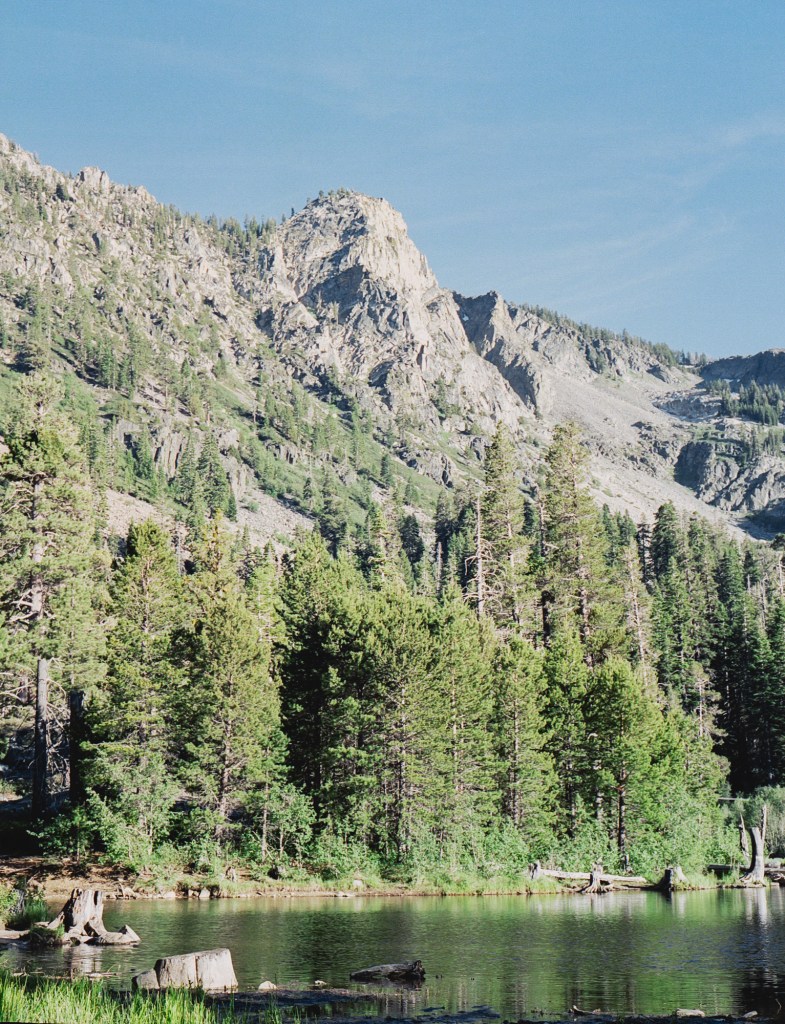
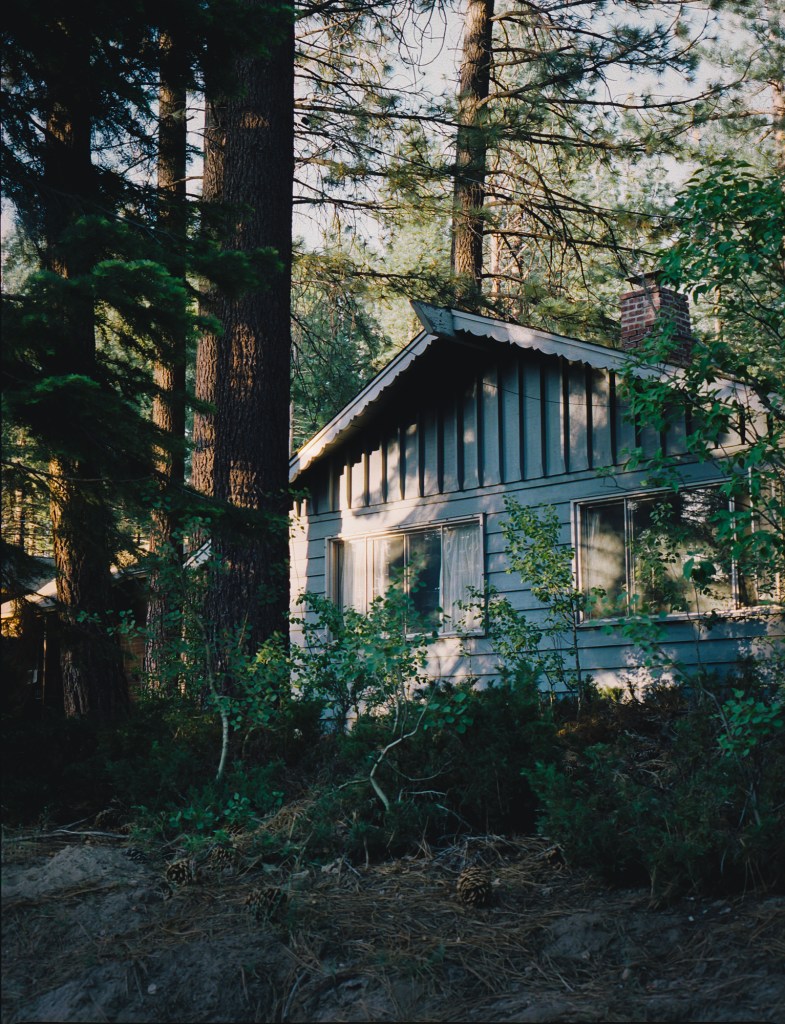
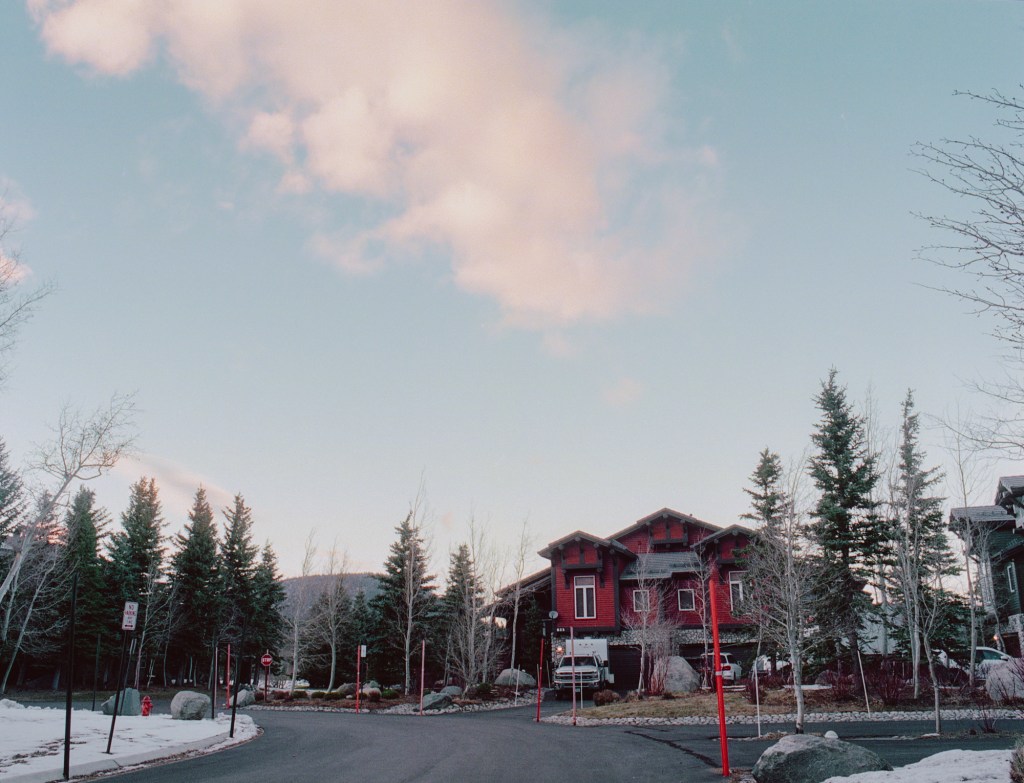
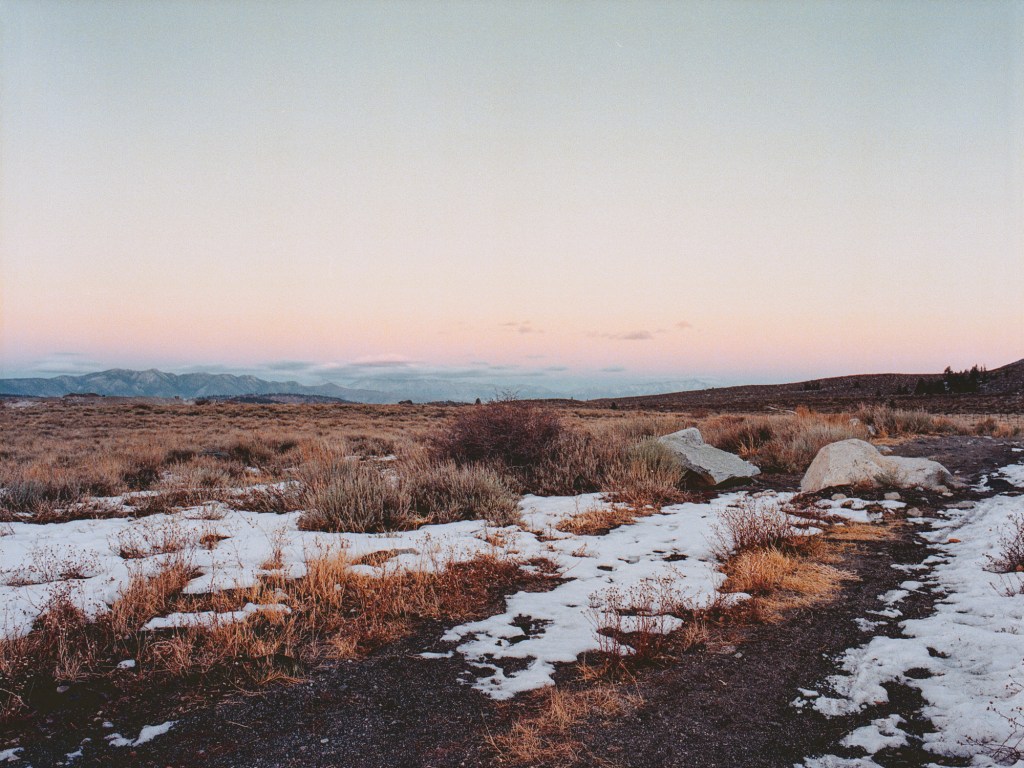
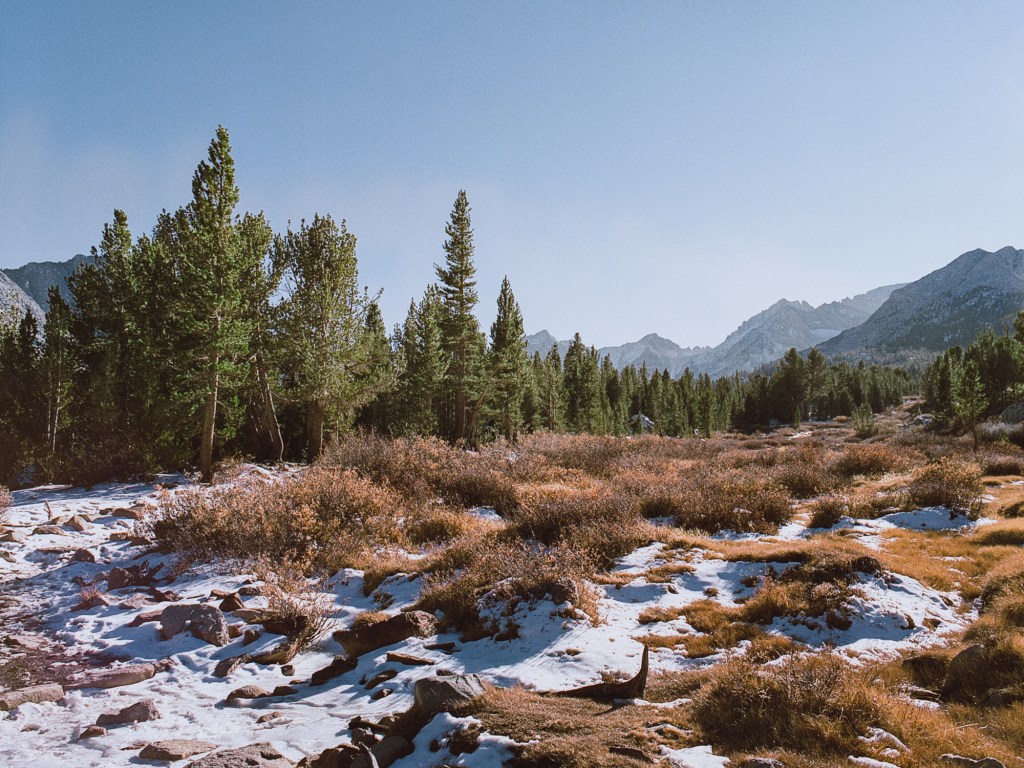
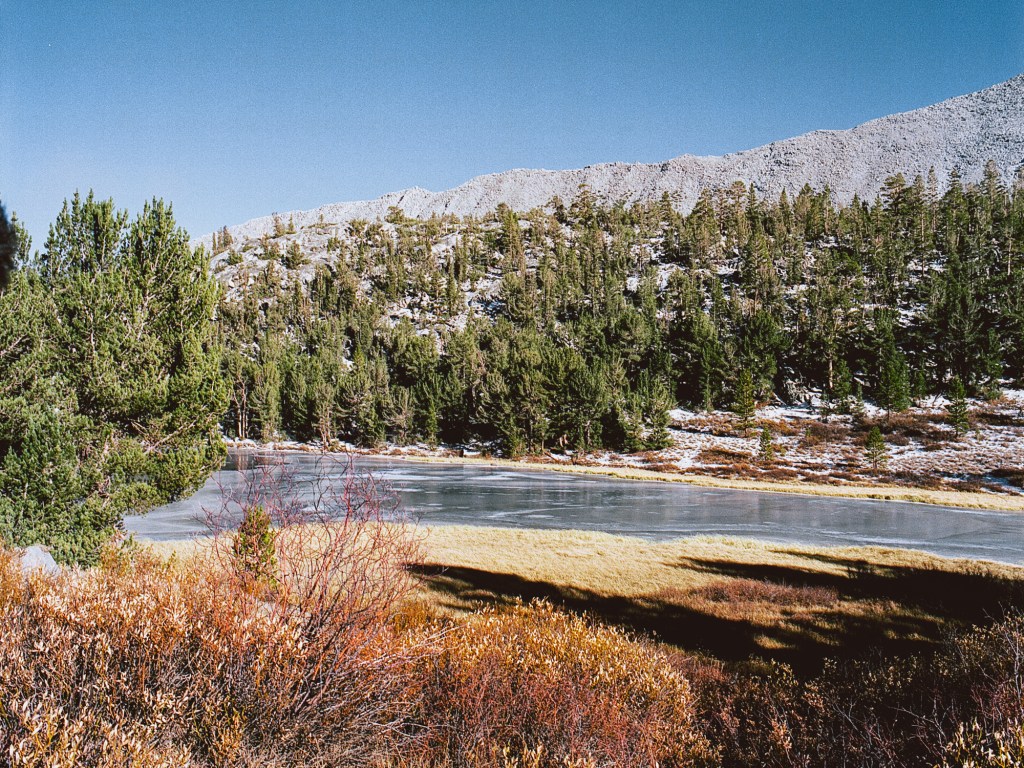
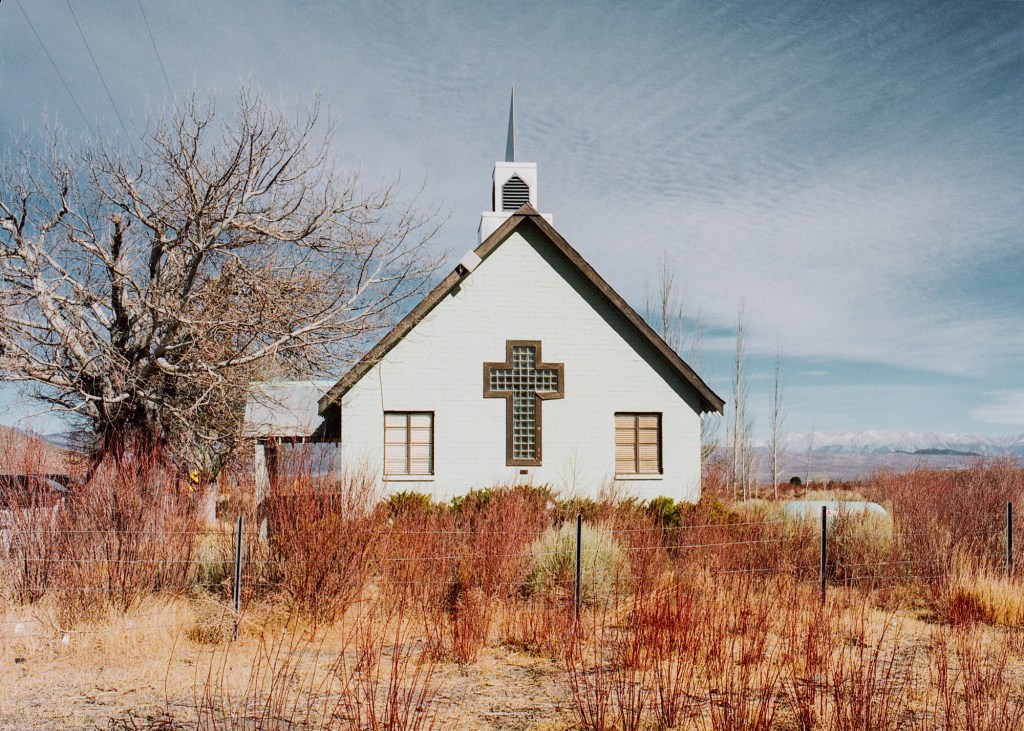
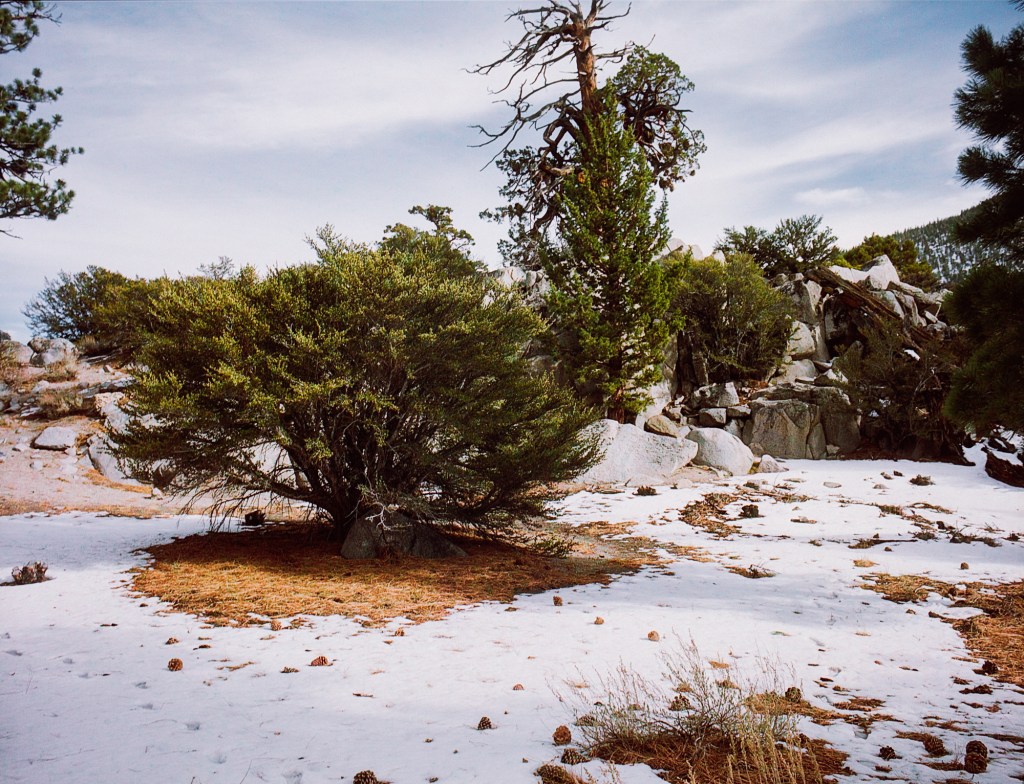
![mammoth lakes road trip [part 2]](https://filmsequence.com/wp-content/uploads/2021/01/mammoth-lake-28-1.jpg?w=1200)


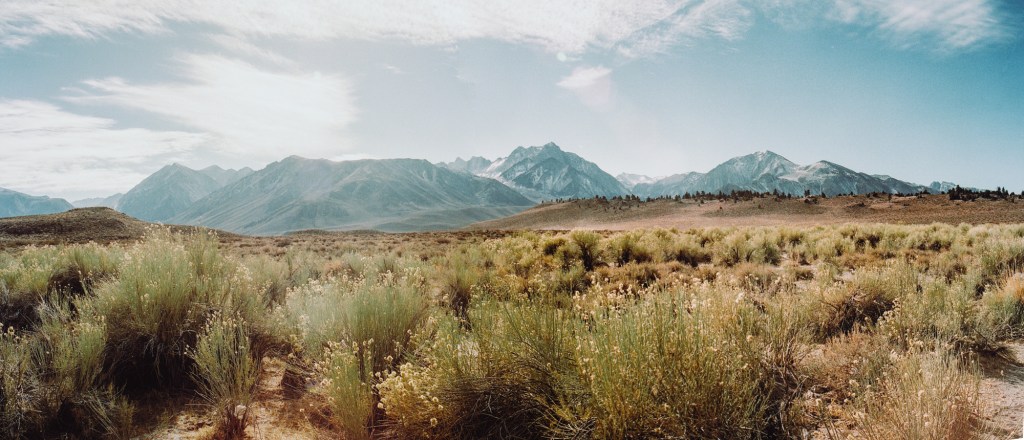


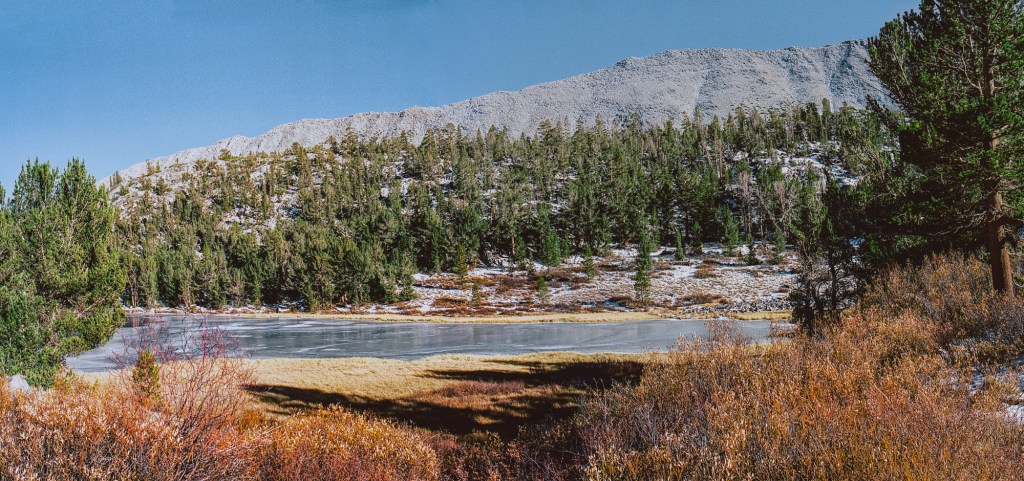

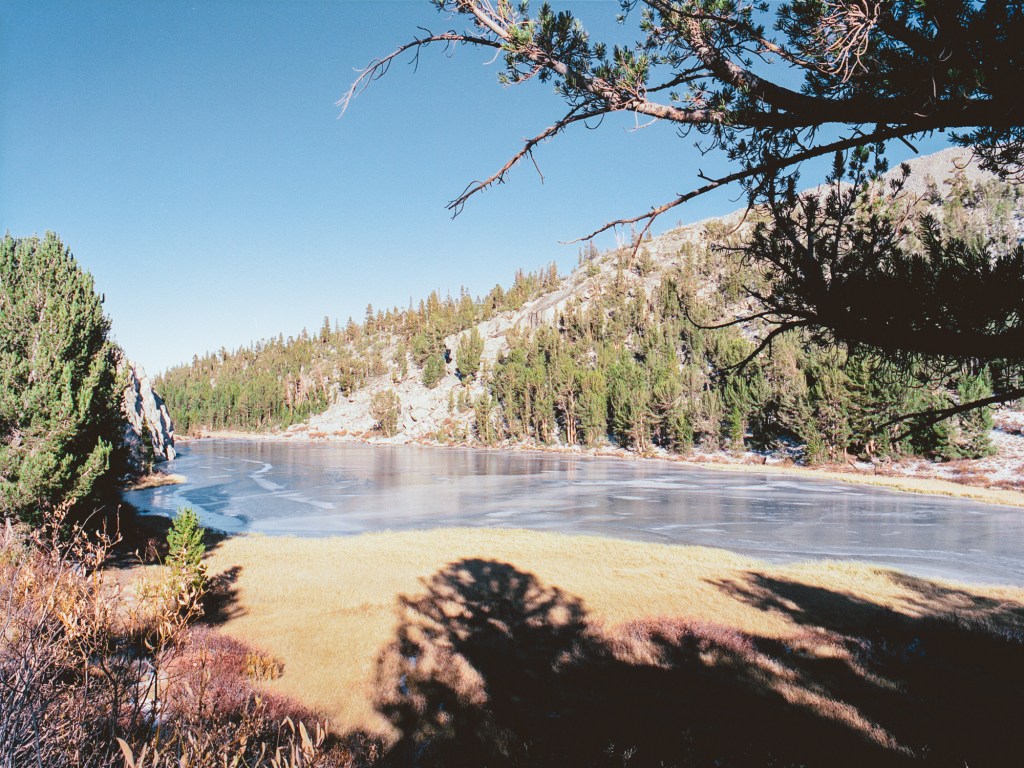
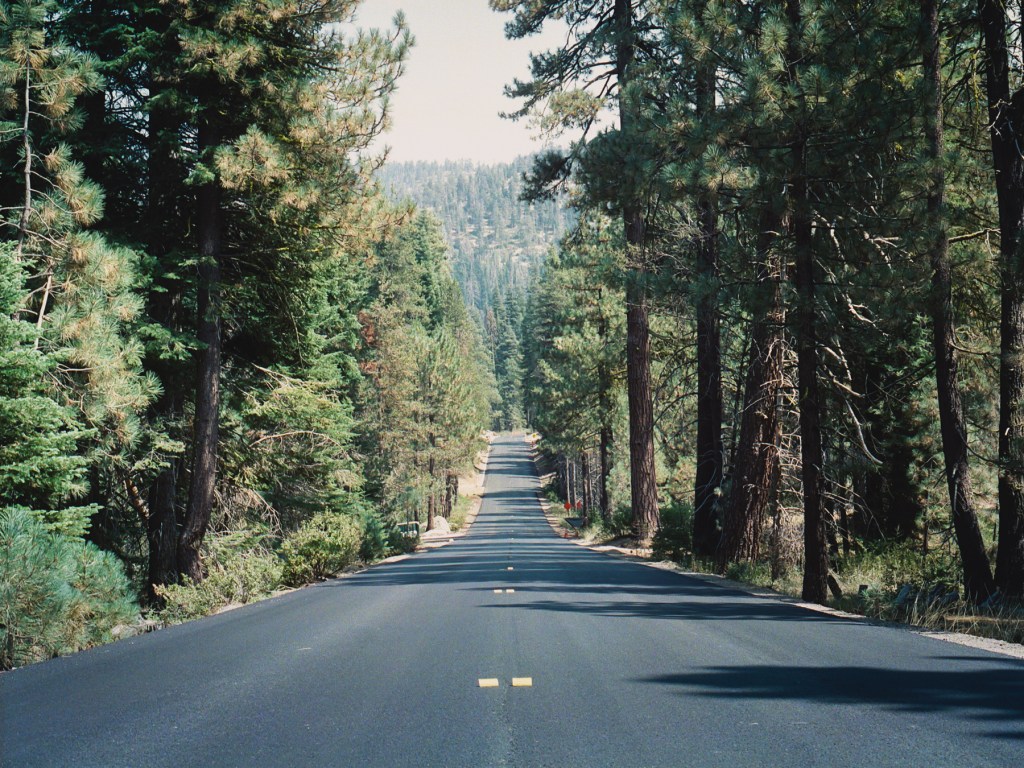
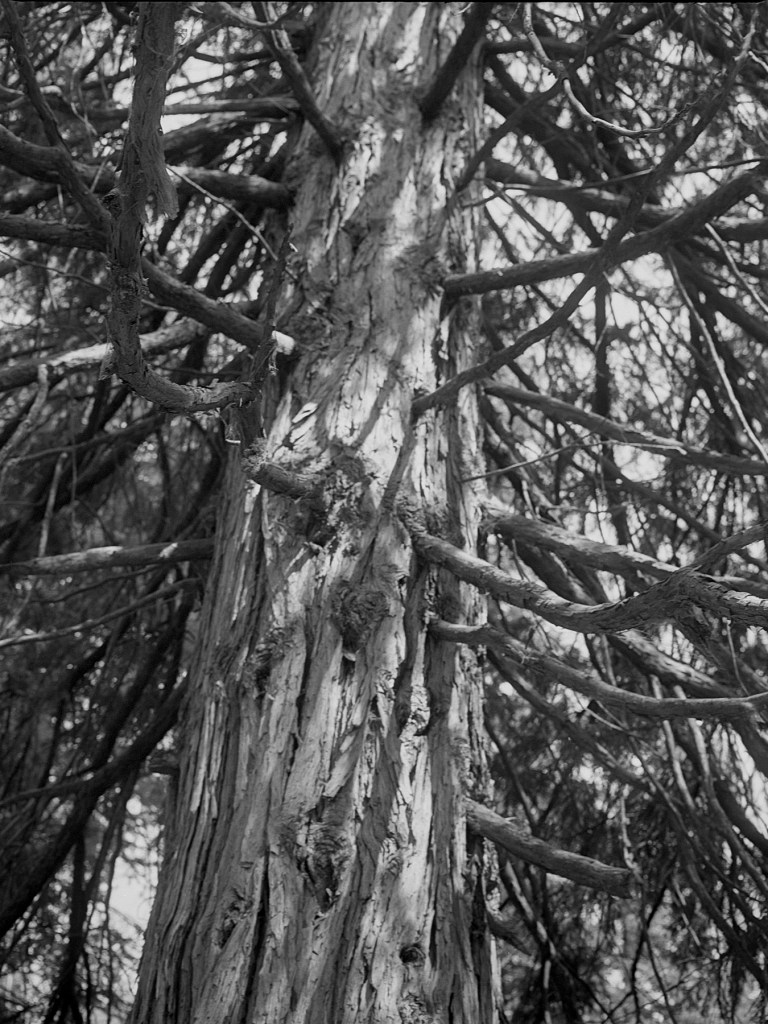
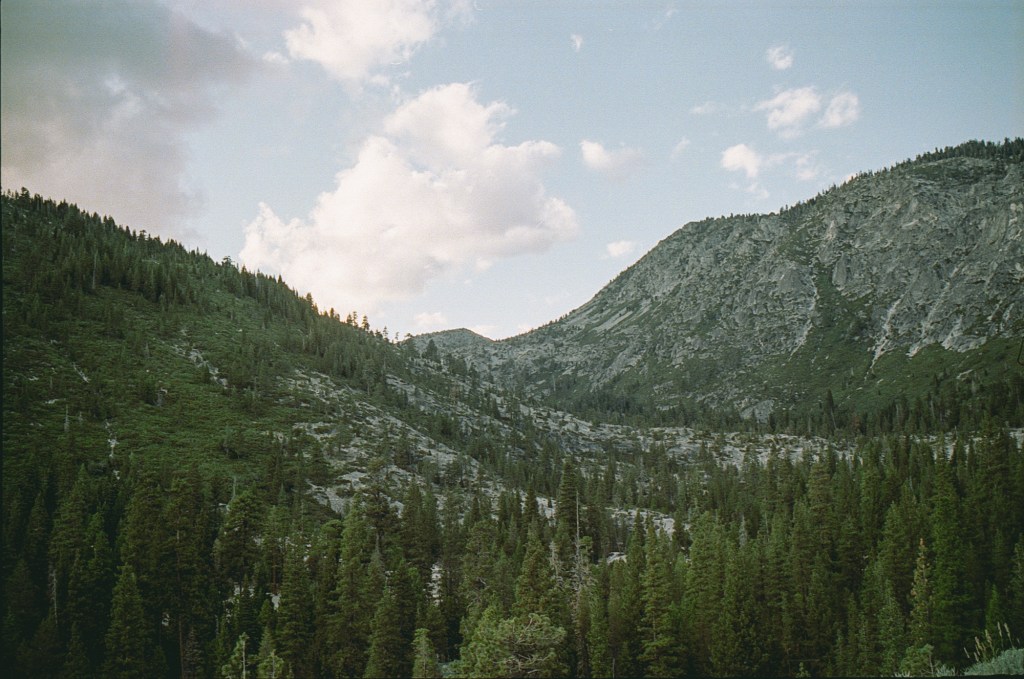
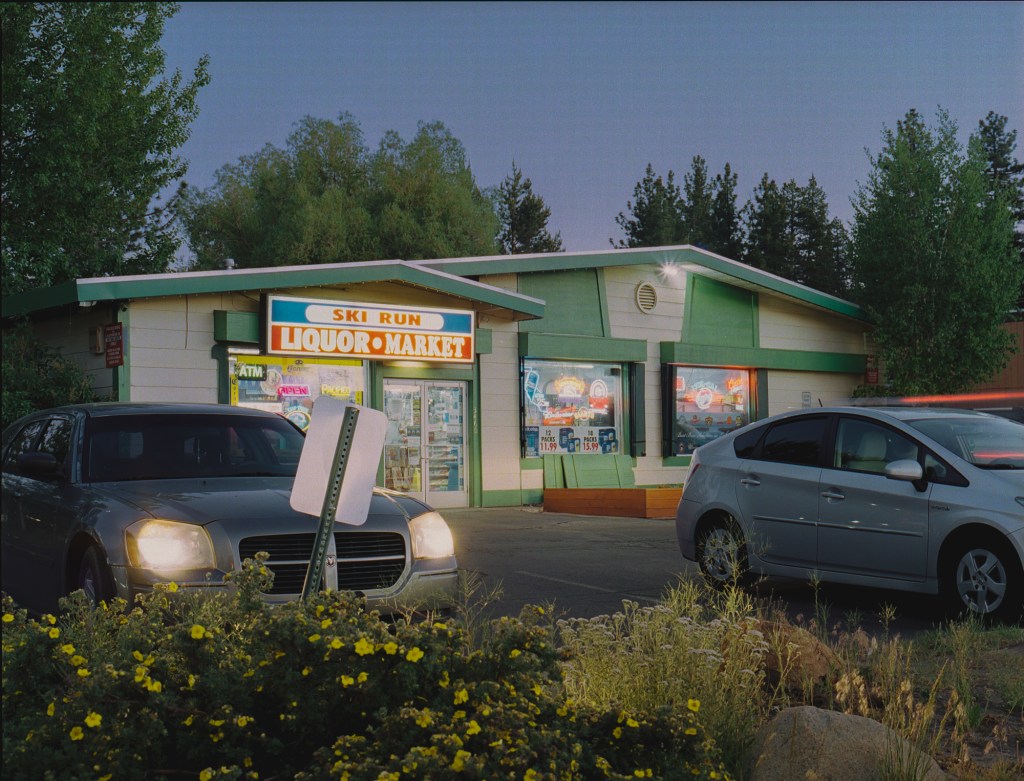
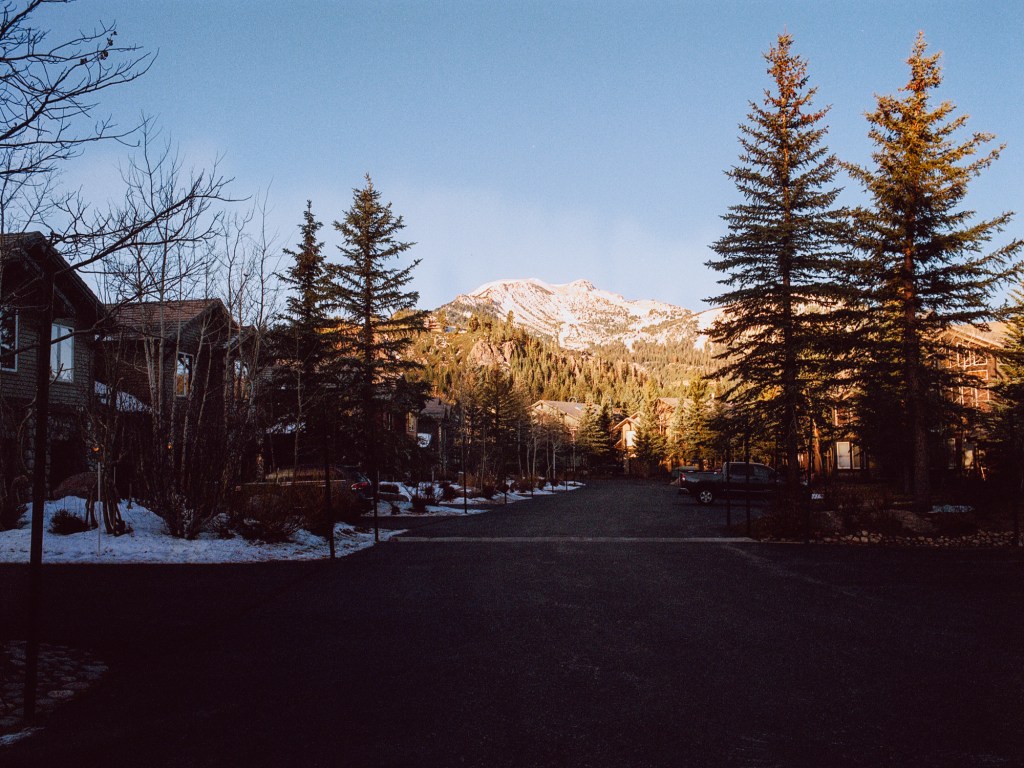
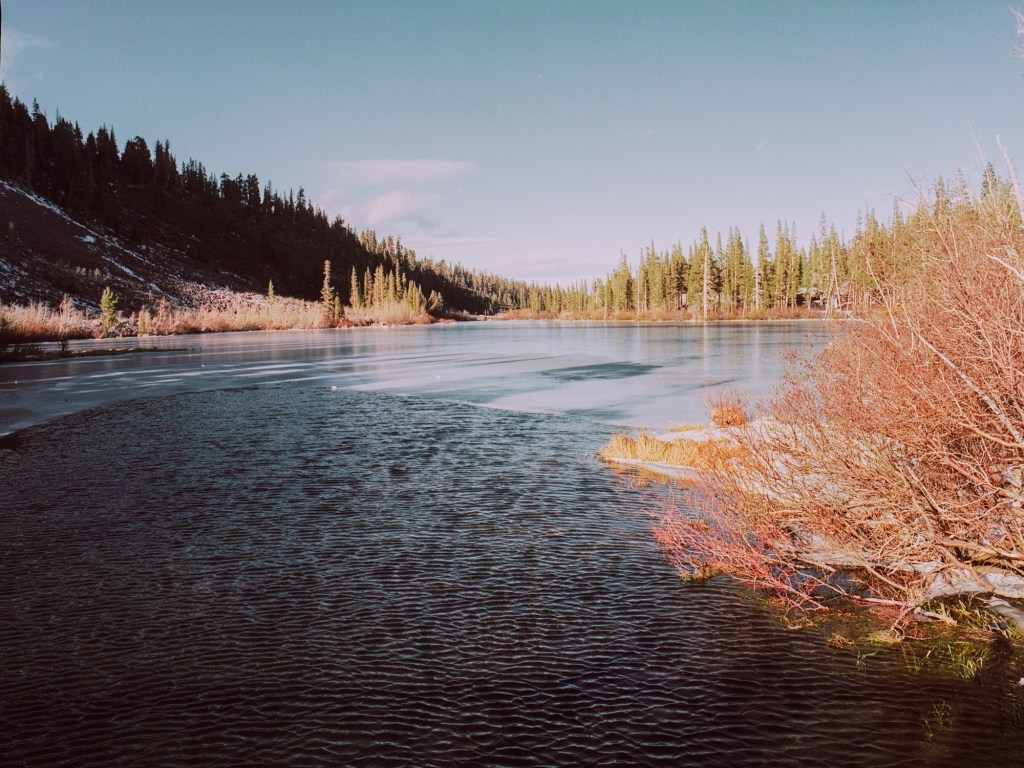
![mammoth lakes road trip [part 1]](https://filmsequence.com/wp-content/uploads/2021/01/mammoth-lake-20.jpg?w=1200)


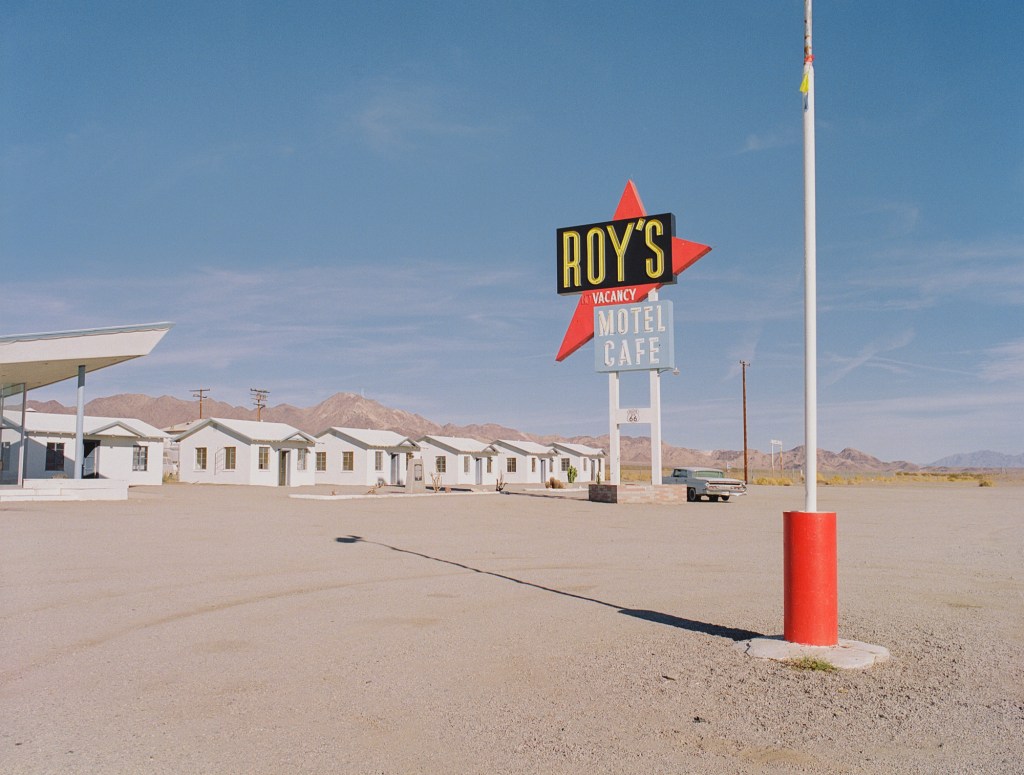


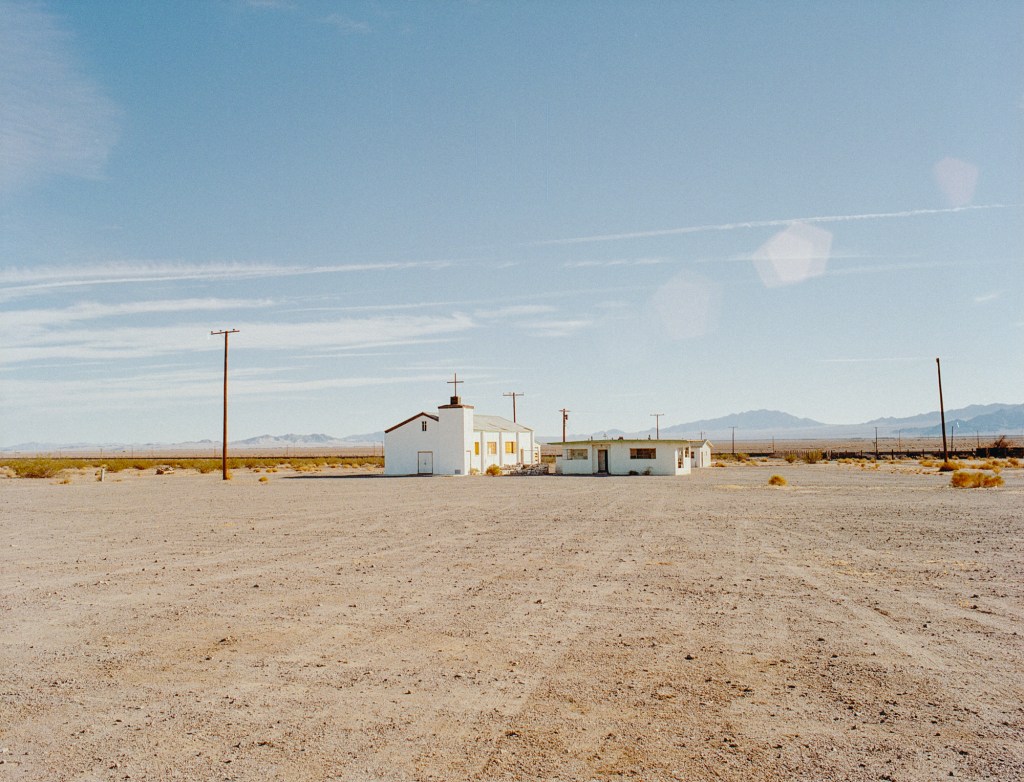


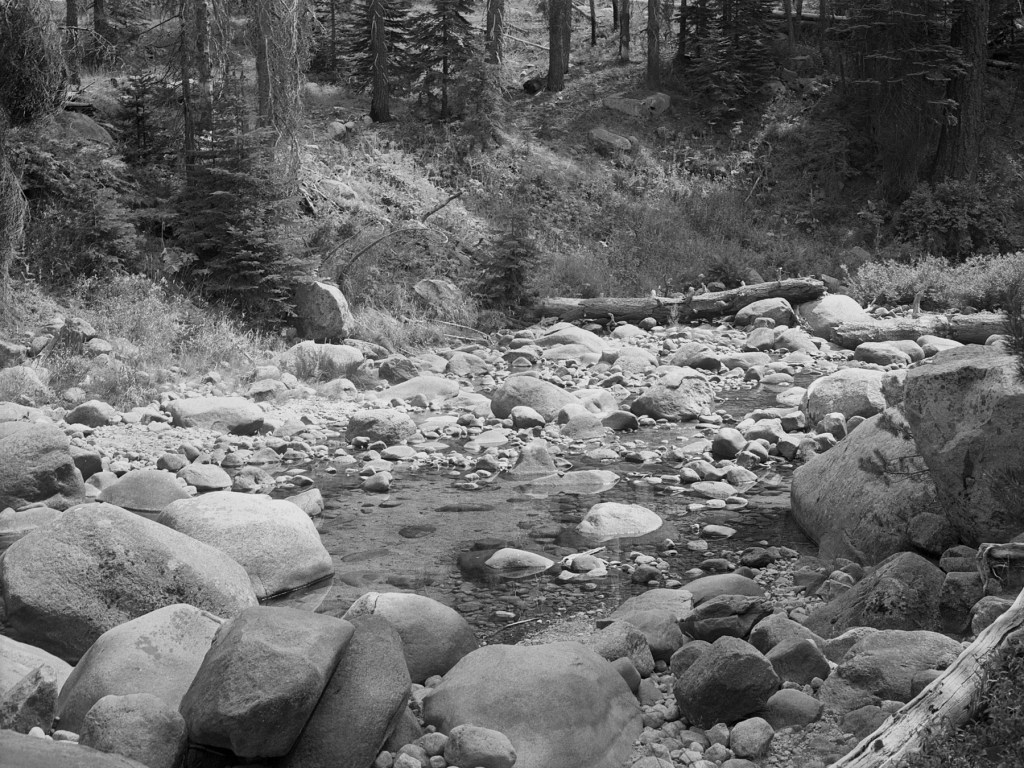
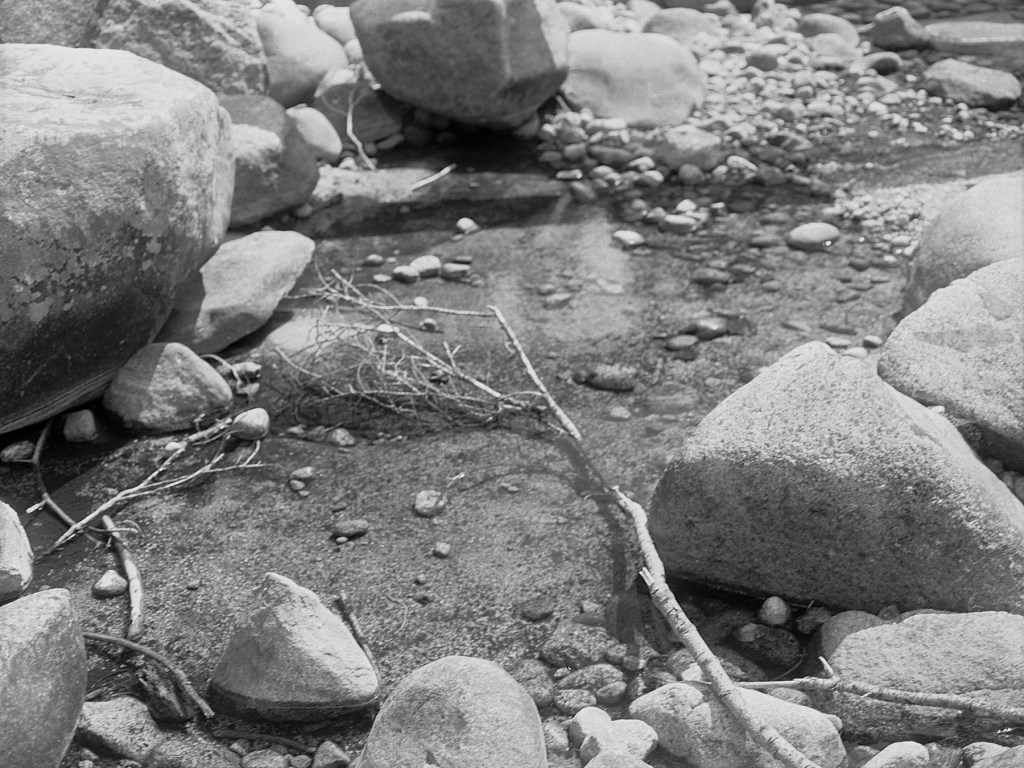
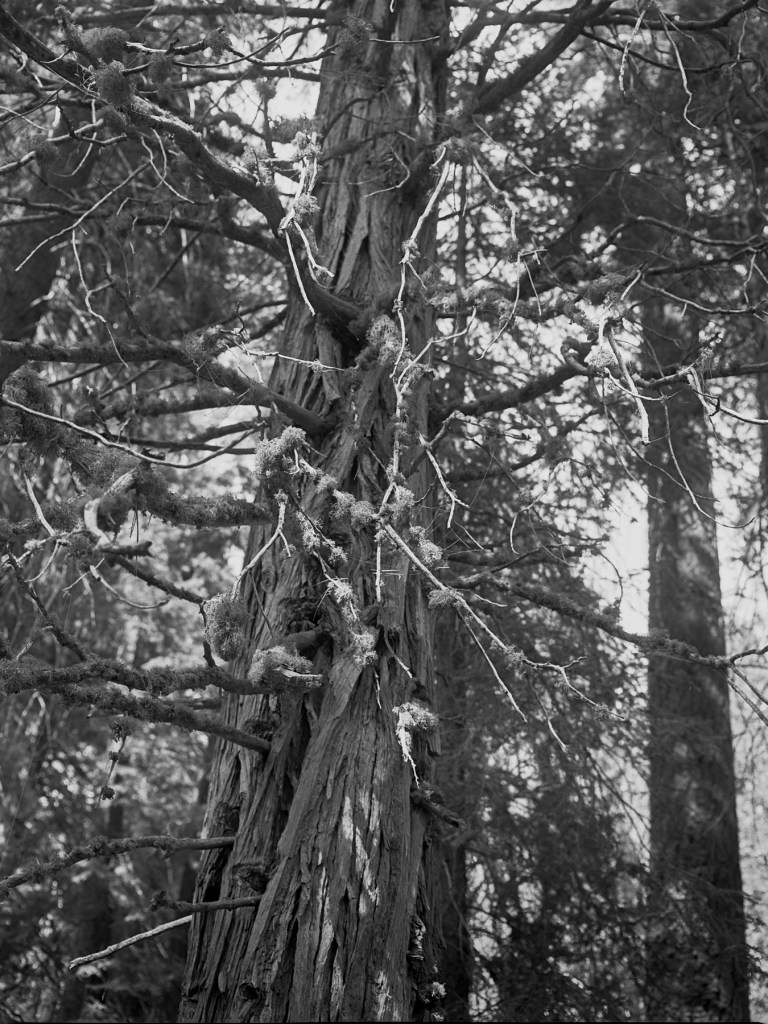
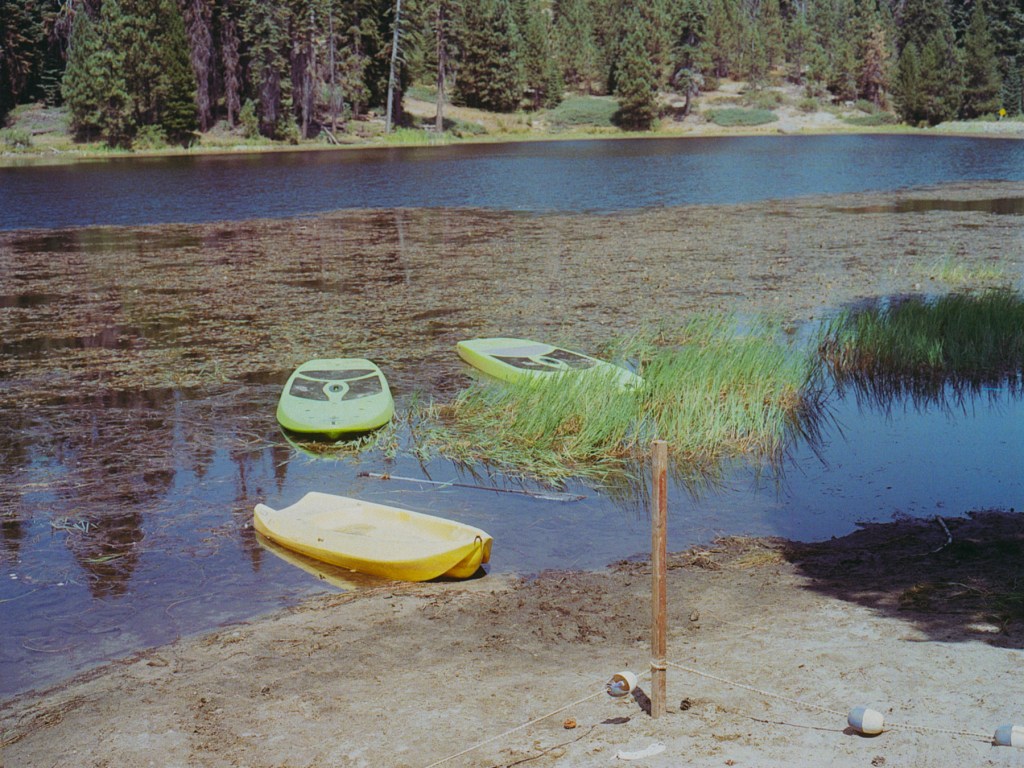
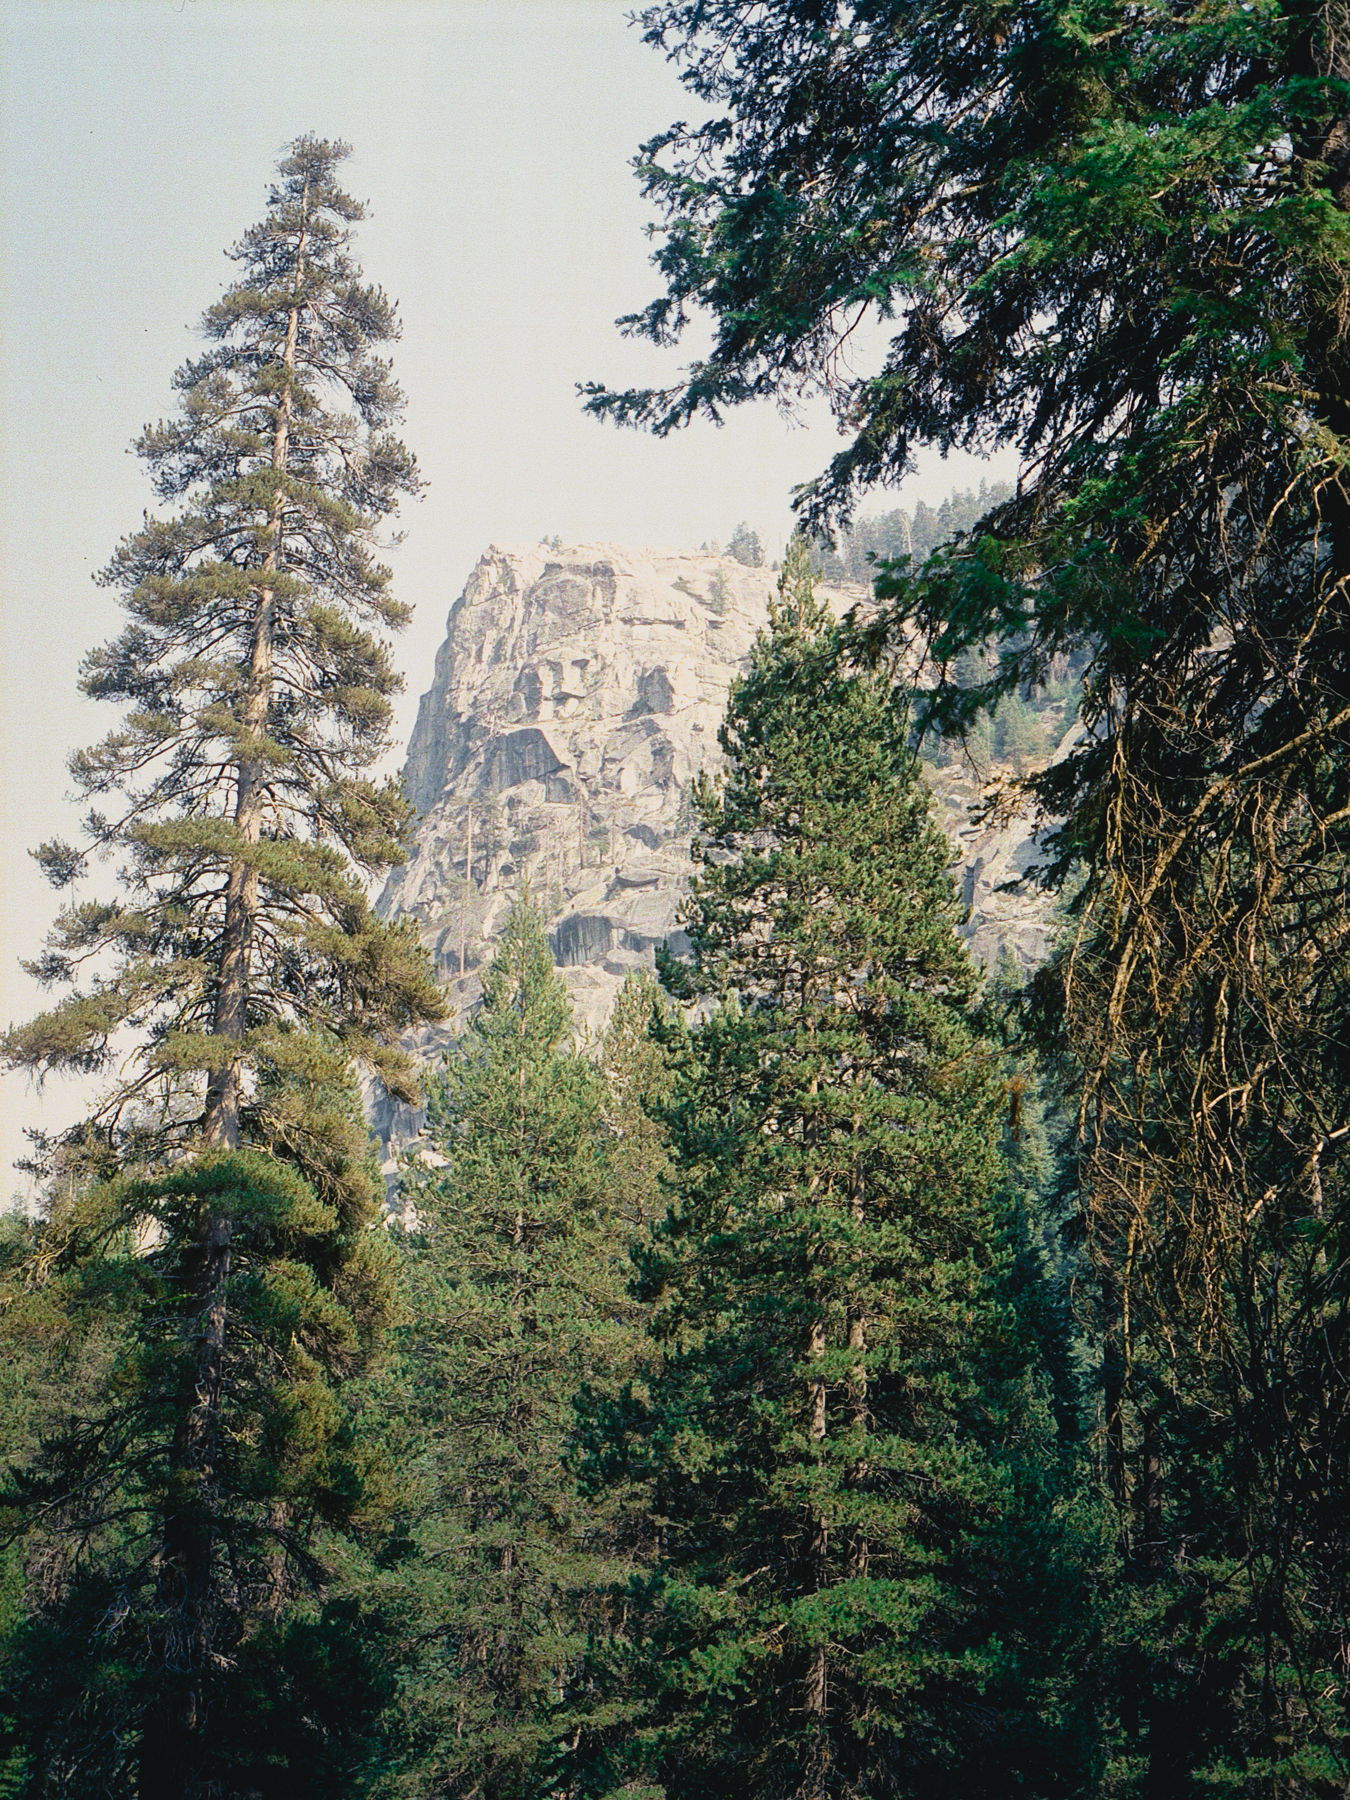
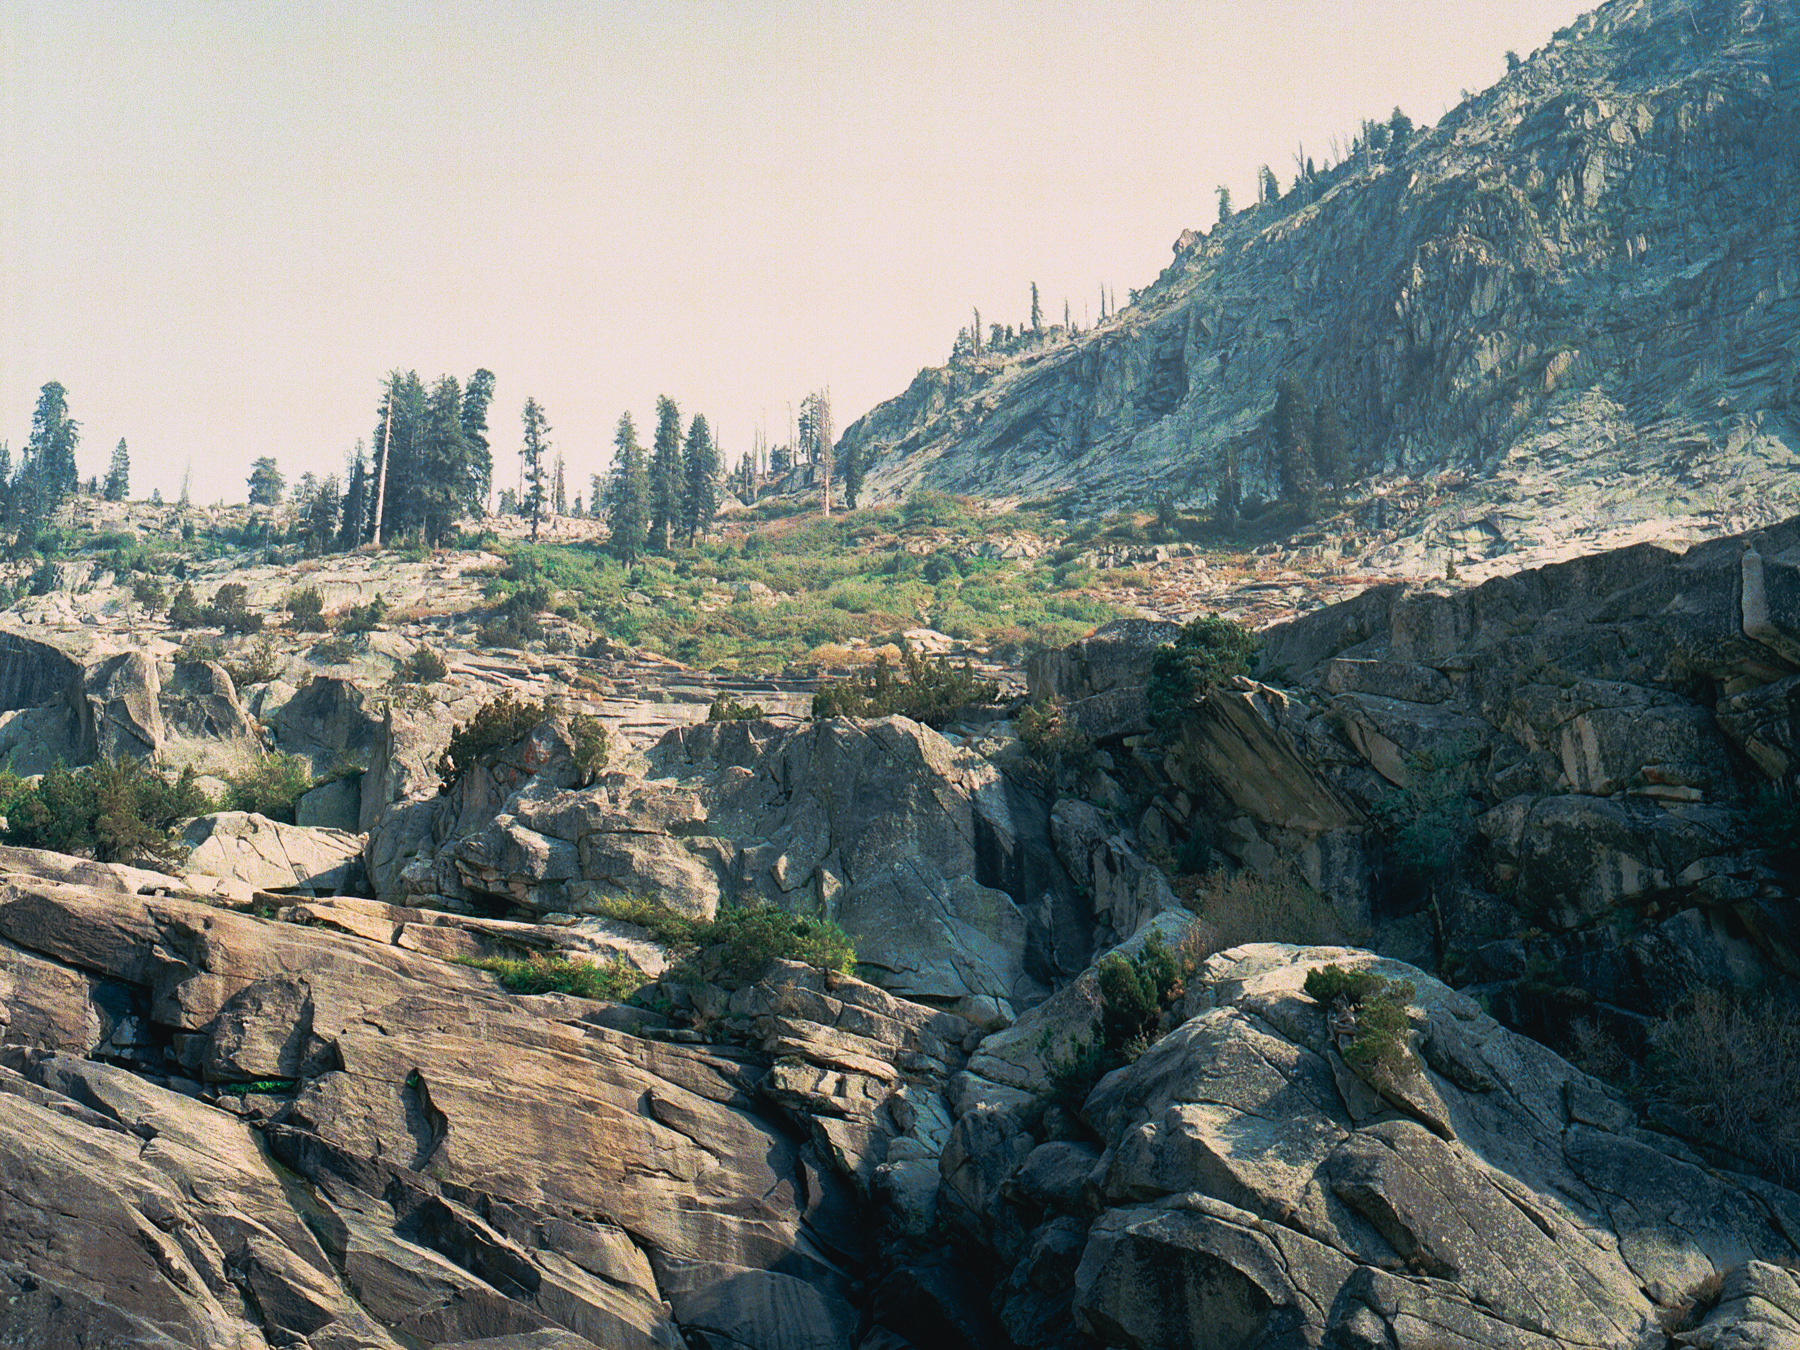
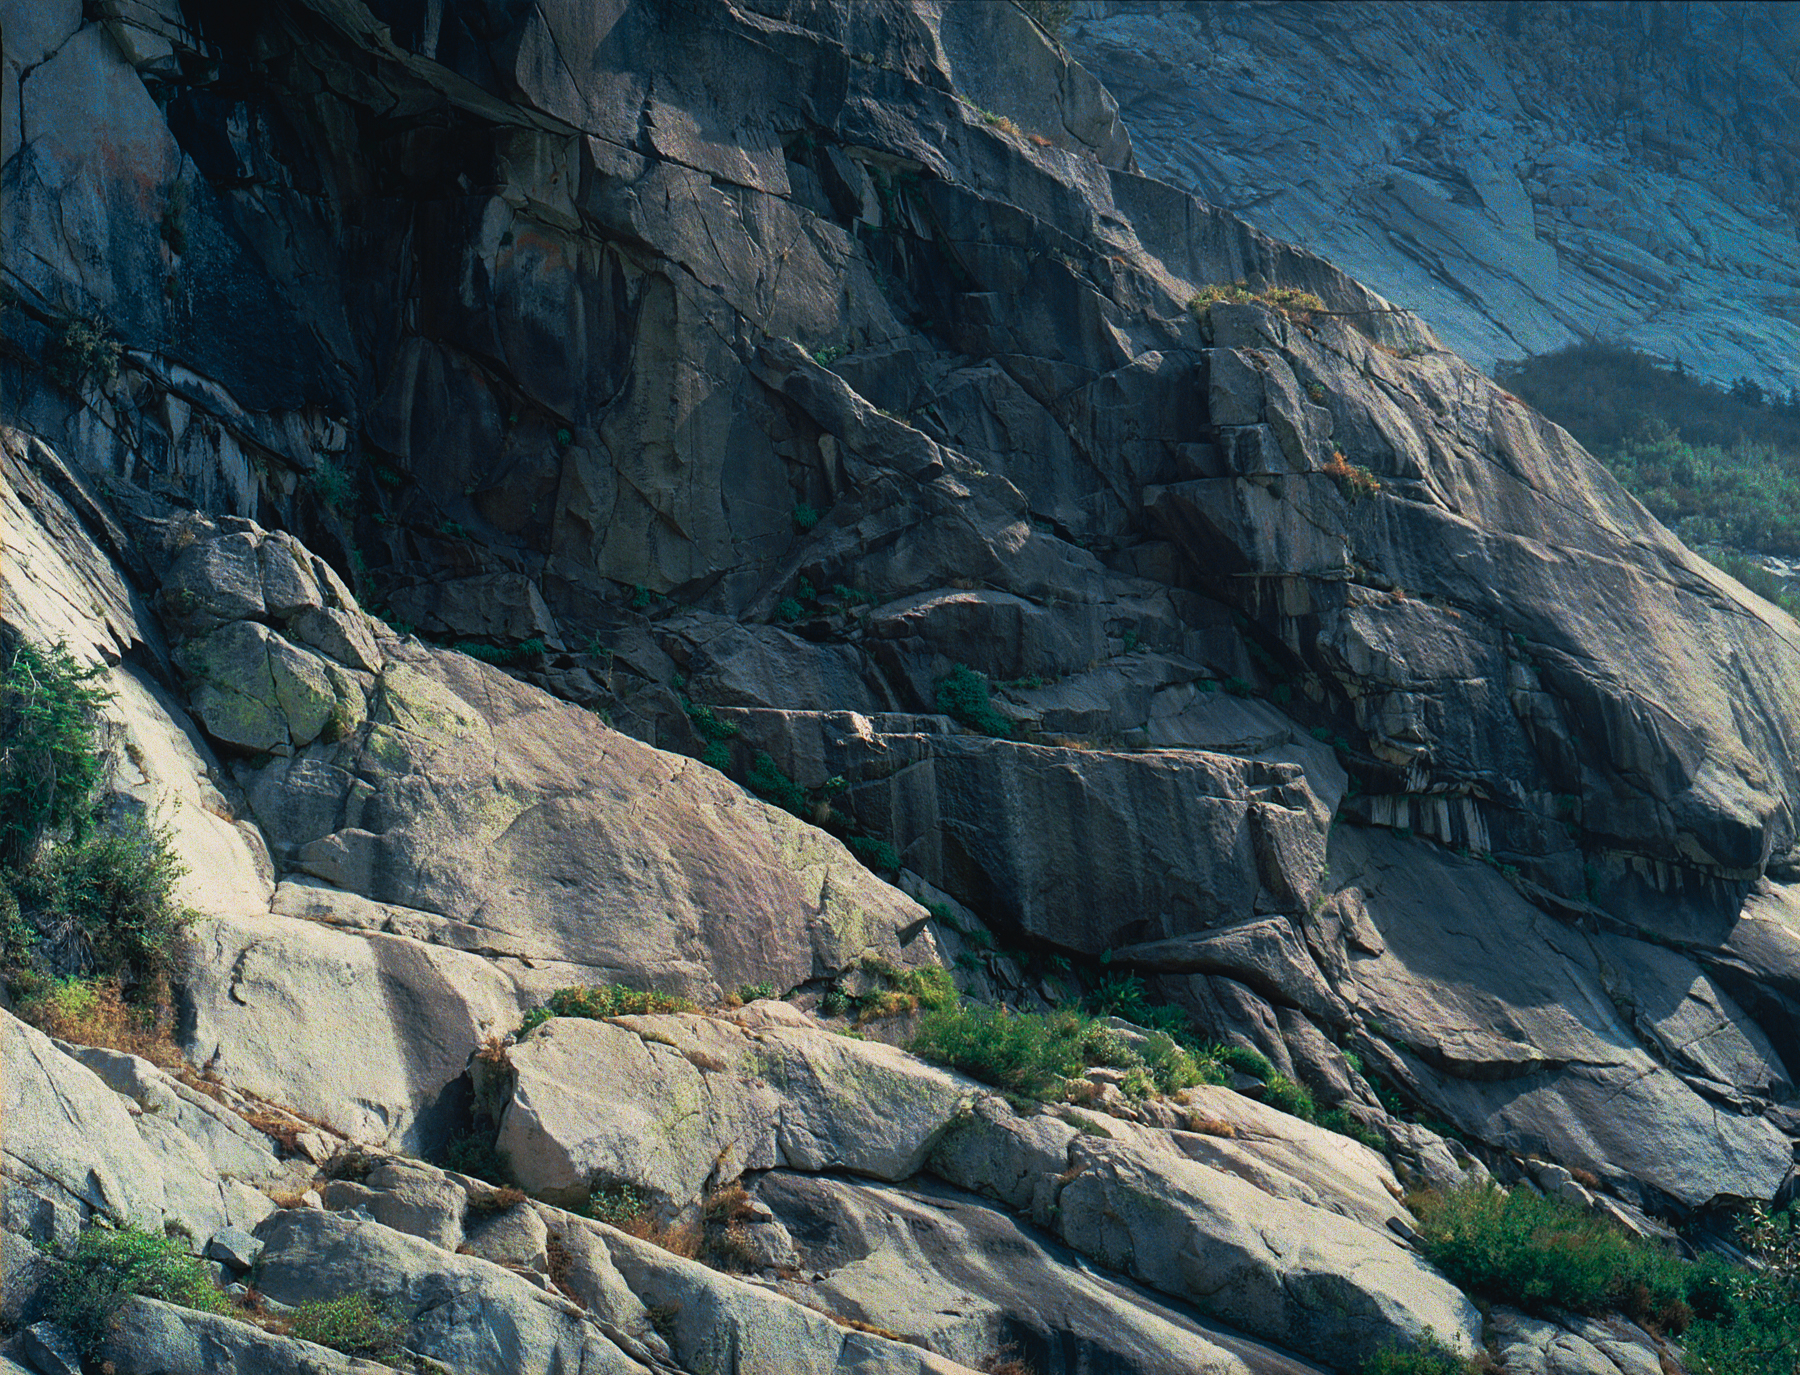
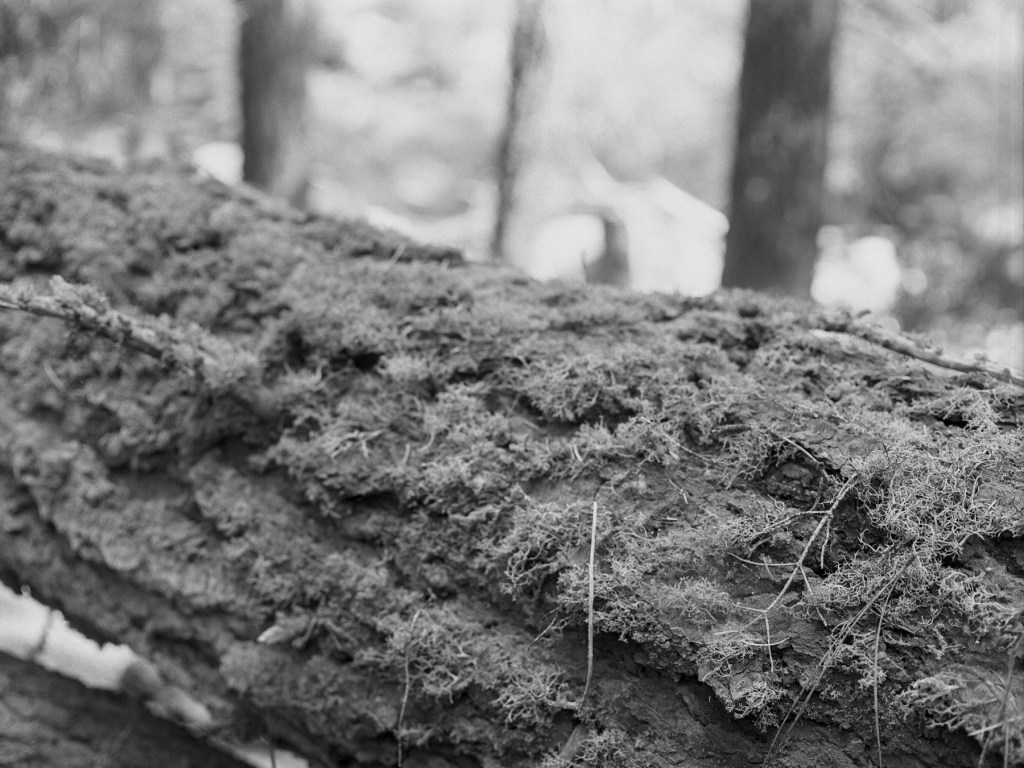
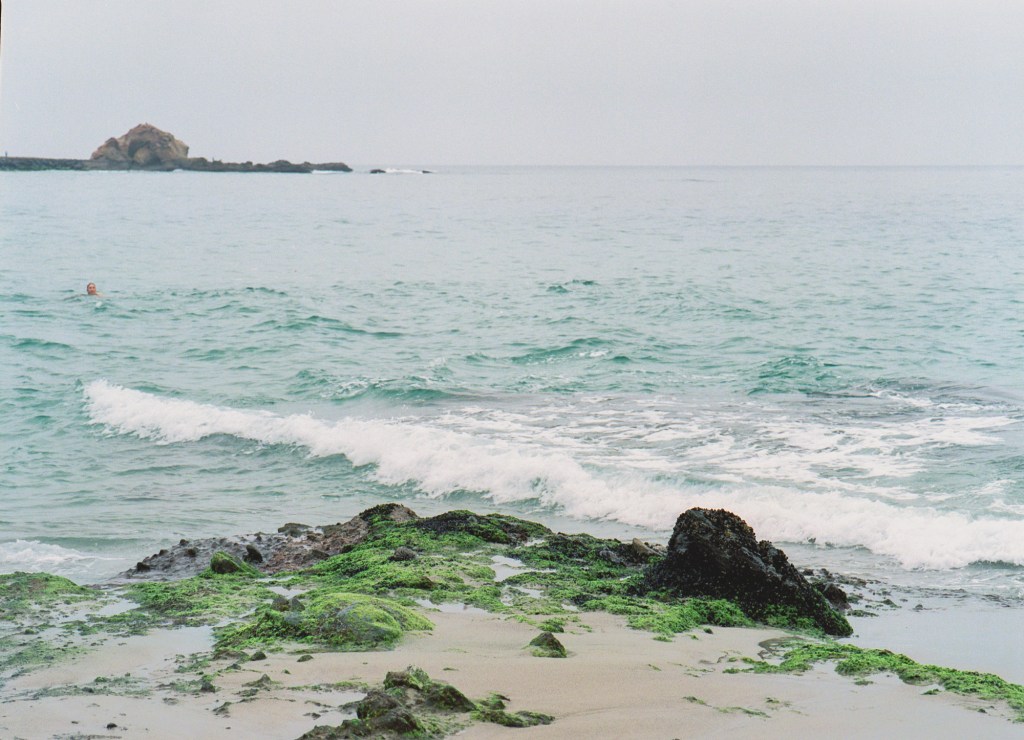
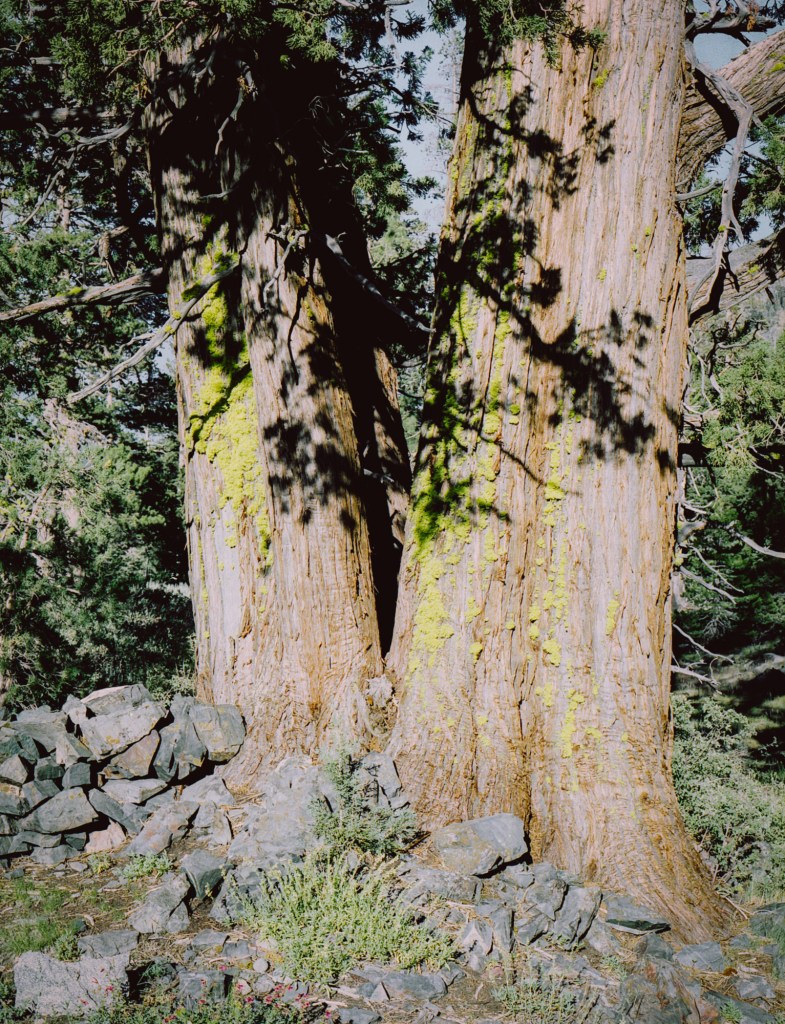
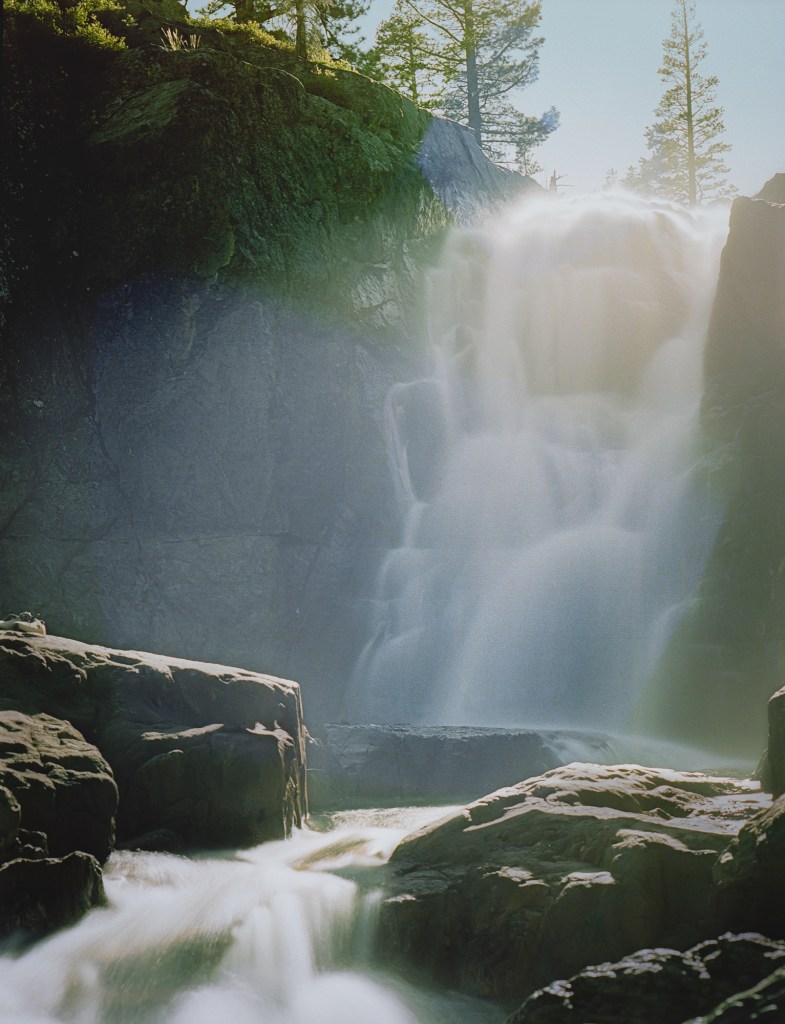
![[Vietnamese] Sequoia road trip](https://filmsequence.com/wp-content/uploads/2020/09/sequoia-17-6.jpg?w=1200)