Blog Feed

replace light seal and clean up Minolta Autocord CdS

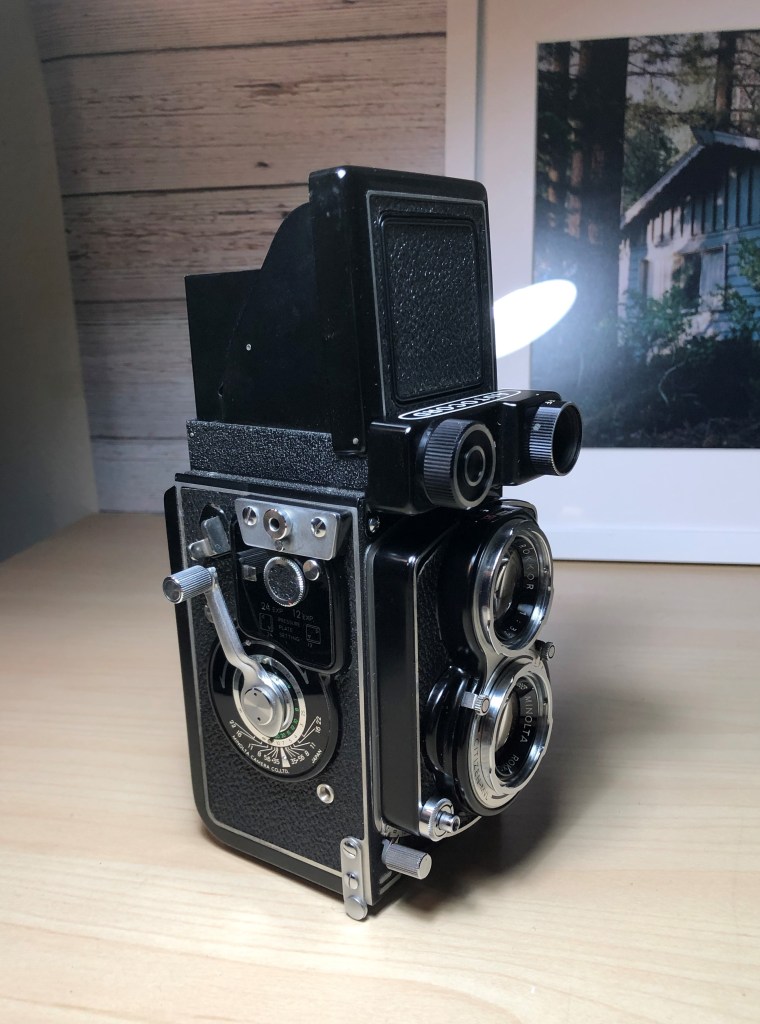
I came across this camera in a thrift store and couldn’t help myself but buy it. I’ve been wanting a TLR for a while now but decent TLRs are not cheap. Although I never touch a TLR before but I know enough about cameras in general to check the basic functions and this camera seems to work fine. So after purchased it, the first thing I did is cleaning it up. I always clean things up after I buy them, and also because of the Covid situation. I used rubbing alcohol and damp tissue to wipe the outside of the camera, I also used Q-tips and toothpick to get into places that I can’t with my fingers. For the lens, I used lens wipe and microfiber cloth to wipe them gently. Here’re some photos of the camera after I clean it. How beautiful it is!

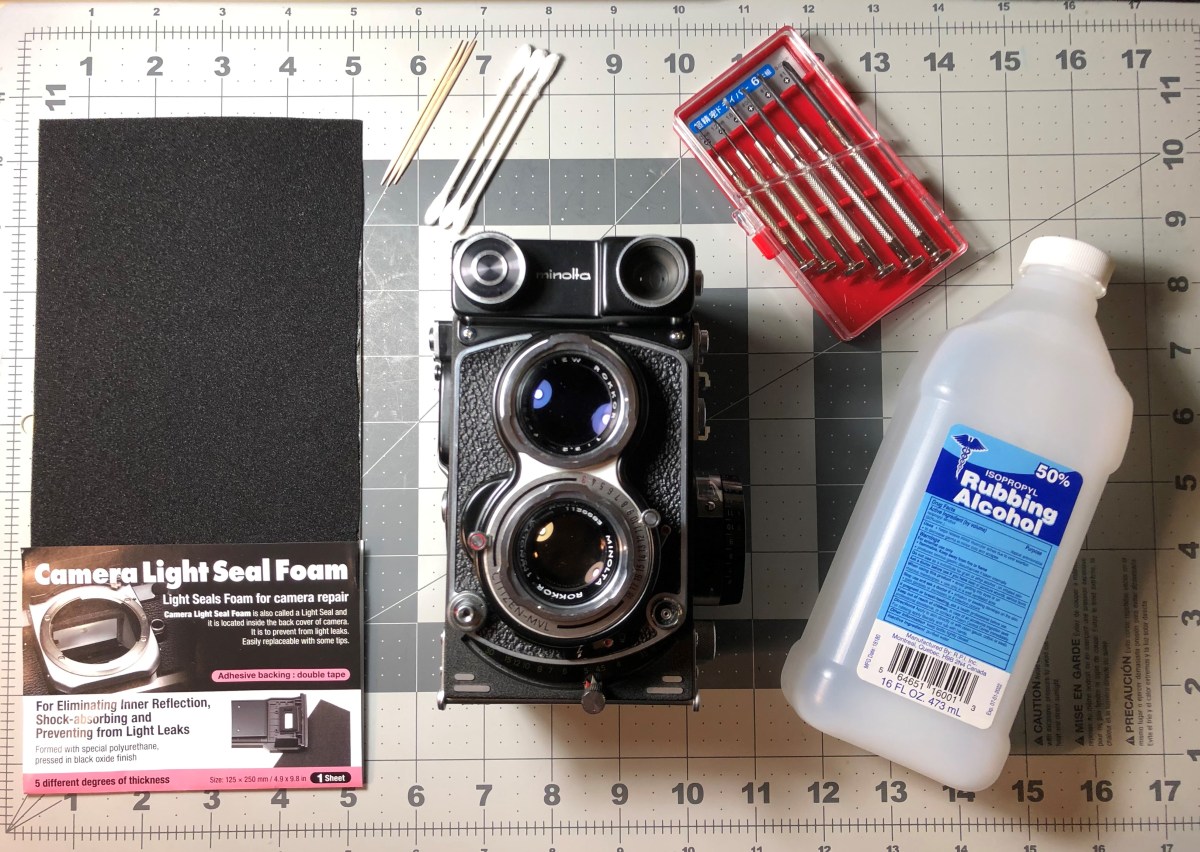
After the basic cleaning, I opened up the viewfinder to clean the ground glass and also to remove the old light seal and apply the new one. Here’s what you need for the process: a set of small screwdrivers, light seal foam ( I used the 1mm thickness), rubbing alcohol, and some additional stuffs such as baking soda, aceton, sewing machine oil.

To remove the focusing hood off the camera, you need to unscrew the 4 screws on top of the camera, using a flat 1.6mm screwdriver.

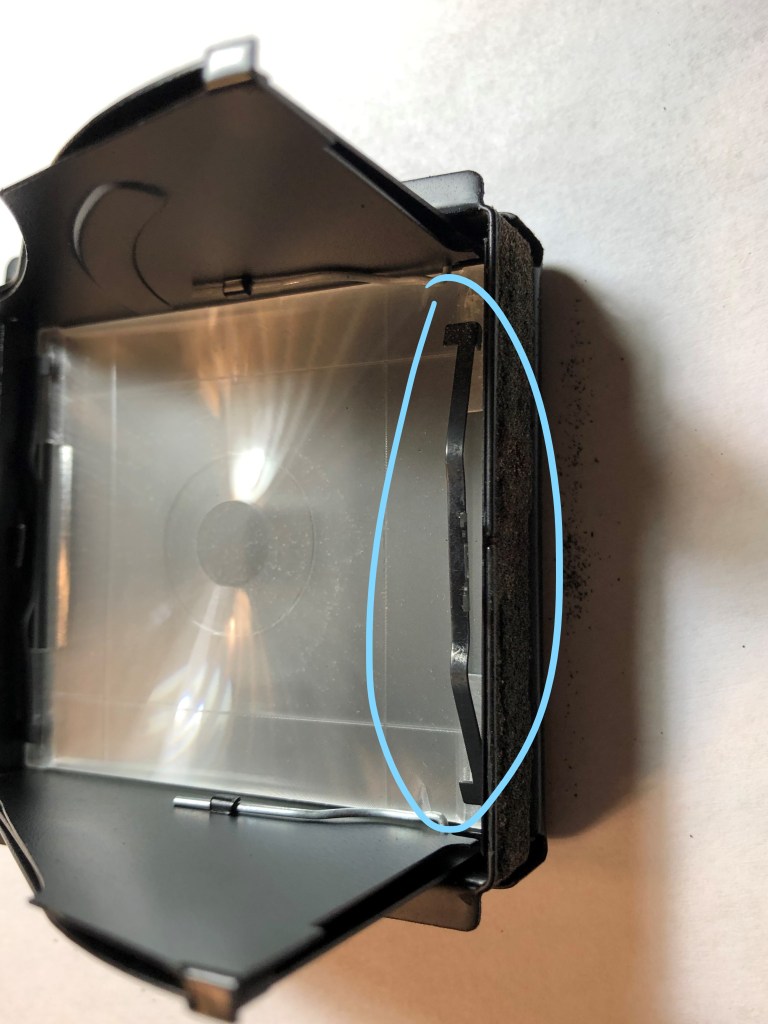
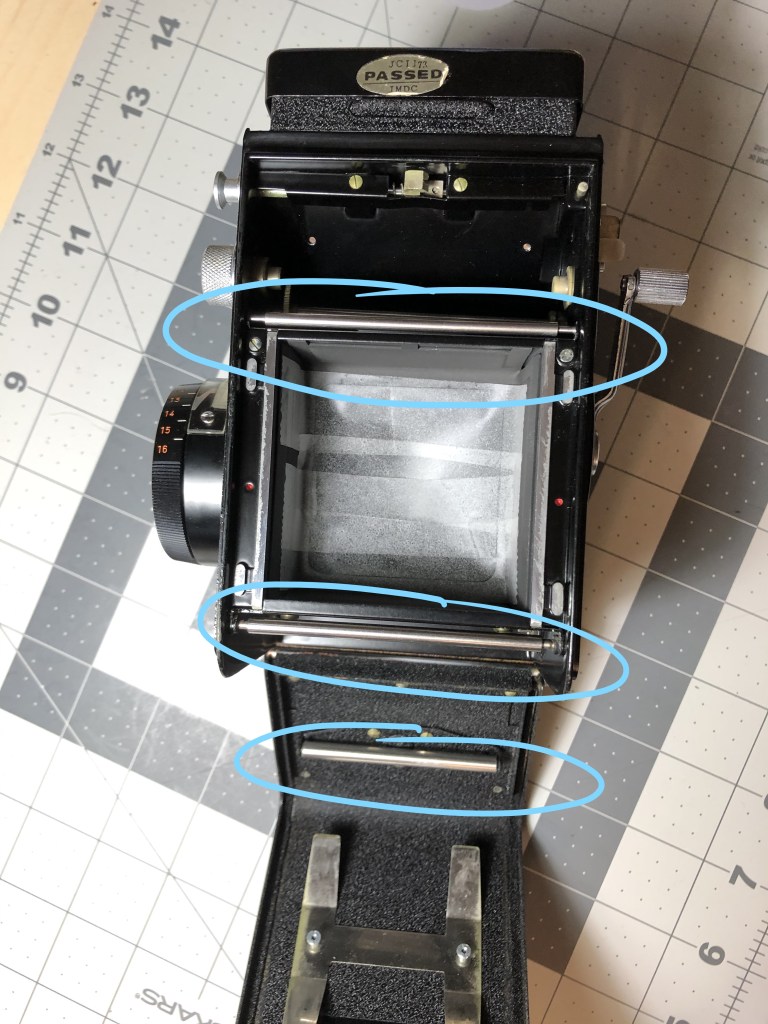
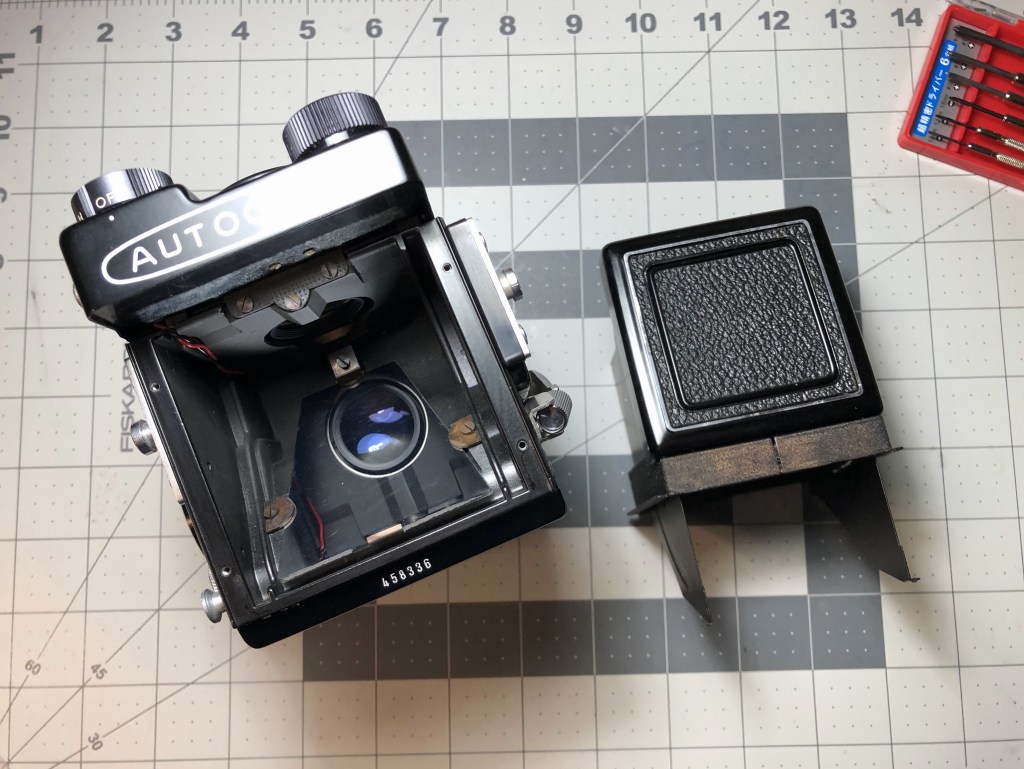
This is the focusing hood after I take it out (photo #8), you can see the dust on the glass surface and in between the ground glass and the focusing mat. I also need to remove the metal thin bars (there’re 2 of them) as in the photo on the right in order to remove the ground glass out of the hood.

Big advice: DON’T USE RUBBING ALCOHOL OR LENS WIPE TO CLEAN UP THE FOCUSING SCREEN!!! Because they will make the screen foggy and white and will destroy your screen. So what I read on the Internet told me that I can wash the focusing screen and ground glass with water and gentle soap and use my fingers to gently scrub them, so I did. And it worked fine. One tip is you can use the hair dryer to dry the screen and glass so they don’t have water drop marks on them. I also cleaned the magnifying glass with lens wipe and Q-tips.

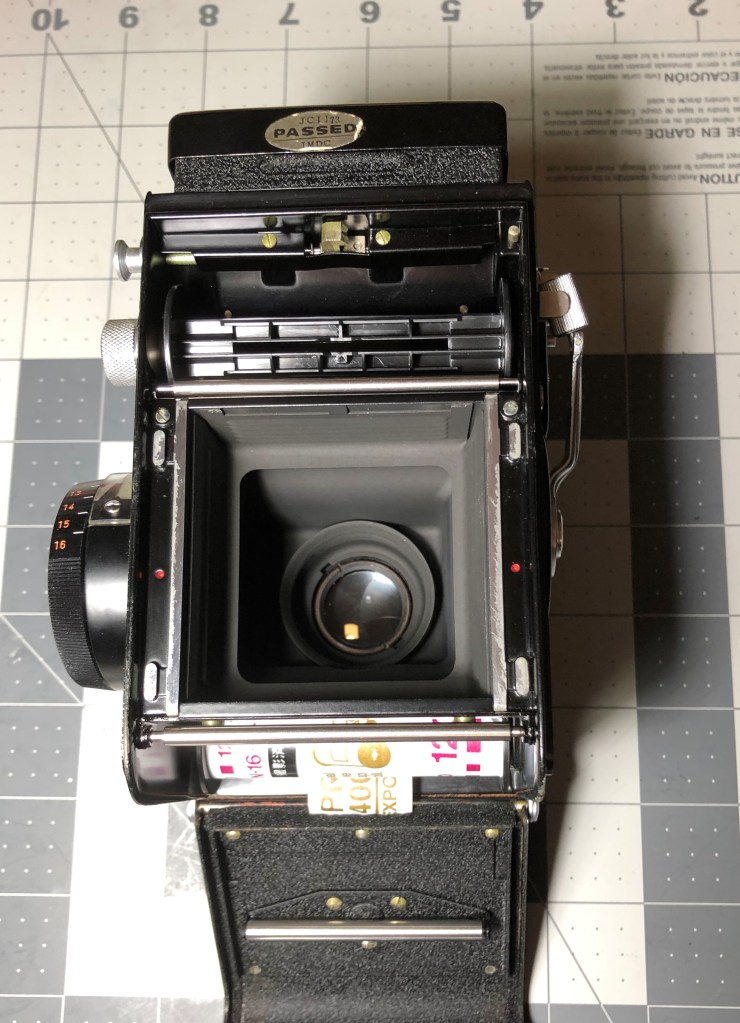
So when I finish the focusing screen and ground glass. I put them back into the viewfinder hood. Now it’s time for replacing the light seal. So, the first thing I do (and recommend you too) is using tape to cover the film chamber so the dust and old light seal crumb cannot fall on the taking lens.
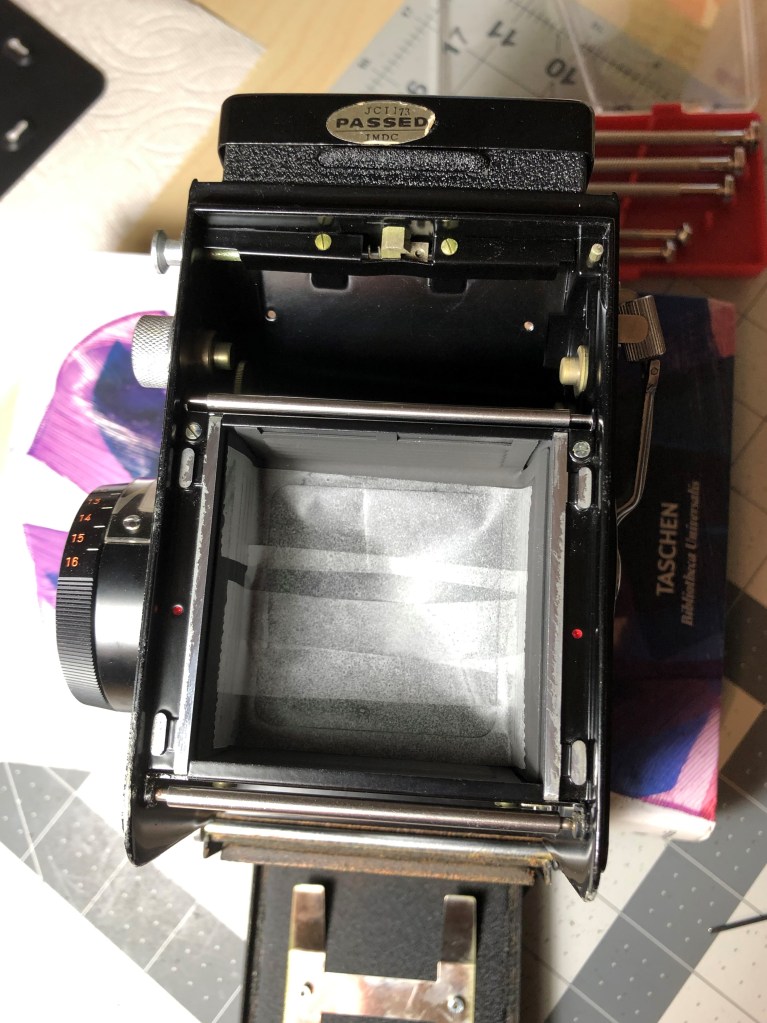
Also, remember to remove the pressure plate out of the camera door, just so the film back would be easier to clean.

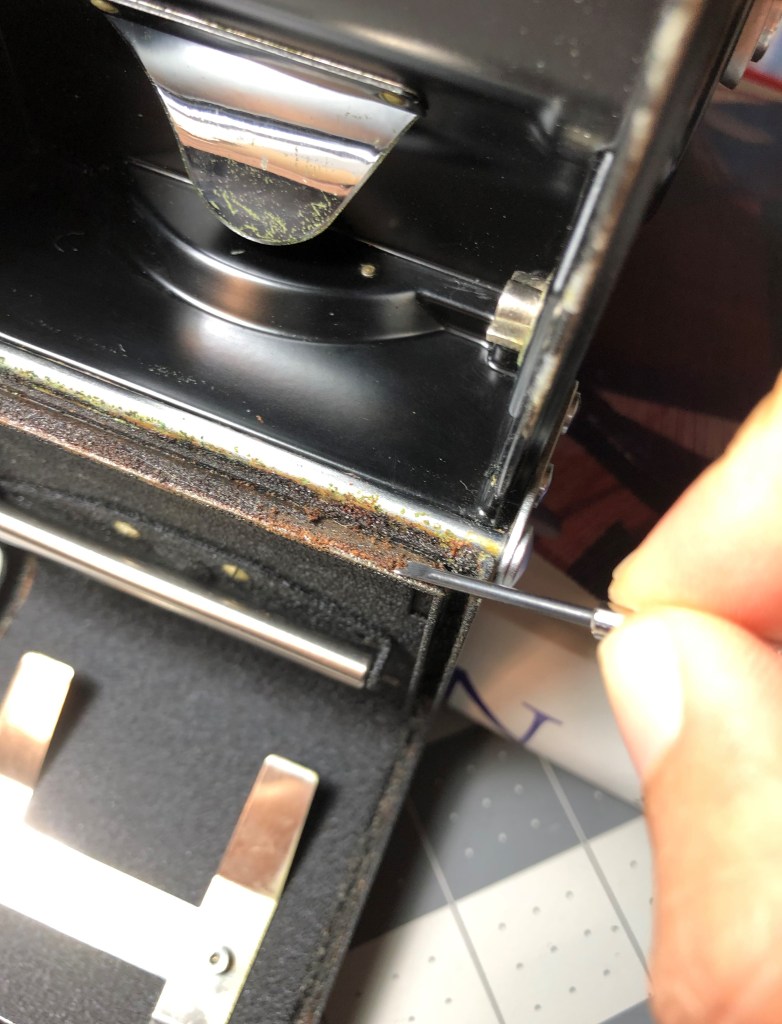
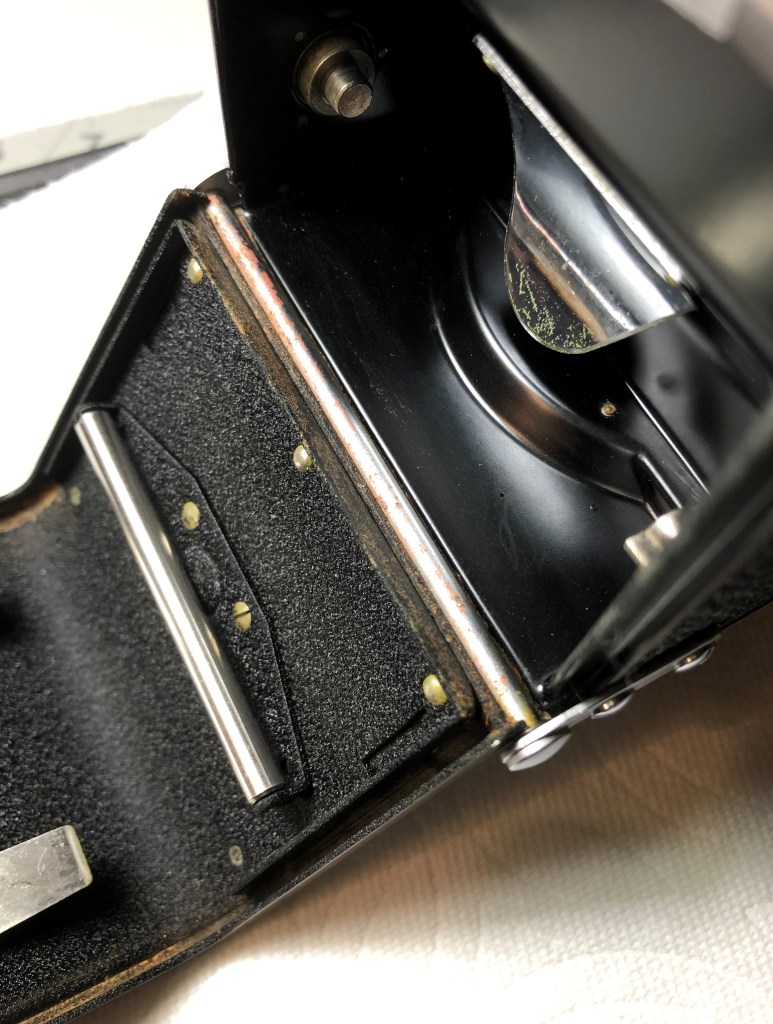
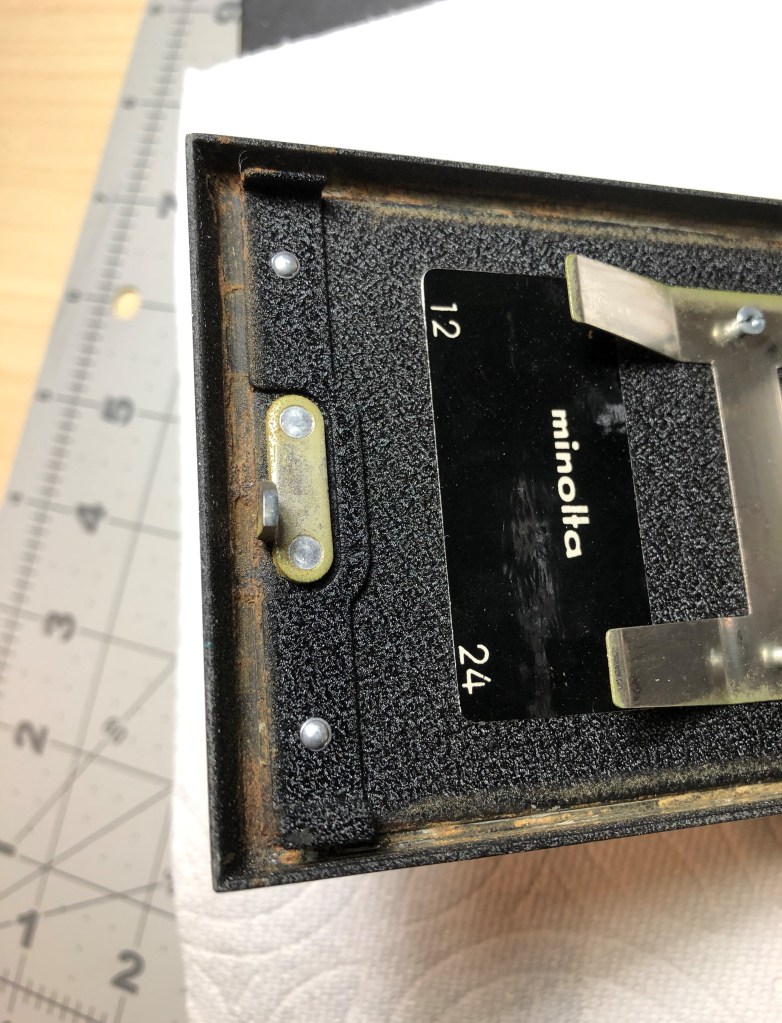
Next, I used toothpicks and the small flathead screwdriver to remove the old light seal and dust on the camera door. I put the camera on a thick book for more convenient. Then, I used Q-tips, toothpicks and rubbing alcohol to remove the crumb and rusted waste from the camera body, right at the hinge of the film door (as photo #13). As you can see, my flathead screwdriver is very affective at removing the old light seal in the small gaps along the film door.
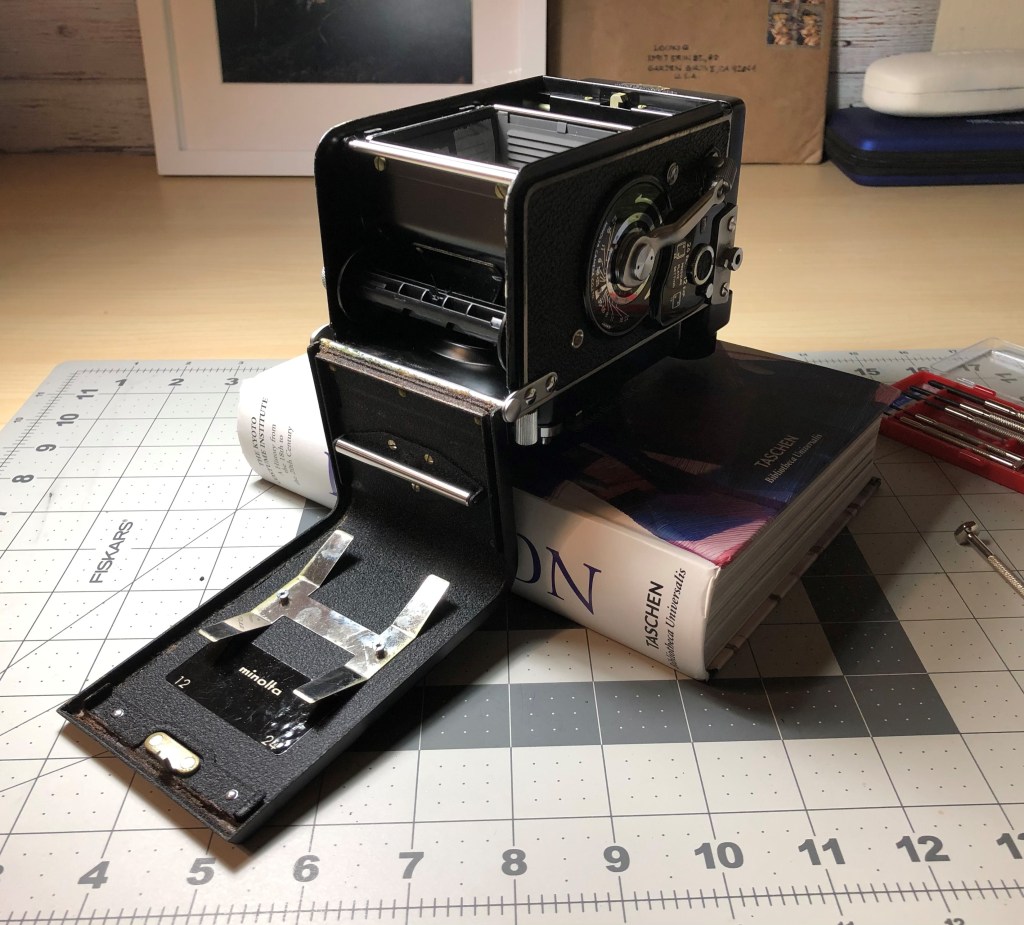
After clean the hinge area, I continued to clean the rest of the light seal, along the film door edges. The photos below show you the before and after I remove the old light seal.

Before

After

And I also used baking soda and water to wipe the metal parts that’s rusted along the way, such as screws or back door locking mechanism.

Next step is cutting the new light seal foam into the stripes to apply on the camera’s door. I asked Mr. Karl Bryan, who is a famous Minolta Autocord repair man, for the instruction of the replacement light seal since I couldn’t find the light seal pattern on the Internet, he did kindly reply me with the instructions. The light seal for the door should be 2-2.25mm wide and 1-1.5mm thickness, the light seal for the bottom of the door, right at the hinge should be wider. So in the end, I cut 2 stripes of foam 2mm wide, 250mm long (250mm is the length of the whole form, I didn’t measure for the length because I can always trim it later); 1 piece 5mm wide and 65mm long for the edge at the hinge. To cut it, I used regular paper cutter and a long ruler to guide the straight lines and put pressure on the ruler to stable the foam when I cutting.

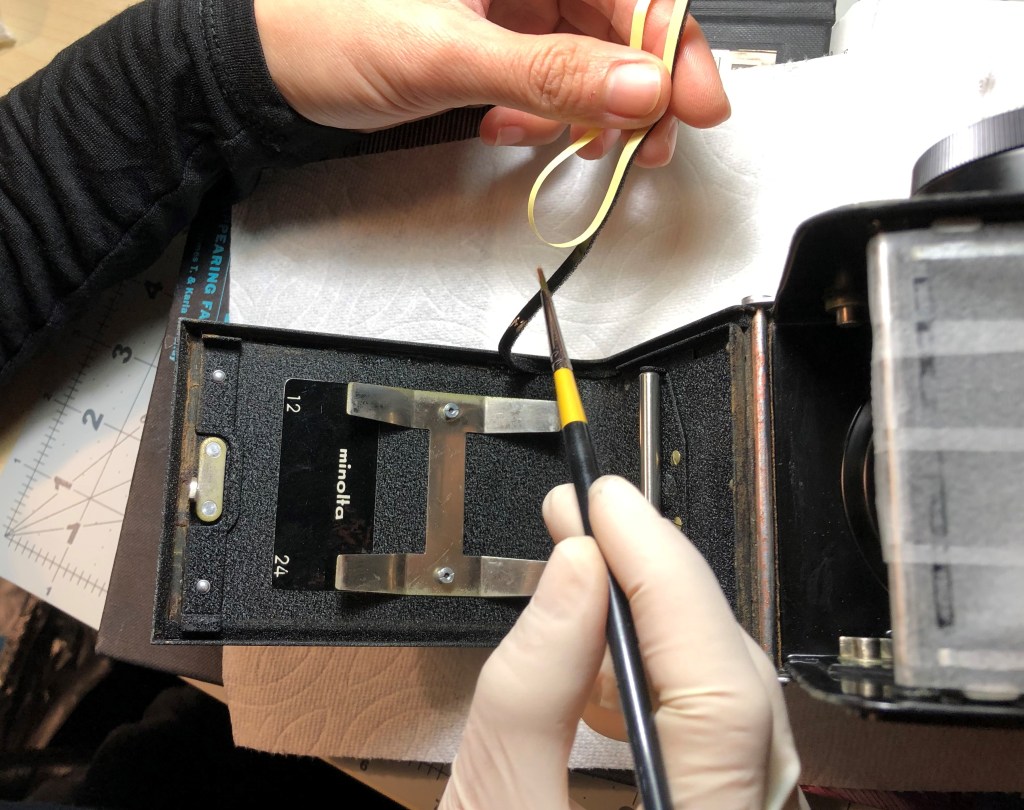
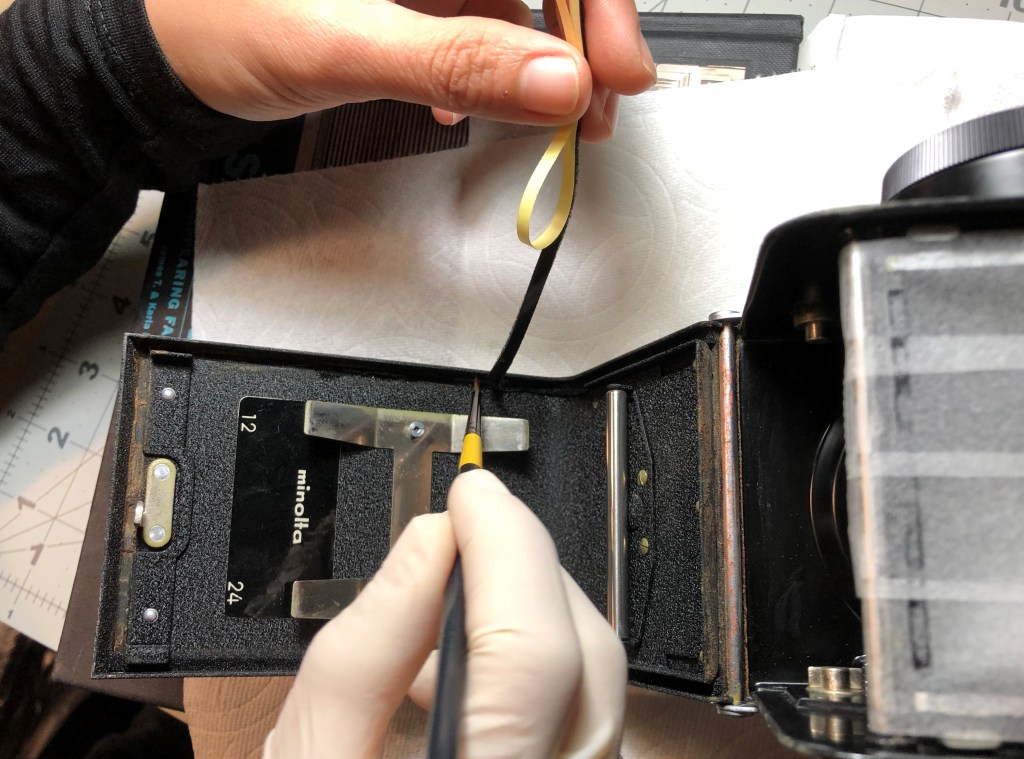
Mr. Karl Bryan also gave me a tip that applying rubbing alcohol onto the back of the light seal and on the surface of the area where we need to put the light seal on, and then lay the light seal down, slide it into place and let the alcohol evaporate. The nice thing here is the alcohol makes the adhesive backed foam and the camera door don’t stick together when they contact, so you can move or slide the foam into places easier. I used to replace the light seal in my Nikon F2 and didn’t know the trick, so when the light seal was put in the camera, it’s sticky and you may tear the foam stripe when you try to peal it out. As you can see from the photos below, I used a small paint brush to apply the rubbing alcohol on the gaps of the camera’s door and on the stripes (photos #21-22).
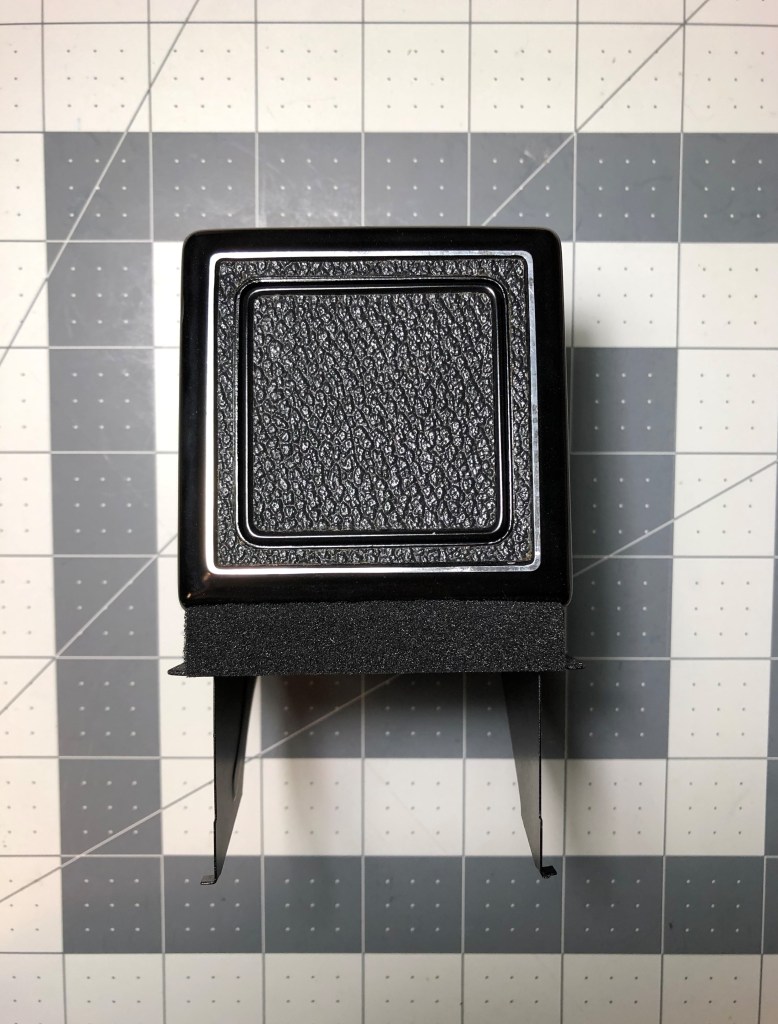
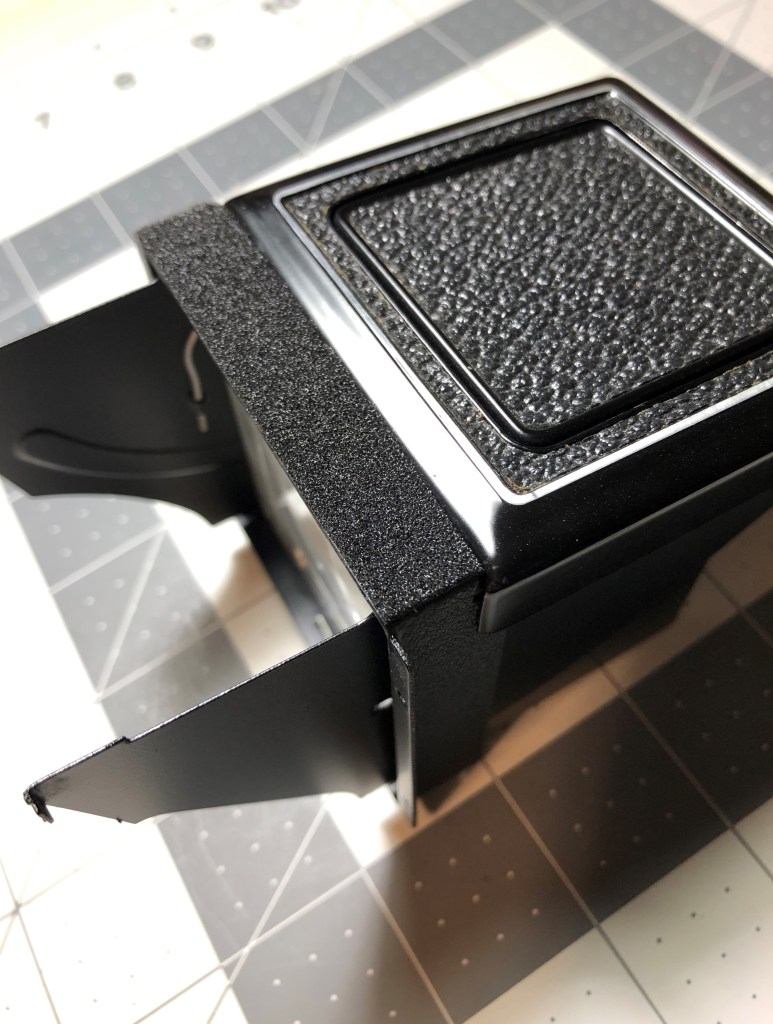
After replace the light seal for the back door, I also noticed that the viewfinder hood also need a foam right at the front side where it touch the name plate. So I clean up the surface, measured the area and cut the proper light seal foam for it (photo #28). I guess the foam was put here to avoid the two parts bump and scratch each other.
So the process almost finish here, but there’s still one last thing. As Mr. Karl Bryan advices, I applied sewing machine oil on each end of 3 film rollers (photo #33), on the upper film chamber gear (photo #34) and on the take up spoon gear (photo #35). Just put one drop of oil, spin the rollers or rotate the gear and wipe the excess oil. This will minimize scratching your film when winding.
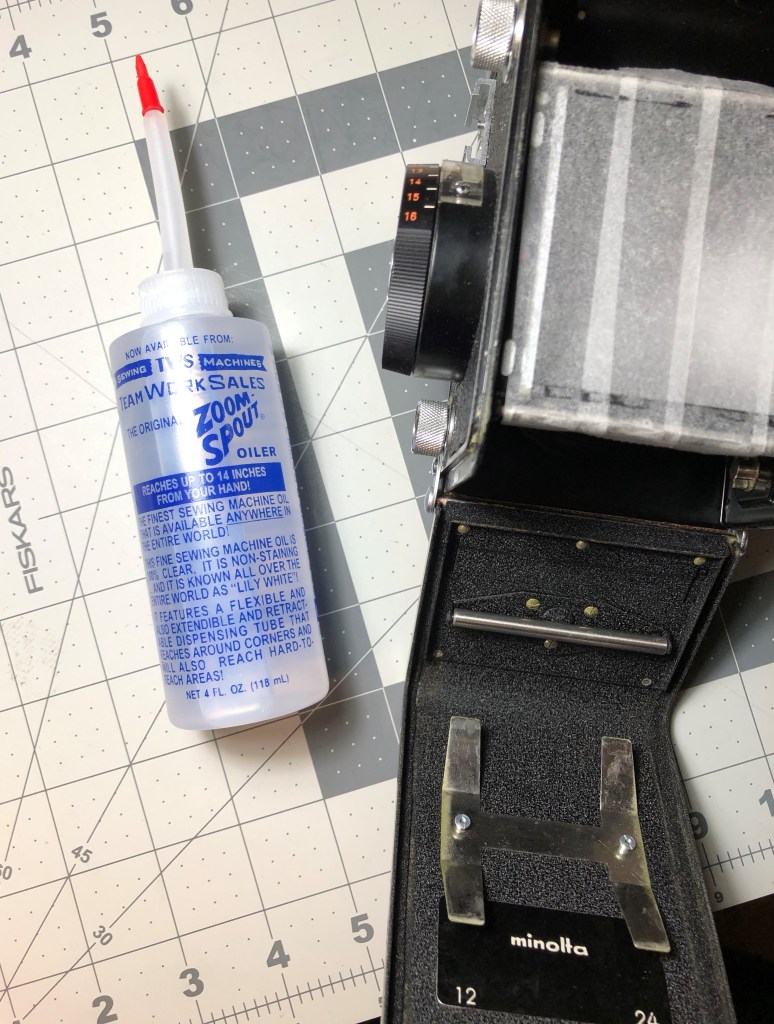
In addition, I also put the oil on the hinge of the viewfinder hood since it’s a bit stiff to open and close. After applying sewing machine oil into the hinge, the viewfinder’s smooth like butter! Of course, always remember to wipe the excess oil because you don’t want the oil gather dust around in your camera.

Finally, time for the test roll. I used an empty roll that just has the paper back to test out the rollers and winding crank. Everything worked beautifully. After 12 dummy shots and winding, the roll’s transferred to the pick up spoon nicely, I open the paper back to check if there’s any scratches on the back but no, yay! This camera is now ready to shoot!
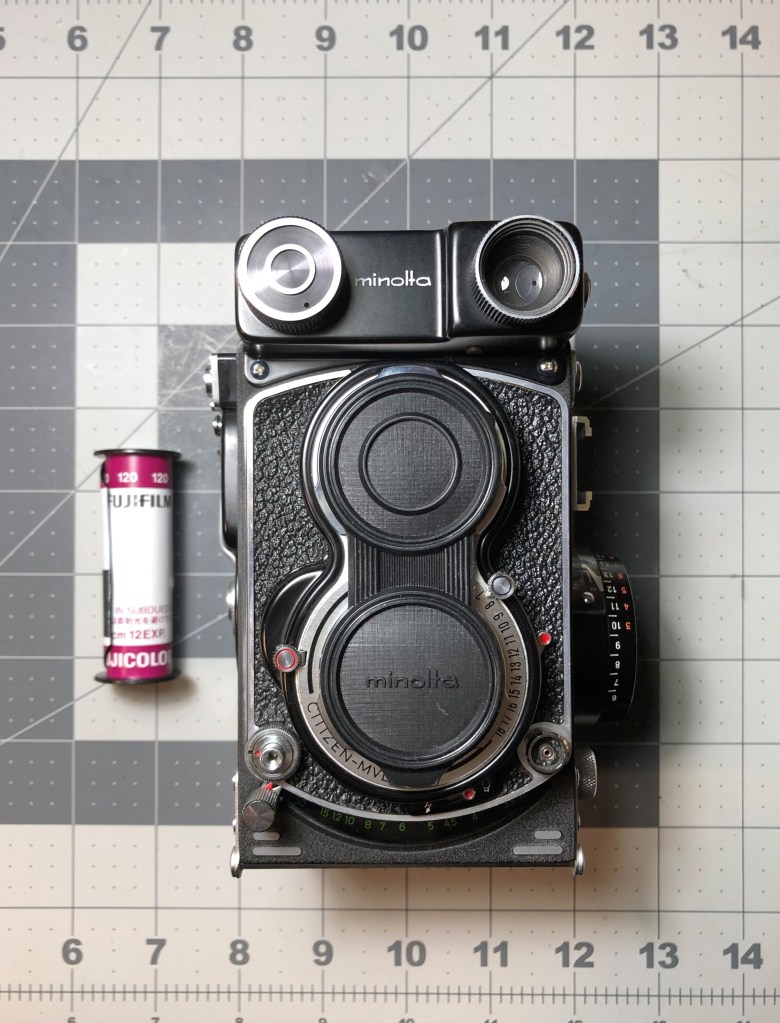
Thank you Mr. Karl Bryan for the instructions and advices. I didn’t know anything about the Autocord series or this CDS model particularly but when I read about it, I’m in love. Just because the design is so special and the quality is one of the top. So I wanted to give it a nice treat by having a CLA by Mr. Karl Bryan but since my camera doesn’t seem to have any functional problem, he suggested I should use the camera until something goes wrong. I definitely recommend Mr. Karl Bryan to anyone who’s looking for a repairman for the Minolta Autocord, he’s the best, and also a super nice man! You can reach him at karl.kathy@frontier.com

Thank you for making it here. Hope to share with you guys some photos taken with this camera soon. Cheers!

mammoth lakes road trip [part 2]

Here we are for the continue part of my Mammoth Lakes road trip.

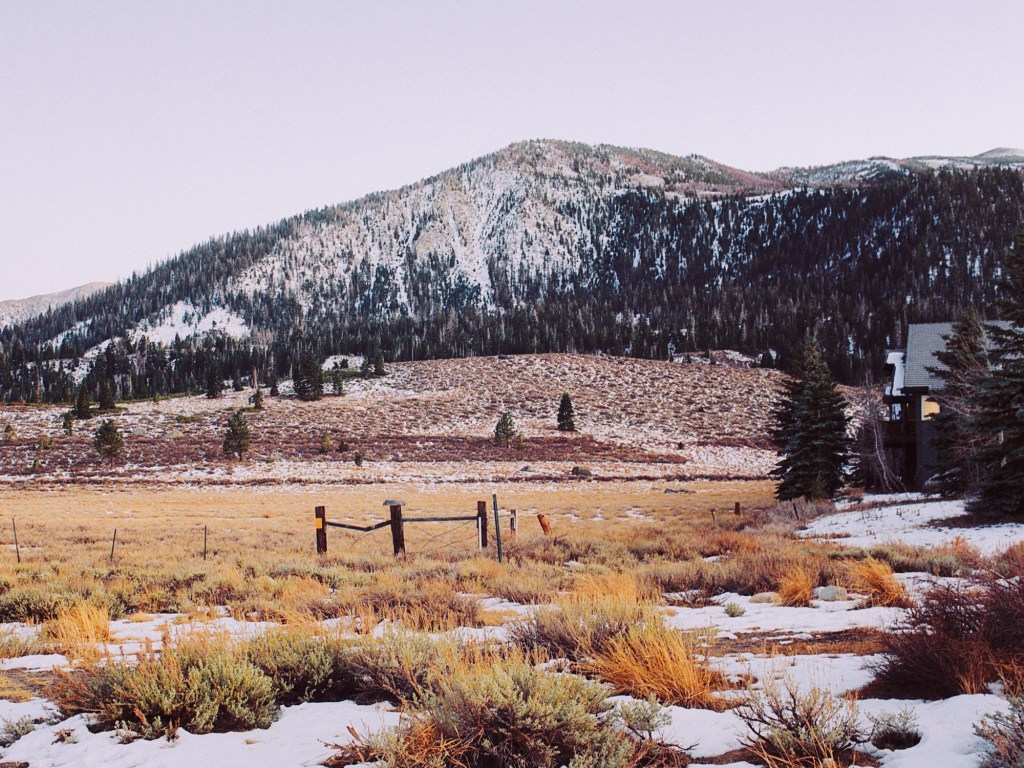
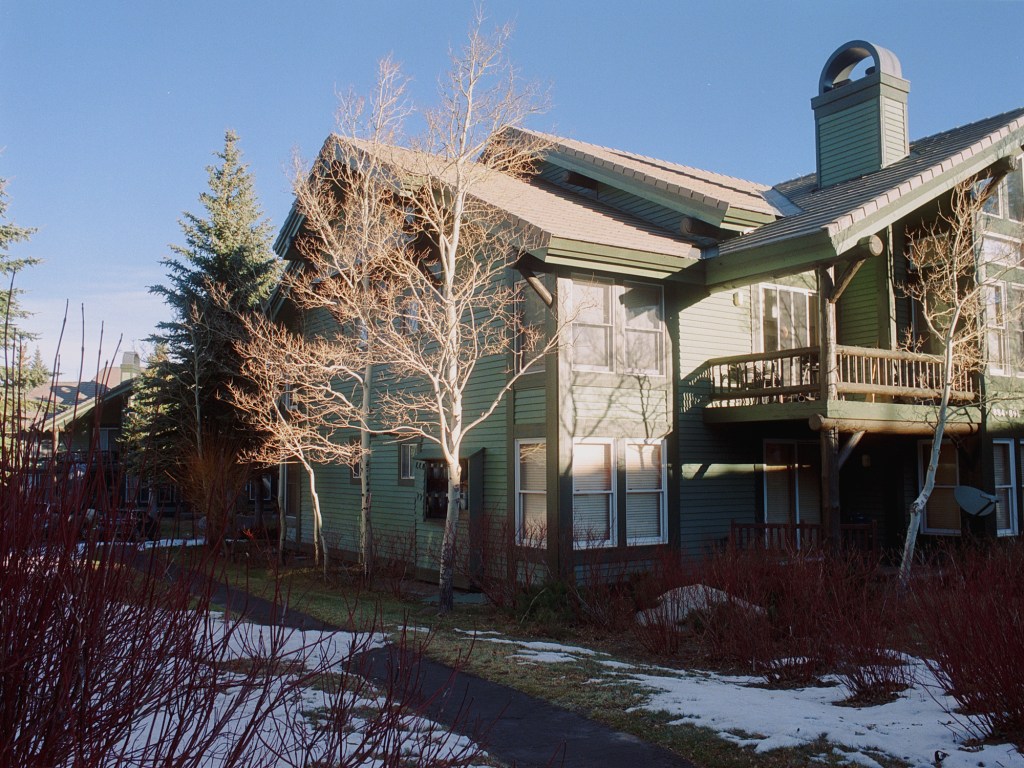
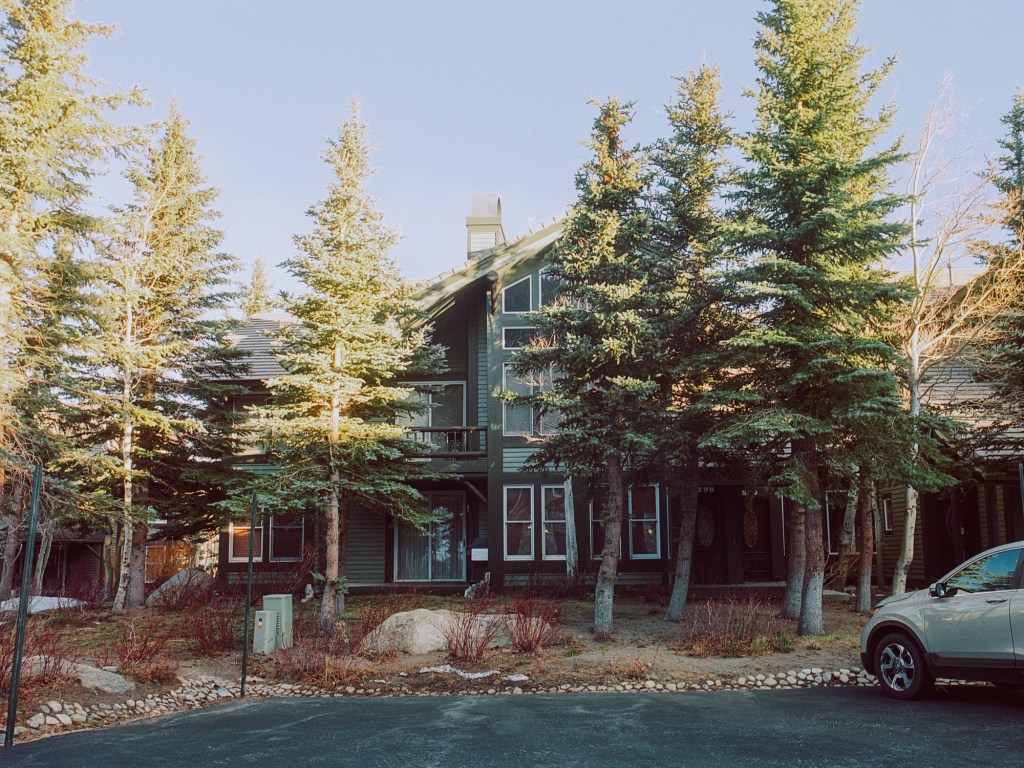
After the first day of going to Gull lake (which is I took a roll there but no photo came out that I want to post here ๐Ÿ™‚ ) and another frozen lake that I forgot the name, we came back to the lodge because we weren’t sure to be out when the sun went down. So after getting back to the lodge, I walked out to take some sunset (or blue hour, for more precise) photos at the Meadow and stopped frequently on my way to take some nice house scenes. Here’re the photos that I like the most from the trip.

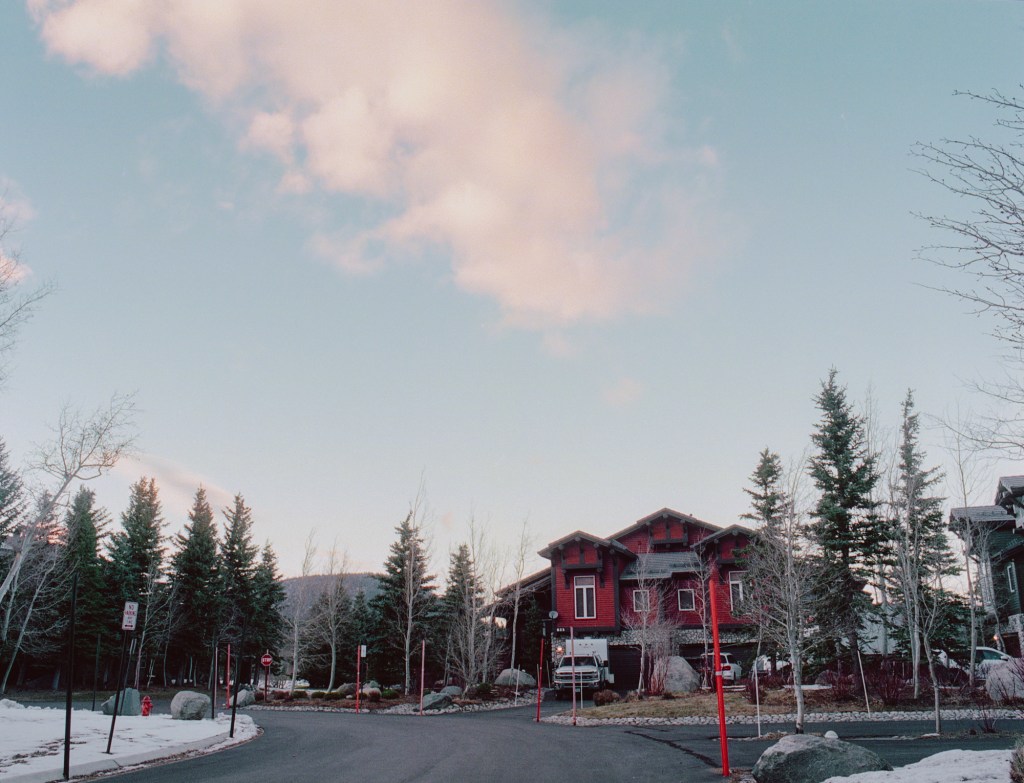
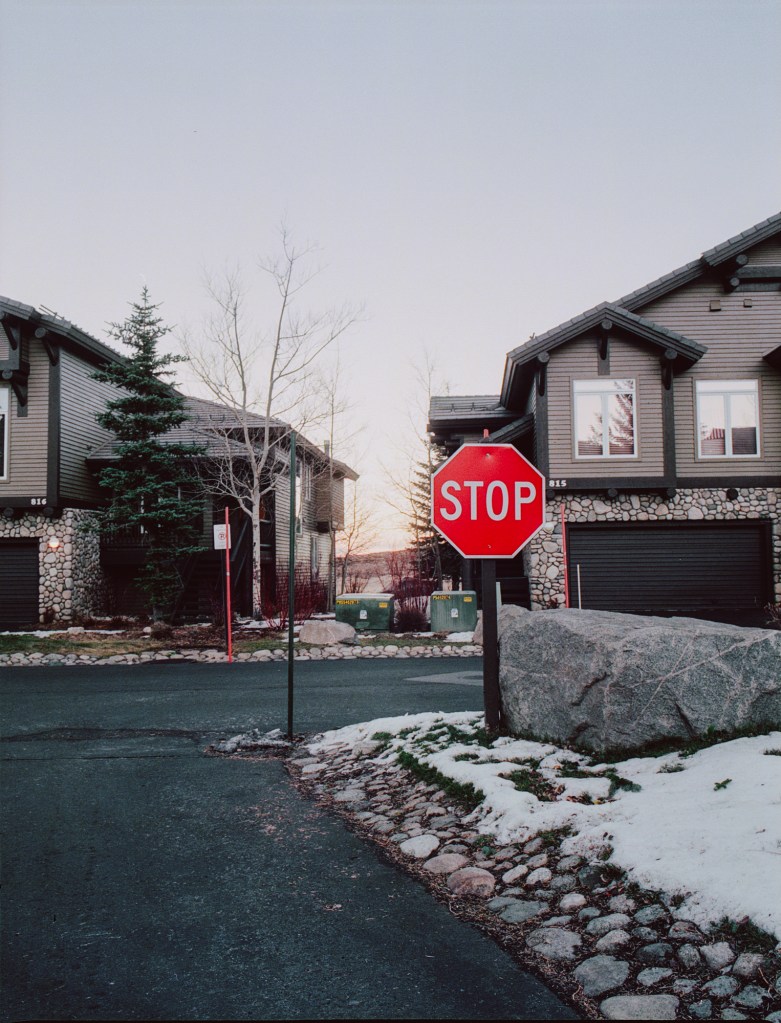
The first one is photo of one street in the lodging area, I captured it because it gives the general feel and architecture of the area, along with the massy mountain behind. The second one I took because the nice red house is quite interesting and the cloud above has a very nice shape and color. It’s a bit hard to take everything into the frame but I quite happy with the result, the only thing I don’t like is the bright red pole in the foreground that overlaps the house.


The photo on the right is when I went back the the lodge and the sky was dark. I saw the light from the light bulbs from the house was quite interesting and the tree in the front also had a nice shape and texture so I set up the shot for a long expose photo. I like how it came out but still think the composition is a bit off. I think if I had stepped back a bit and moved to the right couple inches, the composition would be much better, because the roof of the house wouldn’t ended right at the frame lines. Another lesson for watching your composition carefully before taking the shot.

I like this very much. This is the first photo I took when I walked out for the sunset. The sun pretty much hided behind those mountain already but there’s still a bit orange glow at the horizon. I think the colors here work together very nice, the red is pop but not taking away the cold calm vibe in the photo. The reflection in the glass window also looks so dreamy and poetic. I also like the composition and the complex of the scene. To me, everything works together very well in this photo.

This photo of the “Private Property” sign I took on the way back to the lodge. It belongs to the Snowcreek Golf Course. I think the photo represents very well the calmness and coldness of a winter sunset in a meadow surrounded by mountains.


The photo above here is the first one I took on the Meadow. Took with Portra 800. The sun was behind a peak of mountain but the field still have plenty of light and the glow at the horizon was so beautiful. After took this shot, I managed to take the photo on the left, of a part of the house and the mountain behind it. I think the photo is not bad but still something is off about it. The reason I didn’t include the whole house because I wanted the photo to be suggestive, not just show the objects straight out. I also like the little fence[?] in the middle of the frame, it adds a very nice touch to the field. One thing I think I could do better for this photo is exposing for the house to get more details out of that, and hopefully don’t blow out the highlights. In general I still like it but it’s not good enough to be showed as my best work.


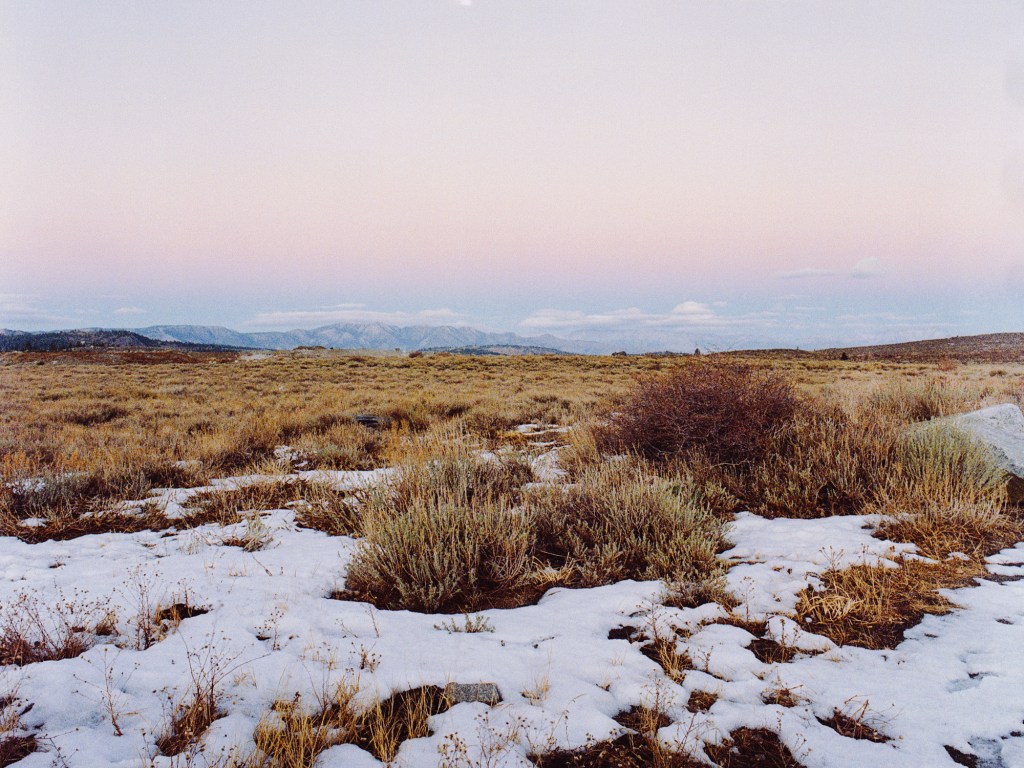
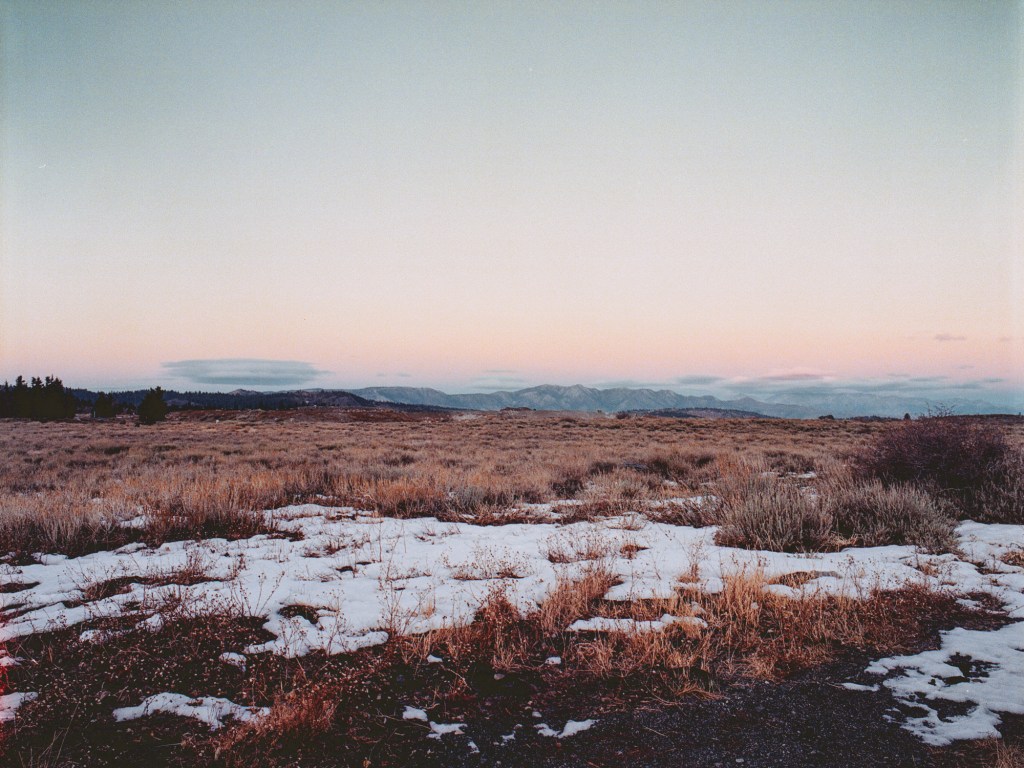
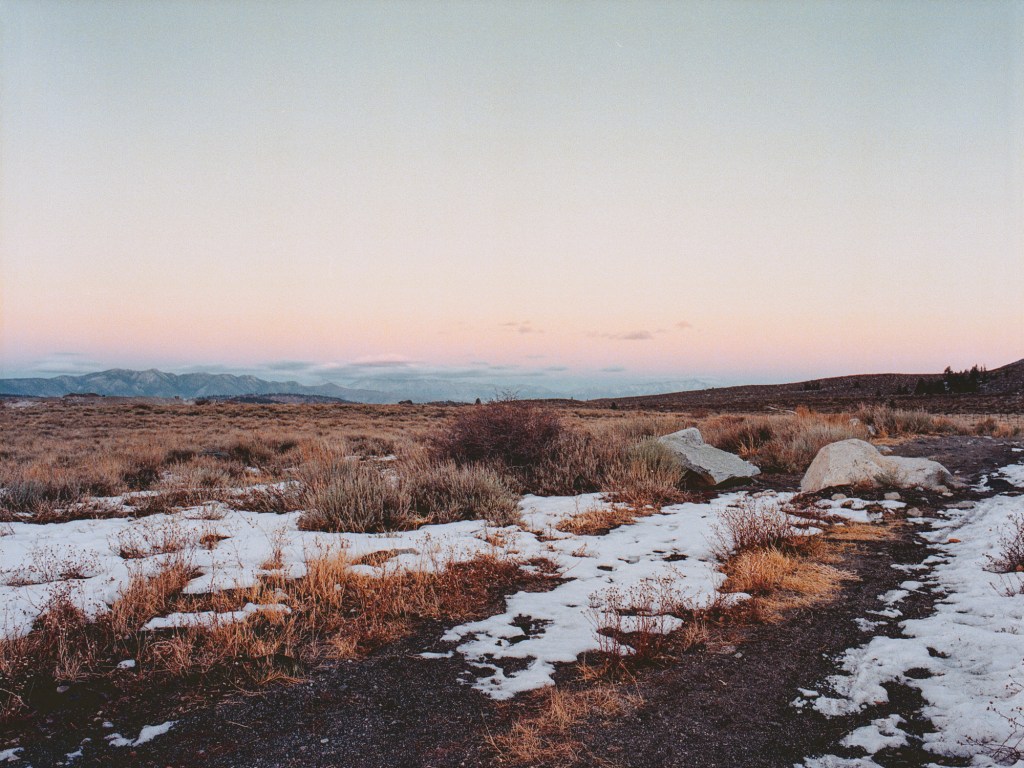
On the right side are photos I took when the sky is almost dark and there’s not much light on the grass field to expose. I took these in the much longer shutter speed than the previous photo above. You can see how much the difference is compared to the earlier photo taken 10-15 minutes apart. This merged photo describes the vast scene of the meadow in blue hour. I really enjoy this photo.


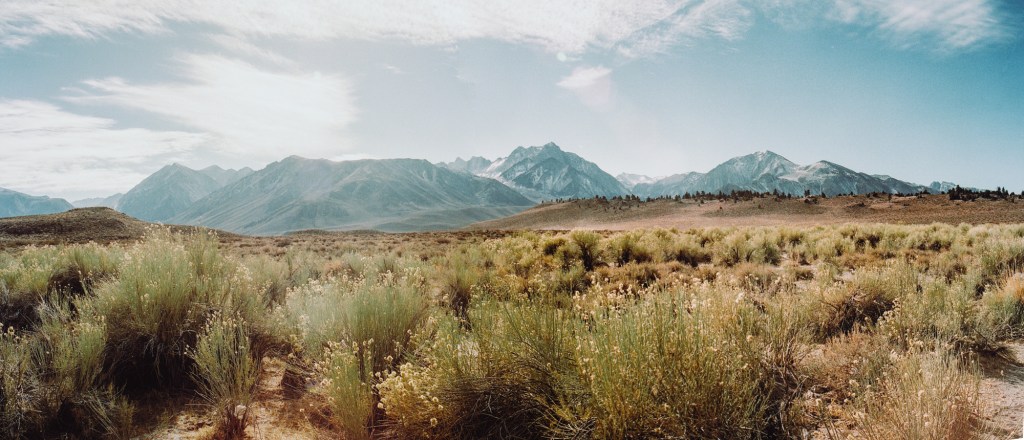
The photo below is another panorama merge from 2 photos. This is the scene at Rock Tub Hot Springs. The tub itself is quite small and funny in the middle of the vast land. When I got there, the sun was high up and the sunlight was extremely harsh. I took a couple photos but nothing come out as I like, so here just a photo for you to have an idea how the landscape looks like. All the daytime photos were taken with Fuji Pro400H.


Final photos from the trip are some I took on my last hike to the place I forgot the name again, but that’s a long hike that passes couple lakes on the way. We could just have enough time to hike to the first lake and then had to come back but it’s quite a nice hike with beautiful view. The light was softer and warmer as it’s afternoon and we really enjoyed the hike.

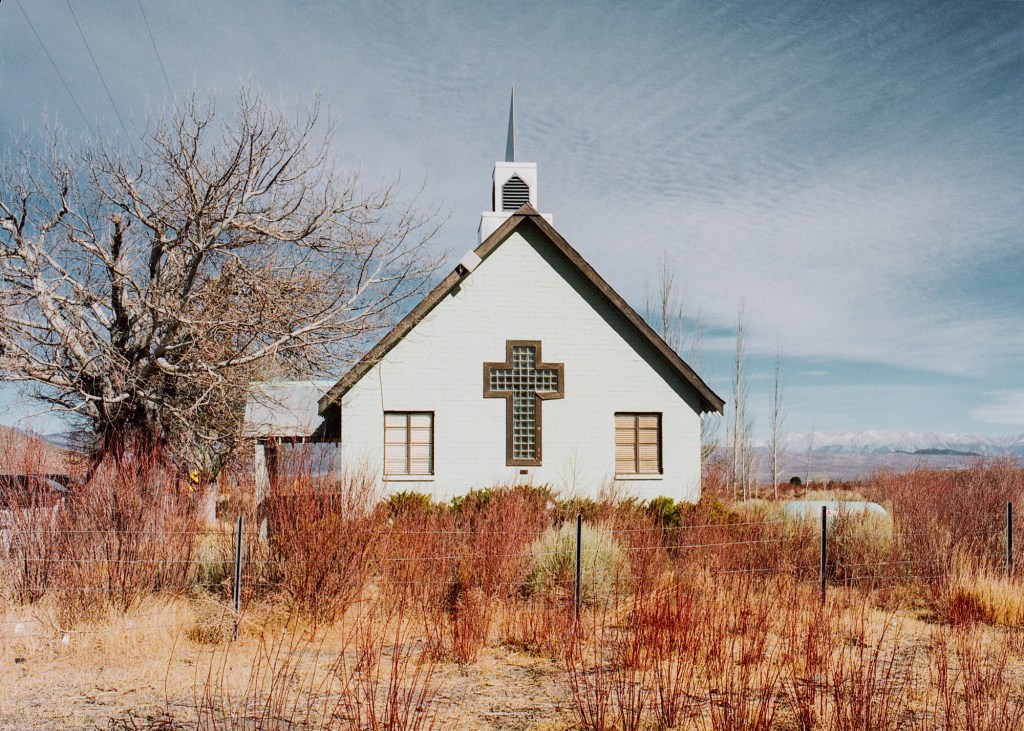
The photos above are of the Green Church near the hot springs. When I first saw it on the way to the hot springs, I was fascinated by it. A small green church in the middle of no where, who can resist that? So on the way back from the hot springs, I stopped by and took these photos. Of course with the harsh light condition, I could get the photos as good as I want. I really hope I can come back and take photos of this church in a better light. The last one is the composition that I like the most. I don’t really know why but I like the fact that a part of the building is included with the backdoor stairs and the white fence with the gate. You can also see the grass in the field behind and the mountain at the horizon. There’s many elements in this photo to look at.


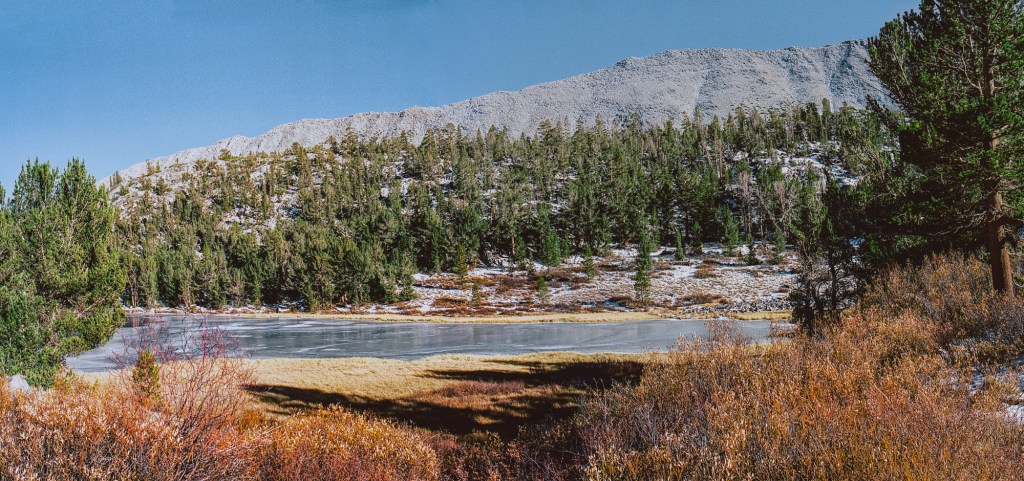
As you can see, the 2 photos on the left were merge to make the panorama below. Just so you know the view of the frozen lake that I got to see after the hike. I wish I could come down closer to the lake to have more close up photos but we’re really low on time so this is all I could get. I don’t think the composition is that good but it’s nice to see the whole view. I like the yellow grass field by the lake and the color of the sky reflect on the frozen surface.

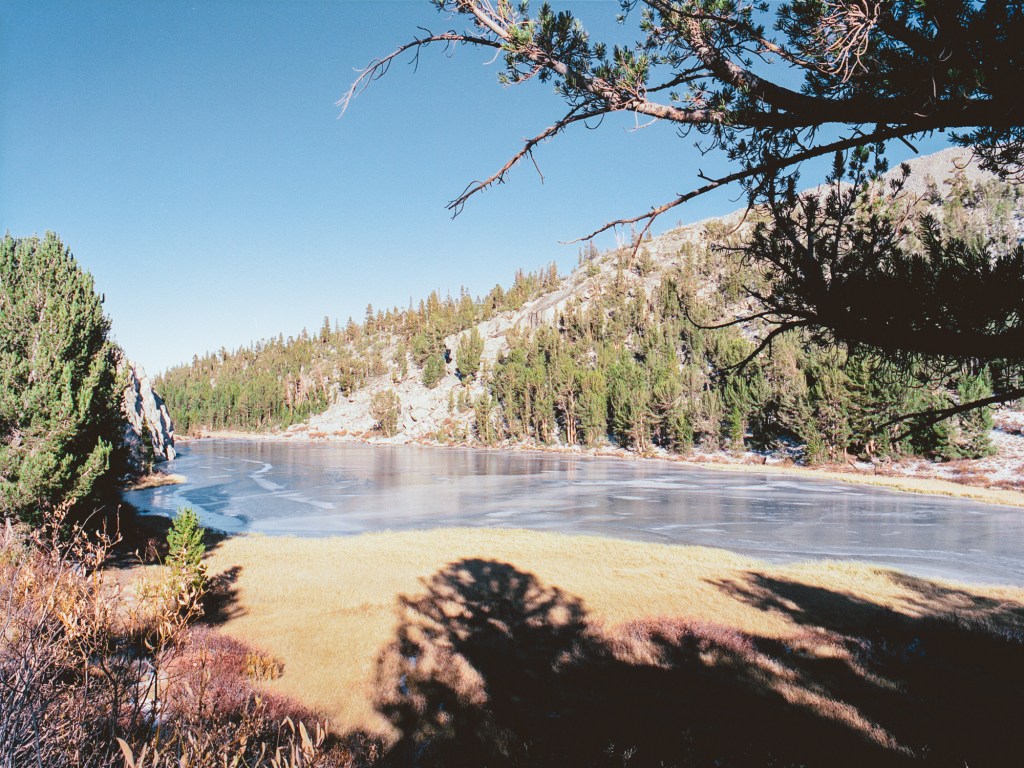
The last 2 photos are other composition that I took of the lake from a closer spot. I like the final one because the branches at top right foreground and the shadow at the bottom combines to give a direction to the eyes to look at the lake surface. I definitely blow out the highlight in this photo but I like that you can see the cliff behind the left side tree that you cannot see in previous photos.

That’s a wrap for this Mammoth Lakes trip. Thank you for making it all the way here. Hope you like the photos. Cheers!

mammoth lakes road trip [part 1]

It’s 2 months late after the trip to publish this post but I worked quite hard on the photos so I hope you enjoy it. I went to Mammoth Lakes in the middle of last November. The trip was nice and lovely, the weather was beautiful. This trip gave me some favorite shots that I’m quite happy with. In this trip, I tried something new with my photography: first, I practice merge 2 photos together to make a panorama scene; secondly, I used my new wide angle lens for the Bronica, the PE 50mm/2.8, for the first time. Having a wide angle lens gives you much more ability to shoot landscape or just more scenes in general, in the end, I shot all the photos here with the 50mm lens. Since I have a good amount of photos to share here so I make it 2 parts because I don’t want to overload my page or make you wait forever for the photos to load.

Since it’s 2 months already so I apologize for forgetting the names of some locations that I took photos of. When I went to Mammoth Lakes, the weather was very nice, not very cold, there’s thin layer of snow on the ground but I did not see any snowfall. The fall leaves were long gone and the snow was just appeared. The sky was very clear and bright in the morning and afternoon, at noon, the sky was so blue and the sunlight was very harsh, made it so hard to take photos at this time.

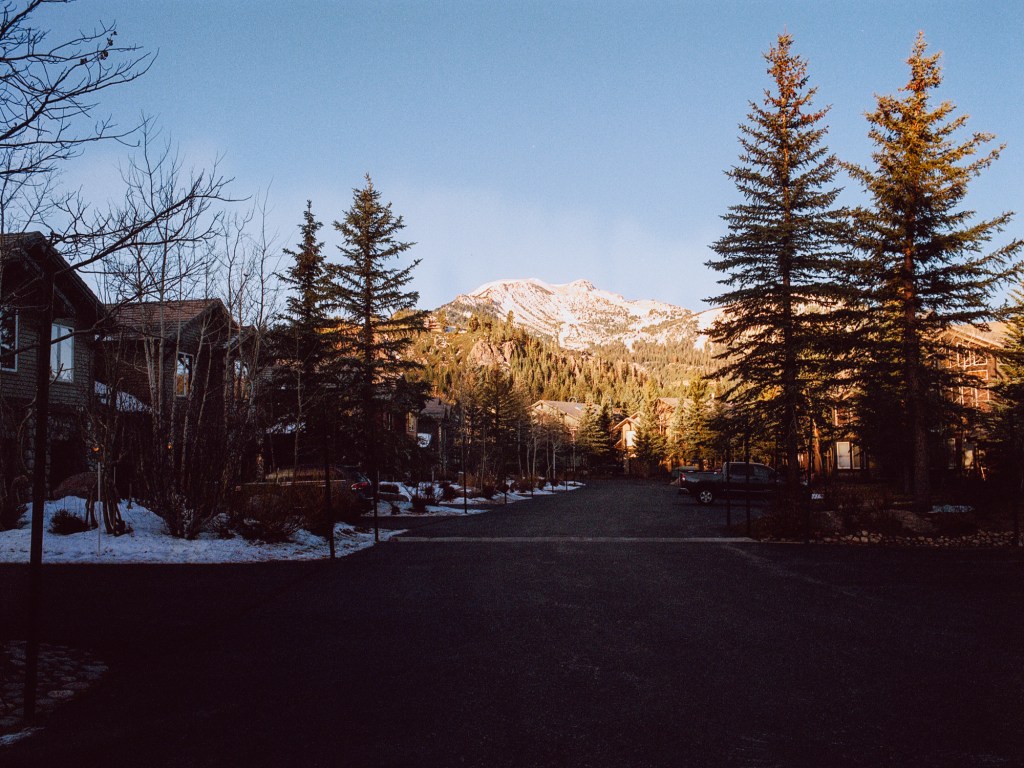
First off, let take a look at the area my friends and I stayed during our trip. It’s a lodging [compound?] called Snowcreek, it’s located by the Kerry’s Meadow and next to the Snowcreek Golf Course. These photos here I took with Bronica 645 system and Portra 800.

The first photo is the road at sunrise. This is a very high contrast scene where the peak of the mountain is lit up but the road and houses down here was very dark.

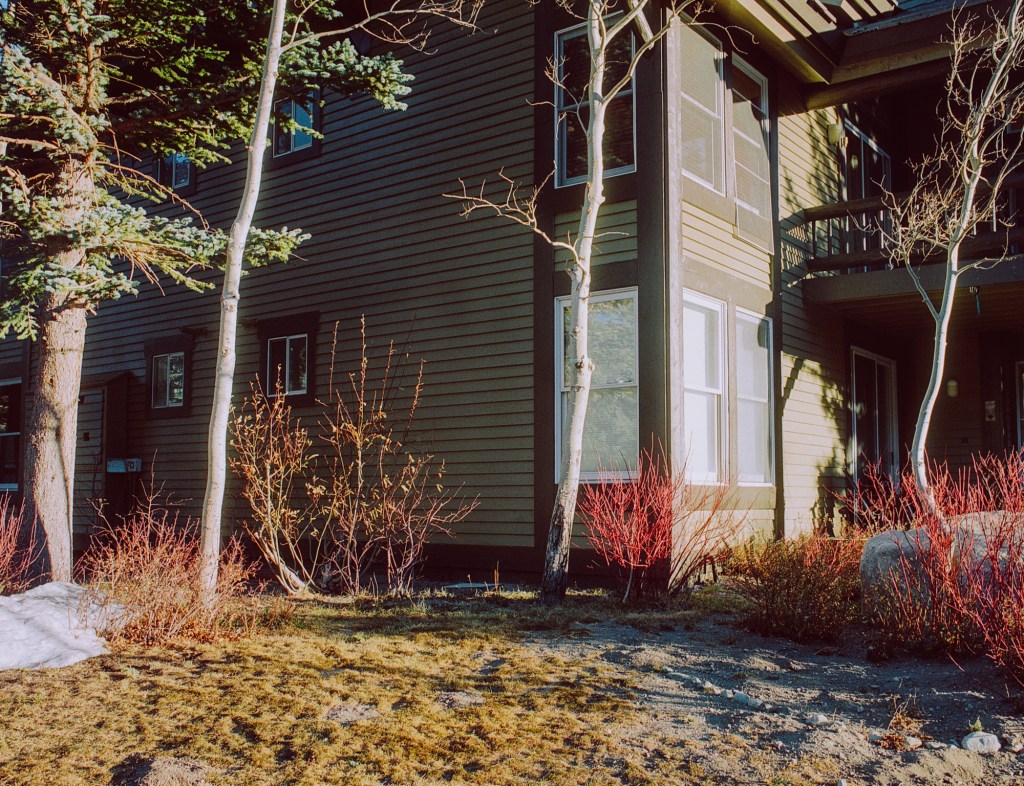
Next is some houses in the sunrise light. I took these with the promist filter 1/4 to have the glowing affect on the trees and windows.


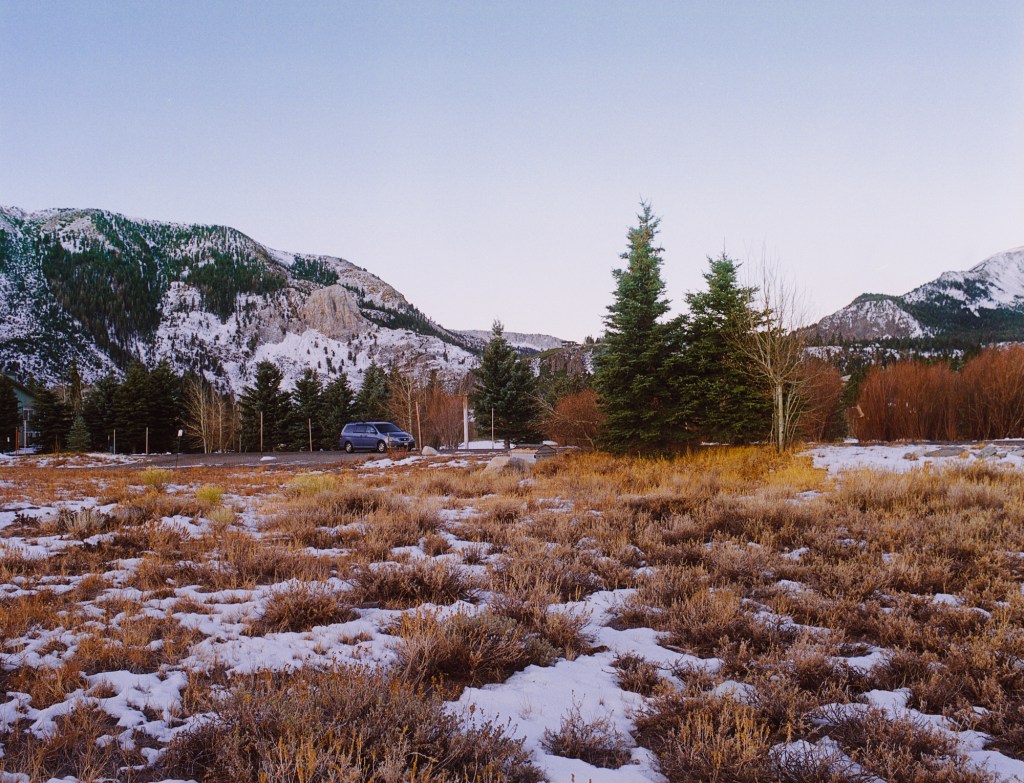
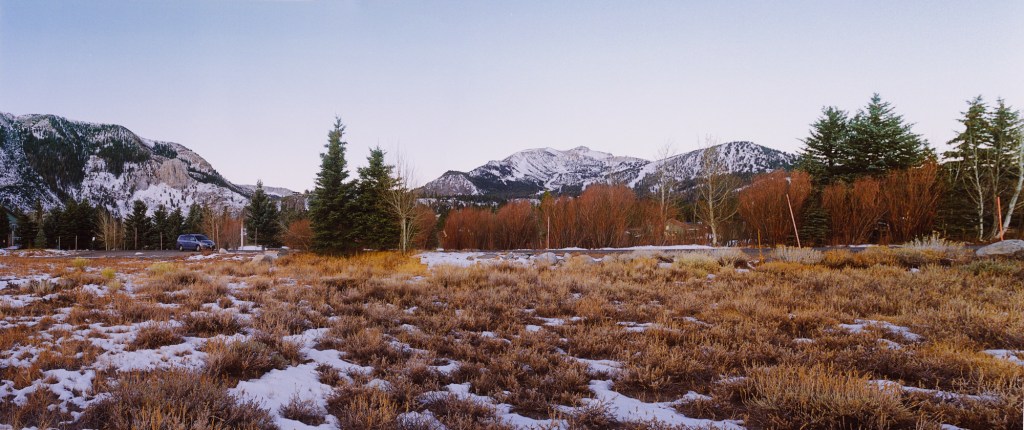
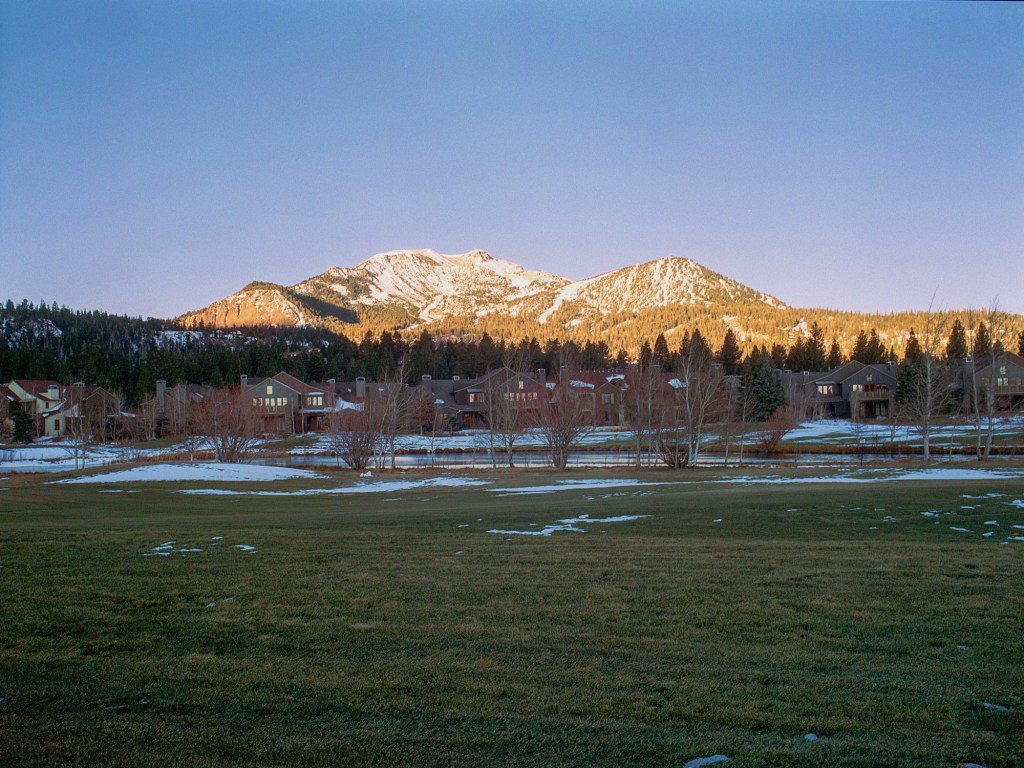
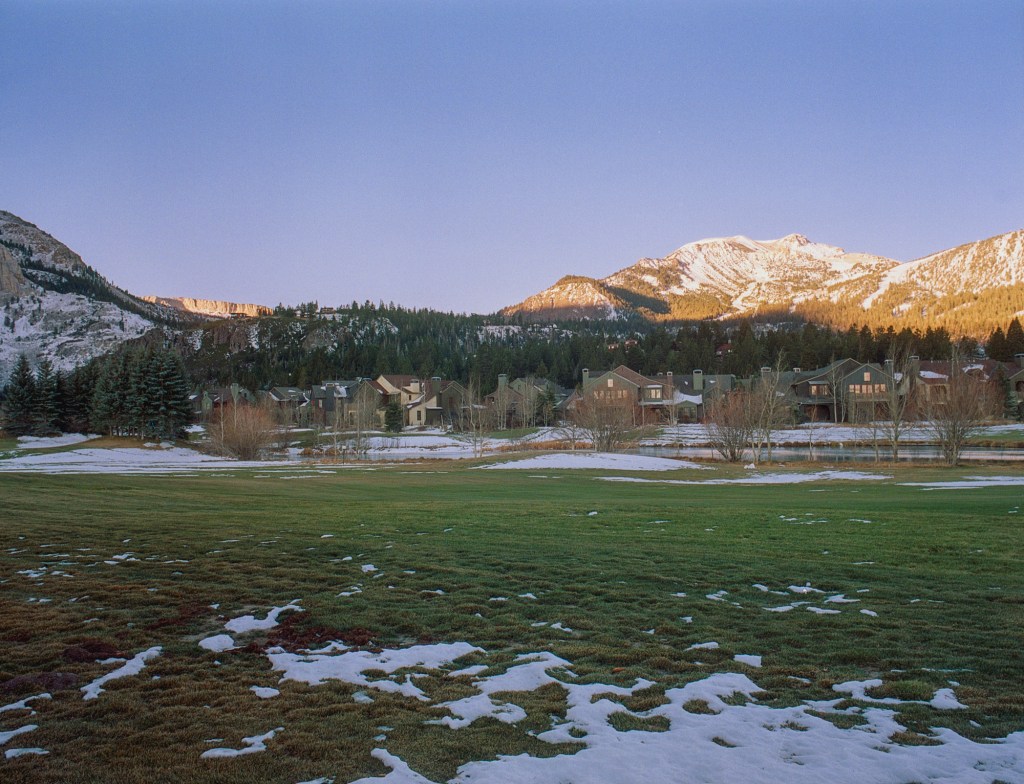
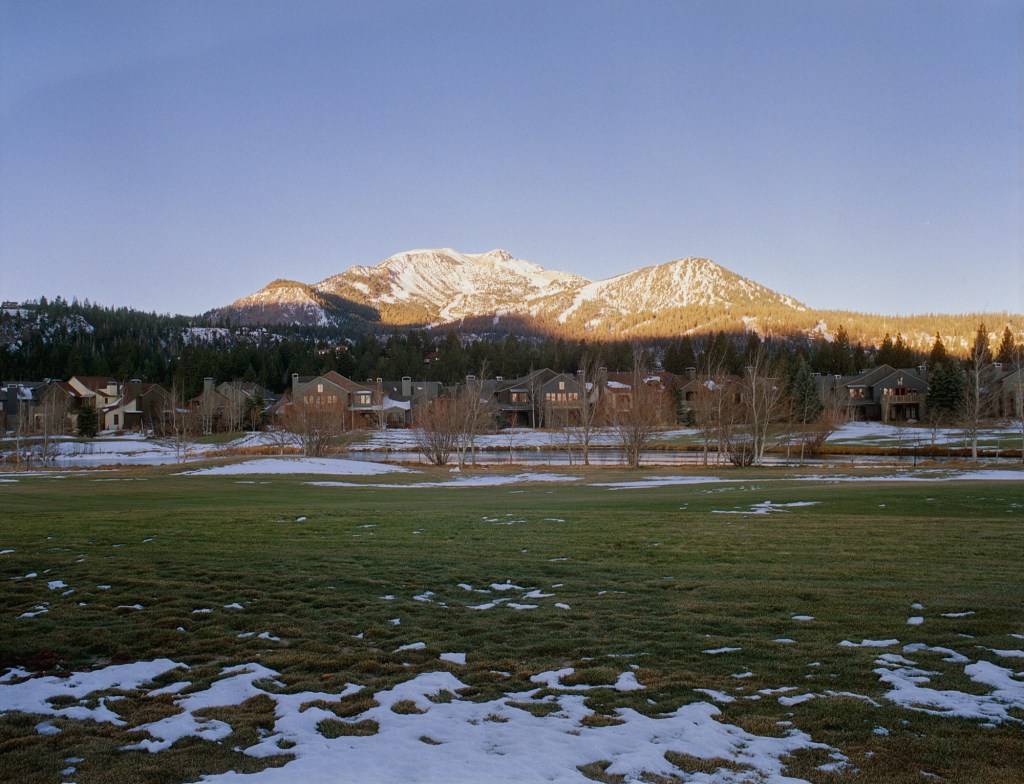
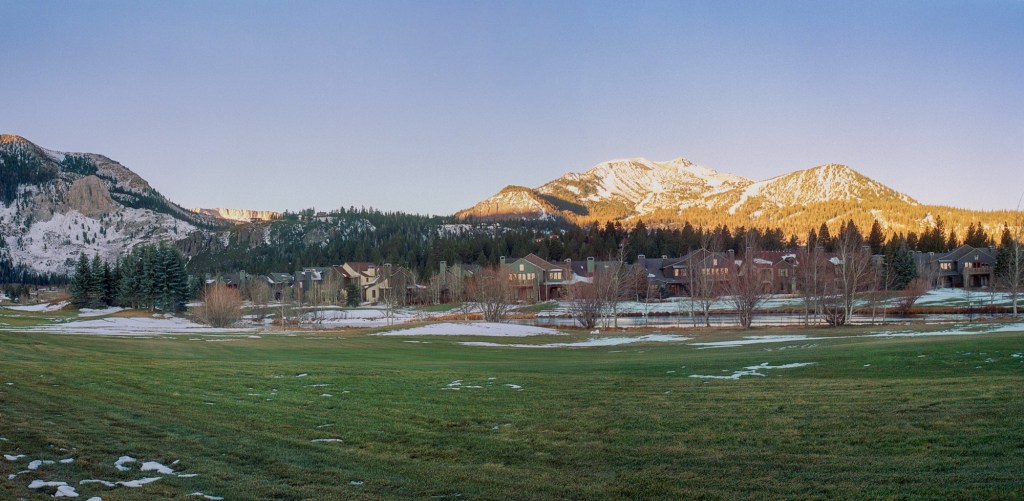
Next, the photos of the sunrise view that I took from the edge of the Kerry’s Meadow looking at the Mammoth Mountain. My specific spot here is just off the road between the Golf Course and the Meadow, I didn’t walk into the Meadow although it could be great if I did. Here I combined 2 photos together to make a panorama of the scene. When I went to the Meadow for the sunrise, I noticed the blue van was silently parked there, they must went there to watch the sunrise just like me. Even though I didn’t know them and we never talked to each other but since we came there for the same reason, I feel a connection to them, like ‘we were a same place at a same time waiting for the same thing’ vibe. Besides, the van is a nice addition to the photo in term of showing the scale of the scene. At this moment, the sun haven’t come out yet, as you can see the scene is flat and dim.

This one here is the view from the edge of the Golf Course looking at the peak of the Mammoth Mountain when the sun rises up.


Another panorama photo. I think I watch a lots of Nick Carver’s videos to make my photos into panorama ratio. But I don’t think my composition is that good, the first reason is I didn’t actually see the composition as panorama when I compose the shots, just the estimate and imagine from myself, so when I merged the photos together, the composition is always off. But it’s nice to make these photos and see the scene as wide as I can.


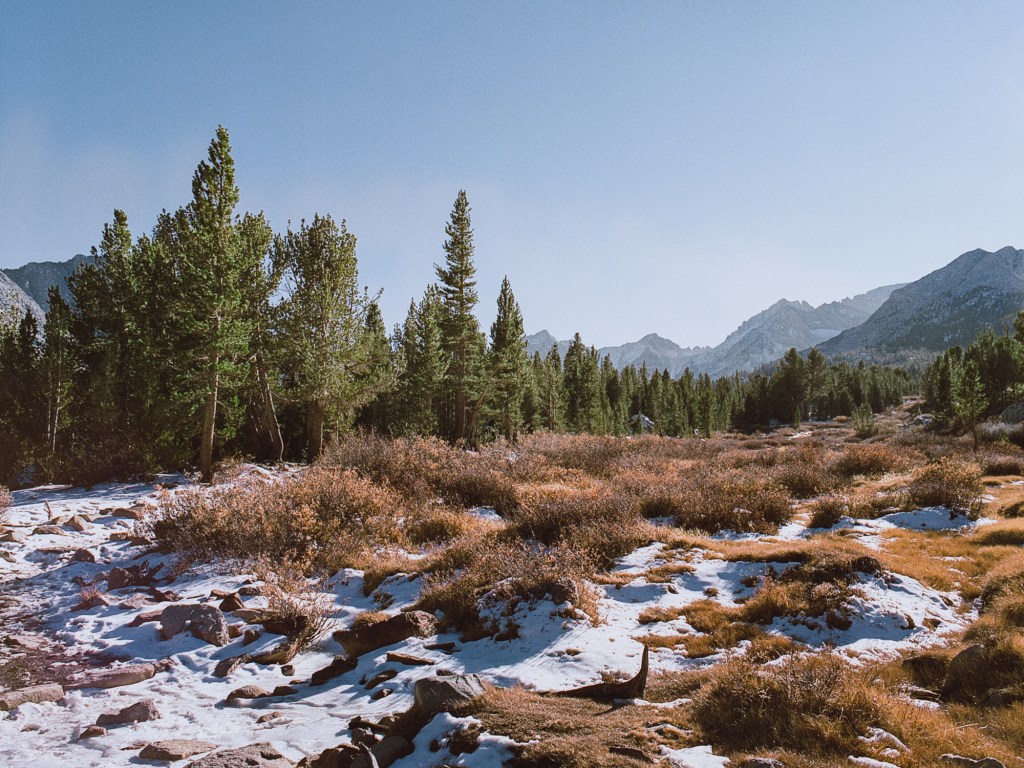
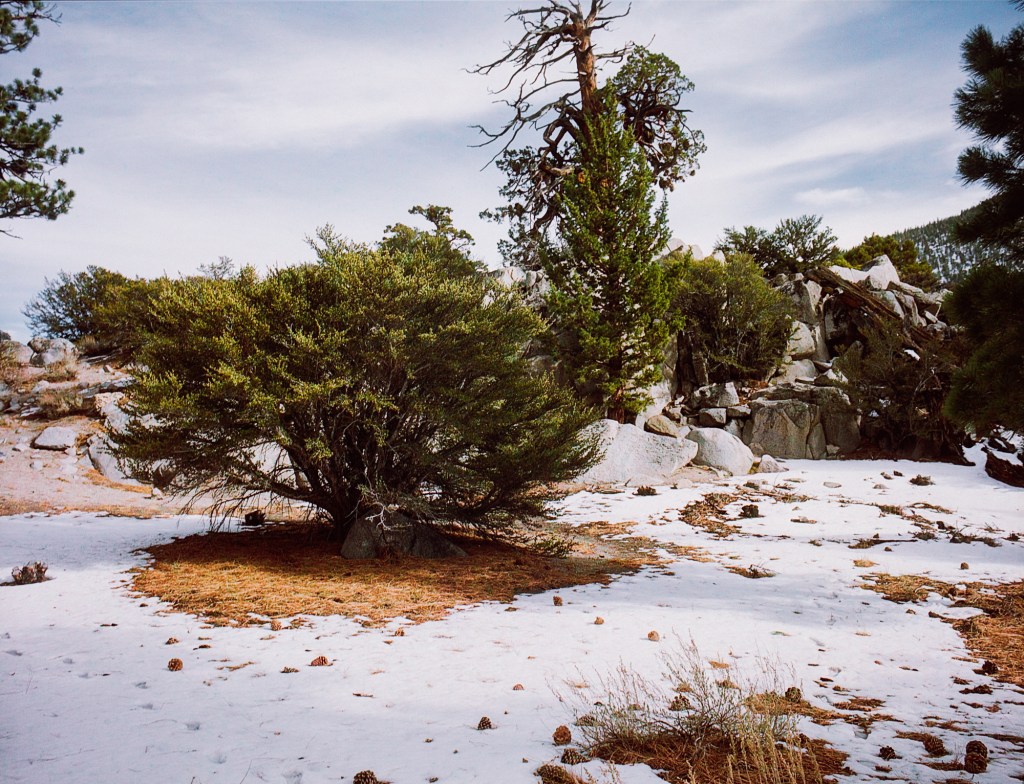
The following photos are some scene on the hike on the first day. Taking photos in the snow scenes was definitely hard because the snow is so bright and if you don’t know how to expose the shadow, your shadow will be pit black, just like my right side photo here. These were taken with Portra 160 expired.

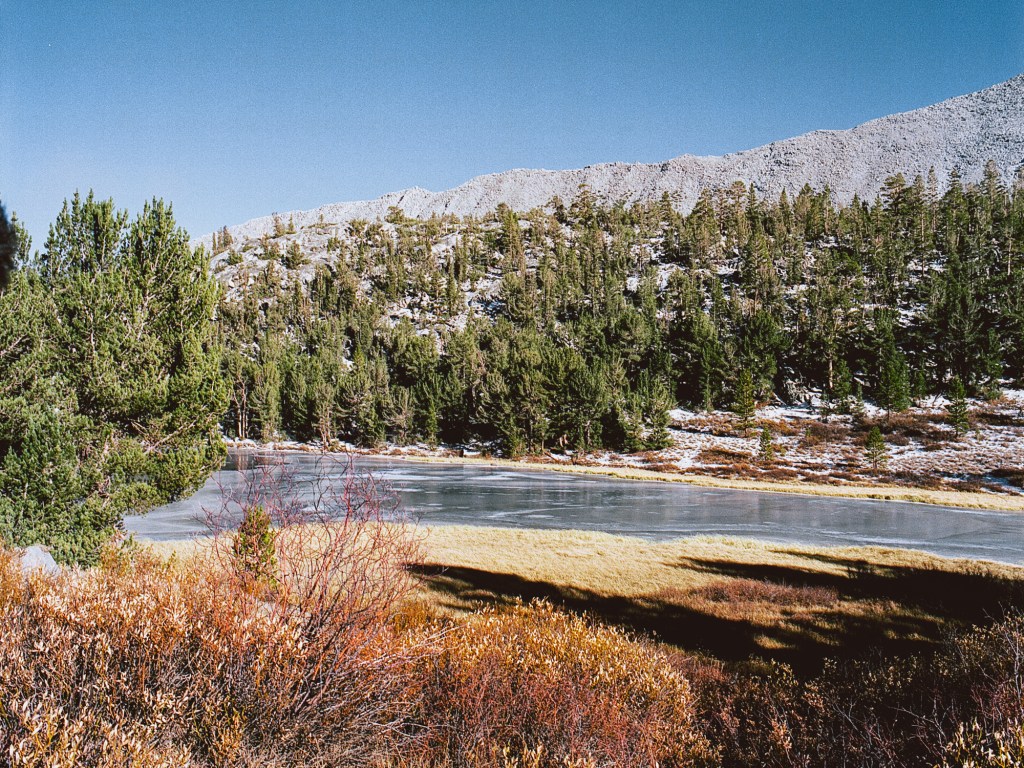
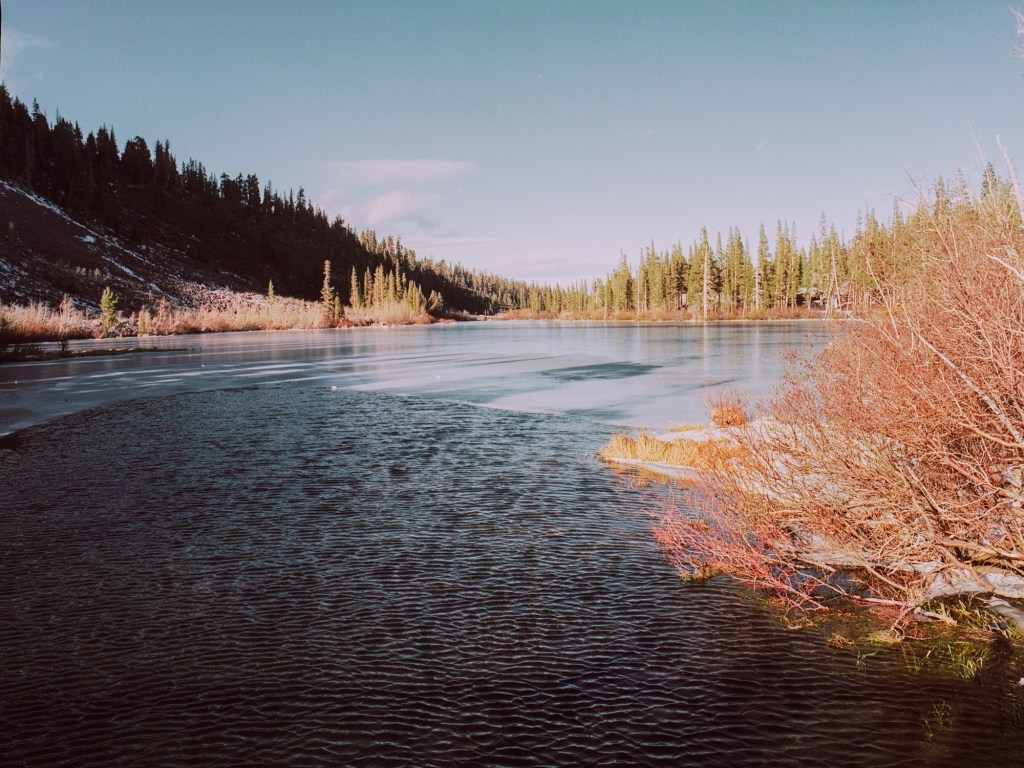
Finally, these are photos of a lake that I forgot the name. I took these in harsh sunlight so the shadow was crushed to black. The film I used here was Fuji Pro 400H. I did heavily edit these photos because the “straight out of the scanner” were so terrible to look at [or just me being terrible at scanning]. The first two are not that great but still give you the nice view of the frozen lake. The last one is my favorite, I like the color palette and the way I can capture my shadow, just something about it makes me keep looking at it.


This is end of part 1. Thank you for making it here. Let’s check out the part 2! Cheers!

the famous amboy

It’s been a while since my last post. Since then, I’ve constantly had a thinking that my photos are not matching my expectation. I don’t know if it’s because whenever I go out to take a photo, I always think about making photos for my blog post or just because I’m not improving my skills. Either way, I’ve chosen to slow down and think about the photos only, not about the purpose of the photos later. So here you are, some photos from my few hours in the famous Amboy town. I was there around 1pm so the sunlight was not very pleasing (compared to golden hour) but since it’s winter time, 1pm was not that harsh and strong. I got some photos that I’m happy with.

1
2
3
4
5

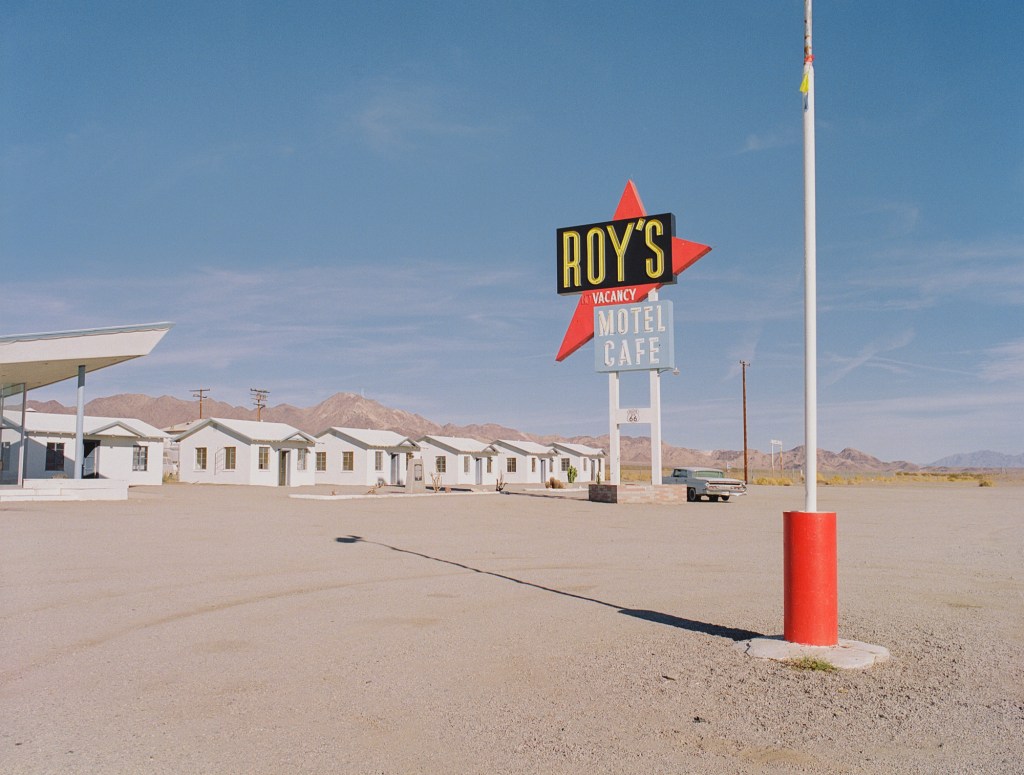
These photos were taken with Portra 800. I didn’t plan to shoot Portra 800 at midday but I was having the roll in my camera from the last trip so I have to finish the roll. It’s the famous Roy’s sign so I had to take a good amount of photos to make sure I got one that I can proudly share with people on the Internet :). The second (2) photo is a initial composition that I like when I look at the Roy’s sign while standing in front of the restroom :). Then I move to the right to take the third one. I like the composition and elements in the #3 photo but wish that I have the man in a nicer post (he was doing his job and I think he’s a good element to the photo but I was worried that he may blend into some objects so I take the photo when he just separated himself from the gas pump. I also wish that I moved away a bit to not cut the bottom of the “Cafe” sign and I also want to include the “no vacancy” in the photo :(. In the photo #4, I also want to include the light pole at the foreground because my photography goal is to create photos with complex layers, not sure if I tried so hard and ruin my composition in this case. Anyway, here’s the 2 photos that I think look best.

6
7

The #6 photo is just simple and straight forward about the environment and how vast the place is. When I look at the photo I can feel how lonely the sign is, there’s no other like this in miles. The #7 photo tells more about other structures around the sign and I like the affect of the wide angle lens here.

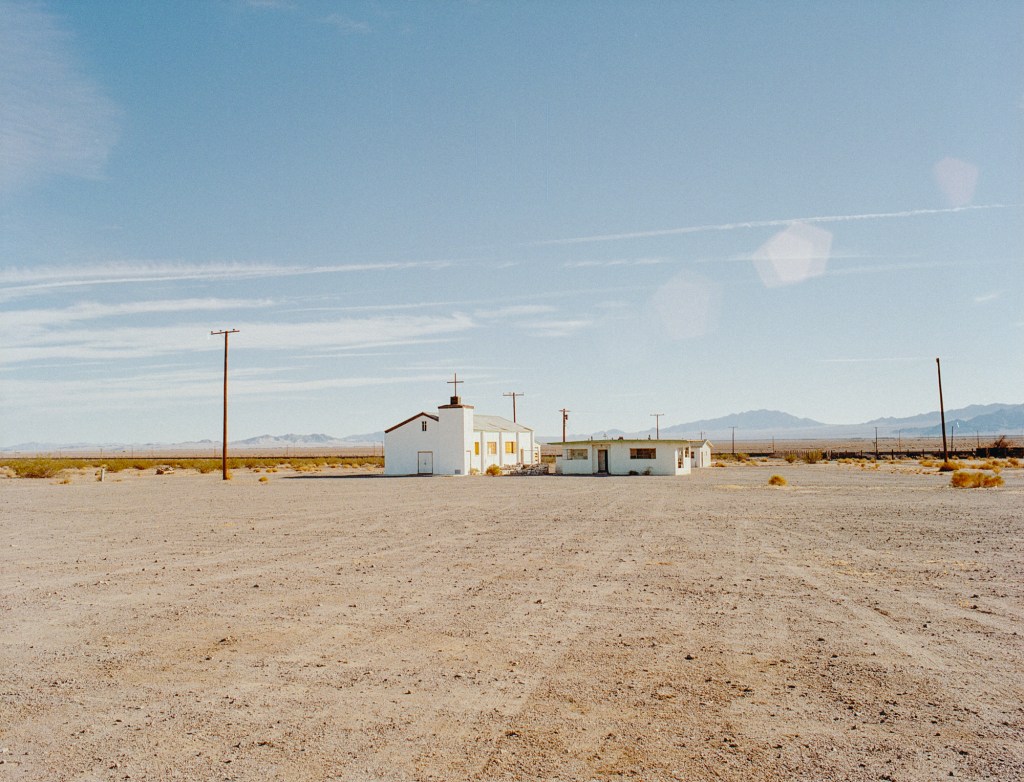
After taking photos of the sign, I cross the street to take photo of the church across Roy’s because who can reject a lonely white church in the middle of desert?

8

This is also the last shot from my roll of Portra, so I loaded Fuji 400H and continue shooting. I love abandoned things because they carry so many stories, they are unique and broken :).

9
10
11

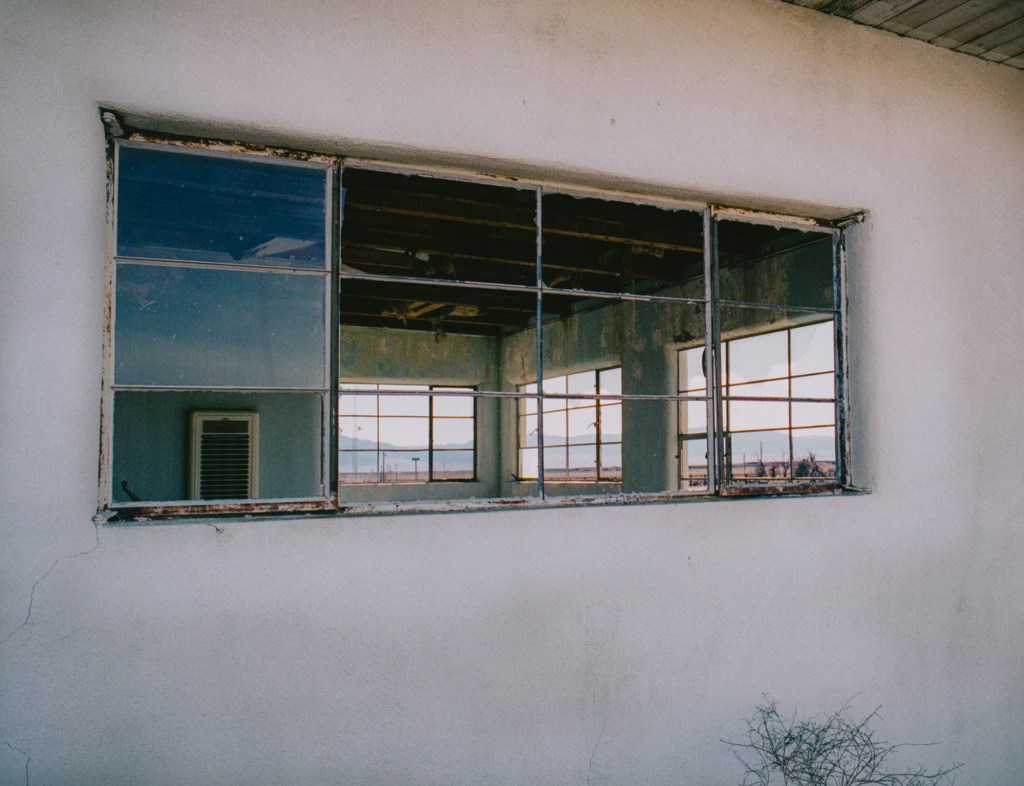
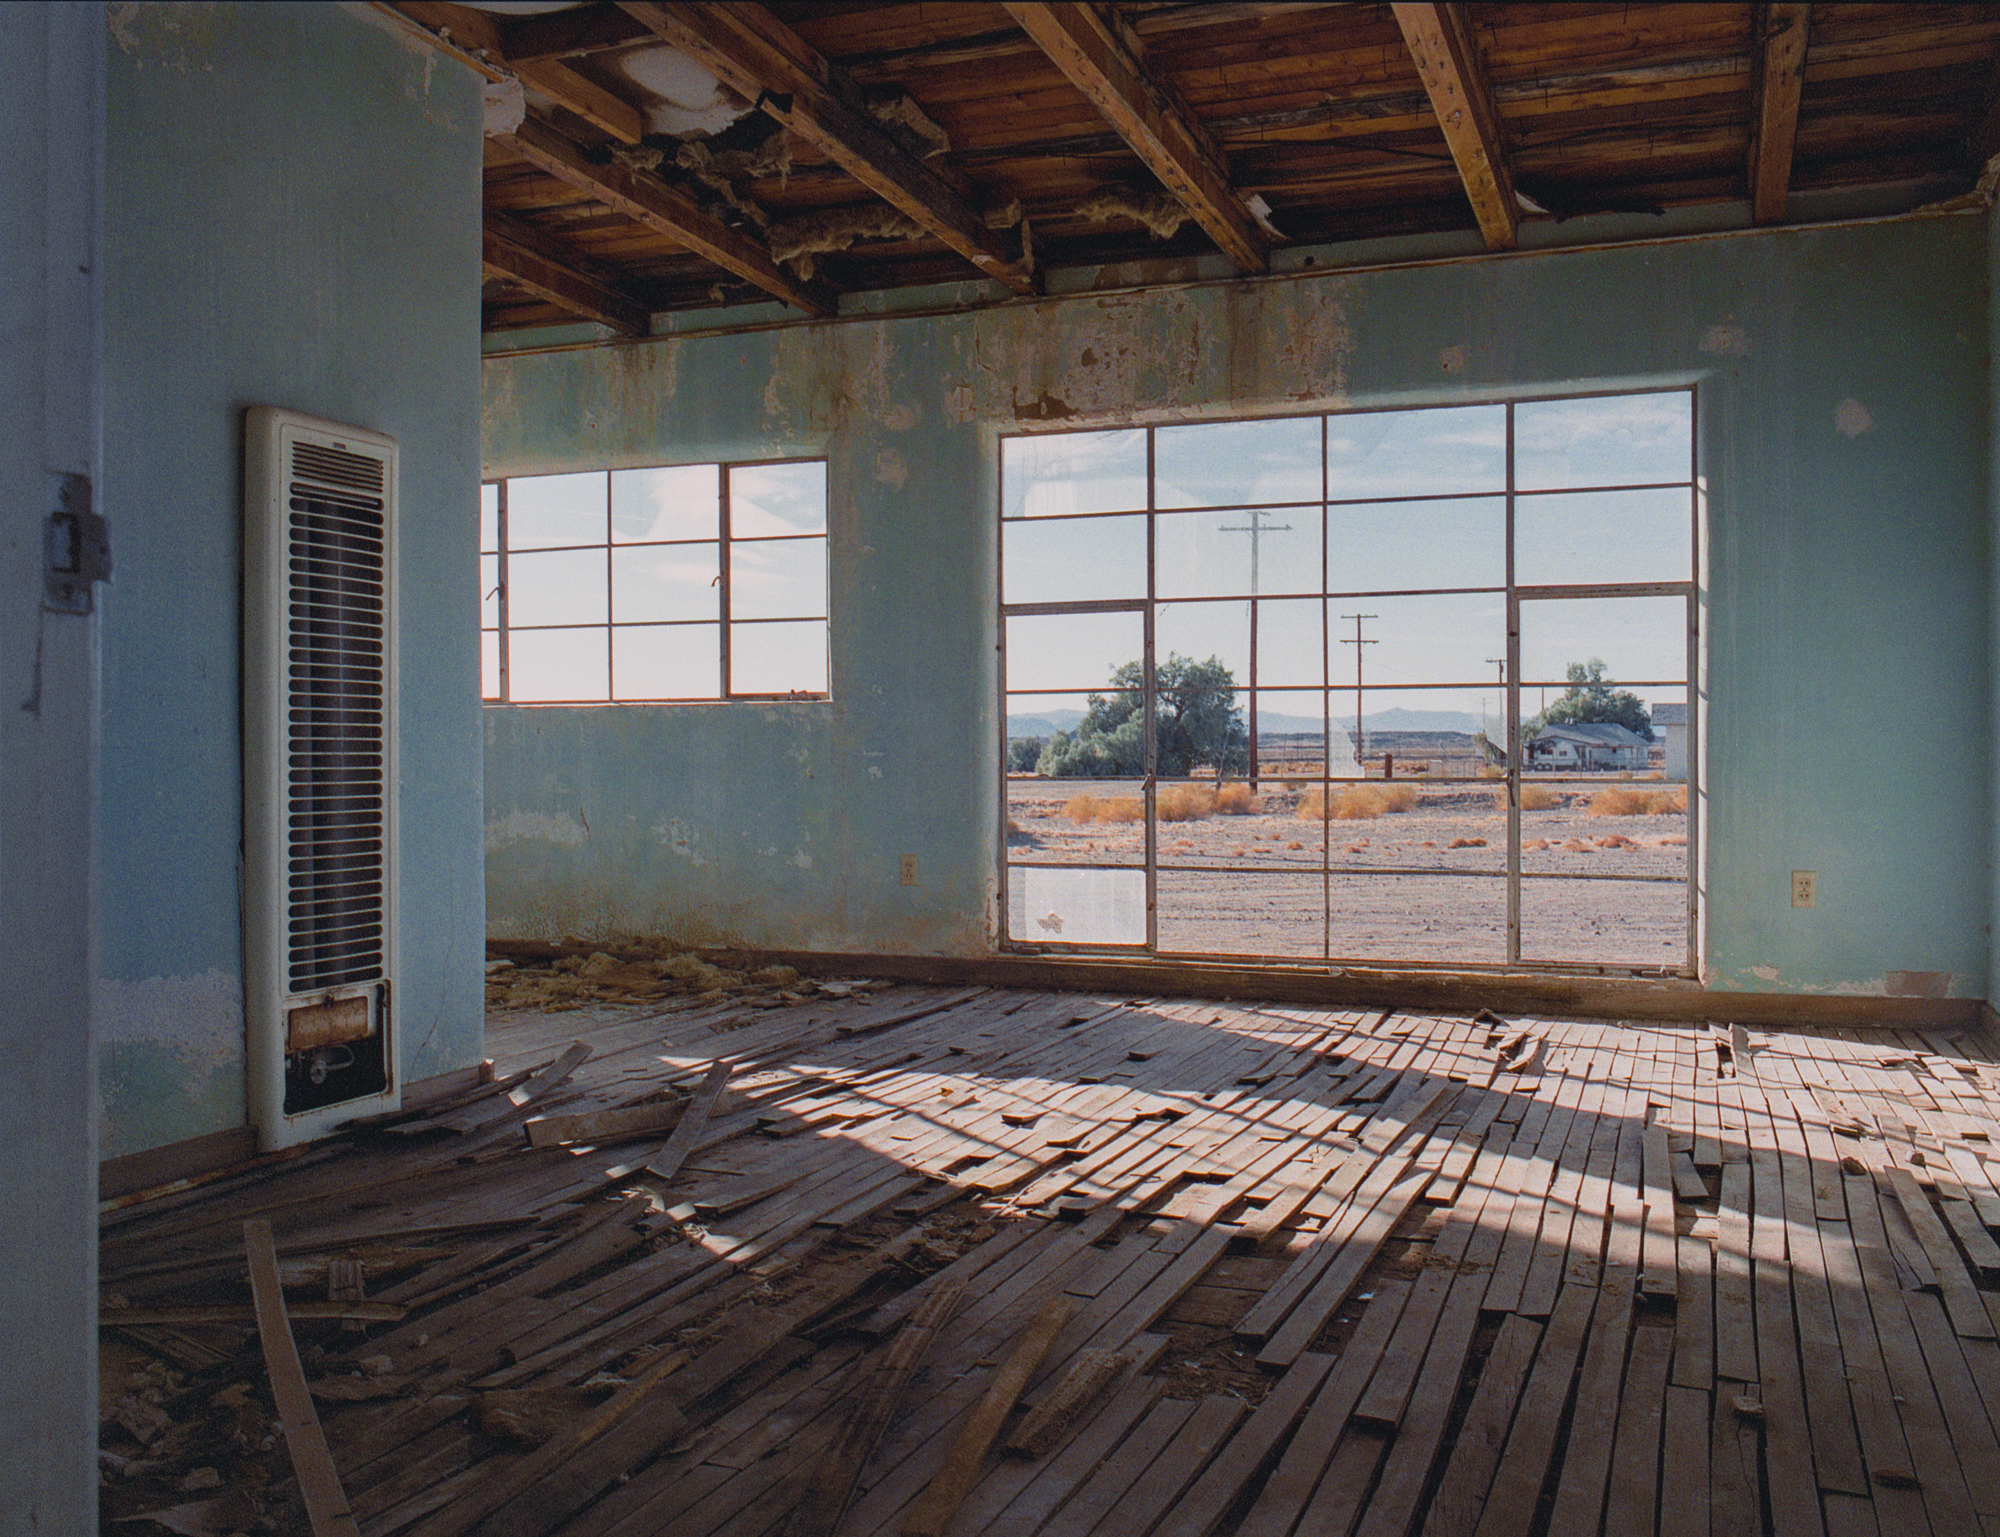
I like the #9 photo but I heard feedbacks said it not pleasing, I guess because of the ugly house on the right side, but I still like it because it’s life, beautiful and ugly, light and shadow, high and low, they just come hand in hand, nothing is 100% beautiful. I had high hope for the photo #10 but sadly it doesn’t come out the way I want. Subframe and multiple layers in a photo is something I thrive for but I guess still not success this time. The photo #11 is not that great but I like the fact that you can see the house over the window, and it also pair nicely with the last photo below (because of the heater?).

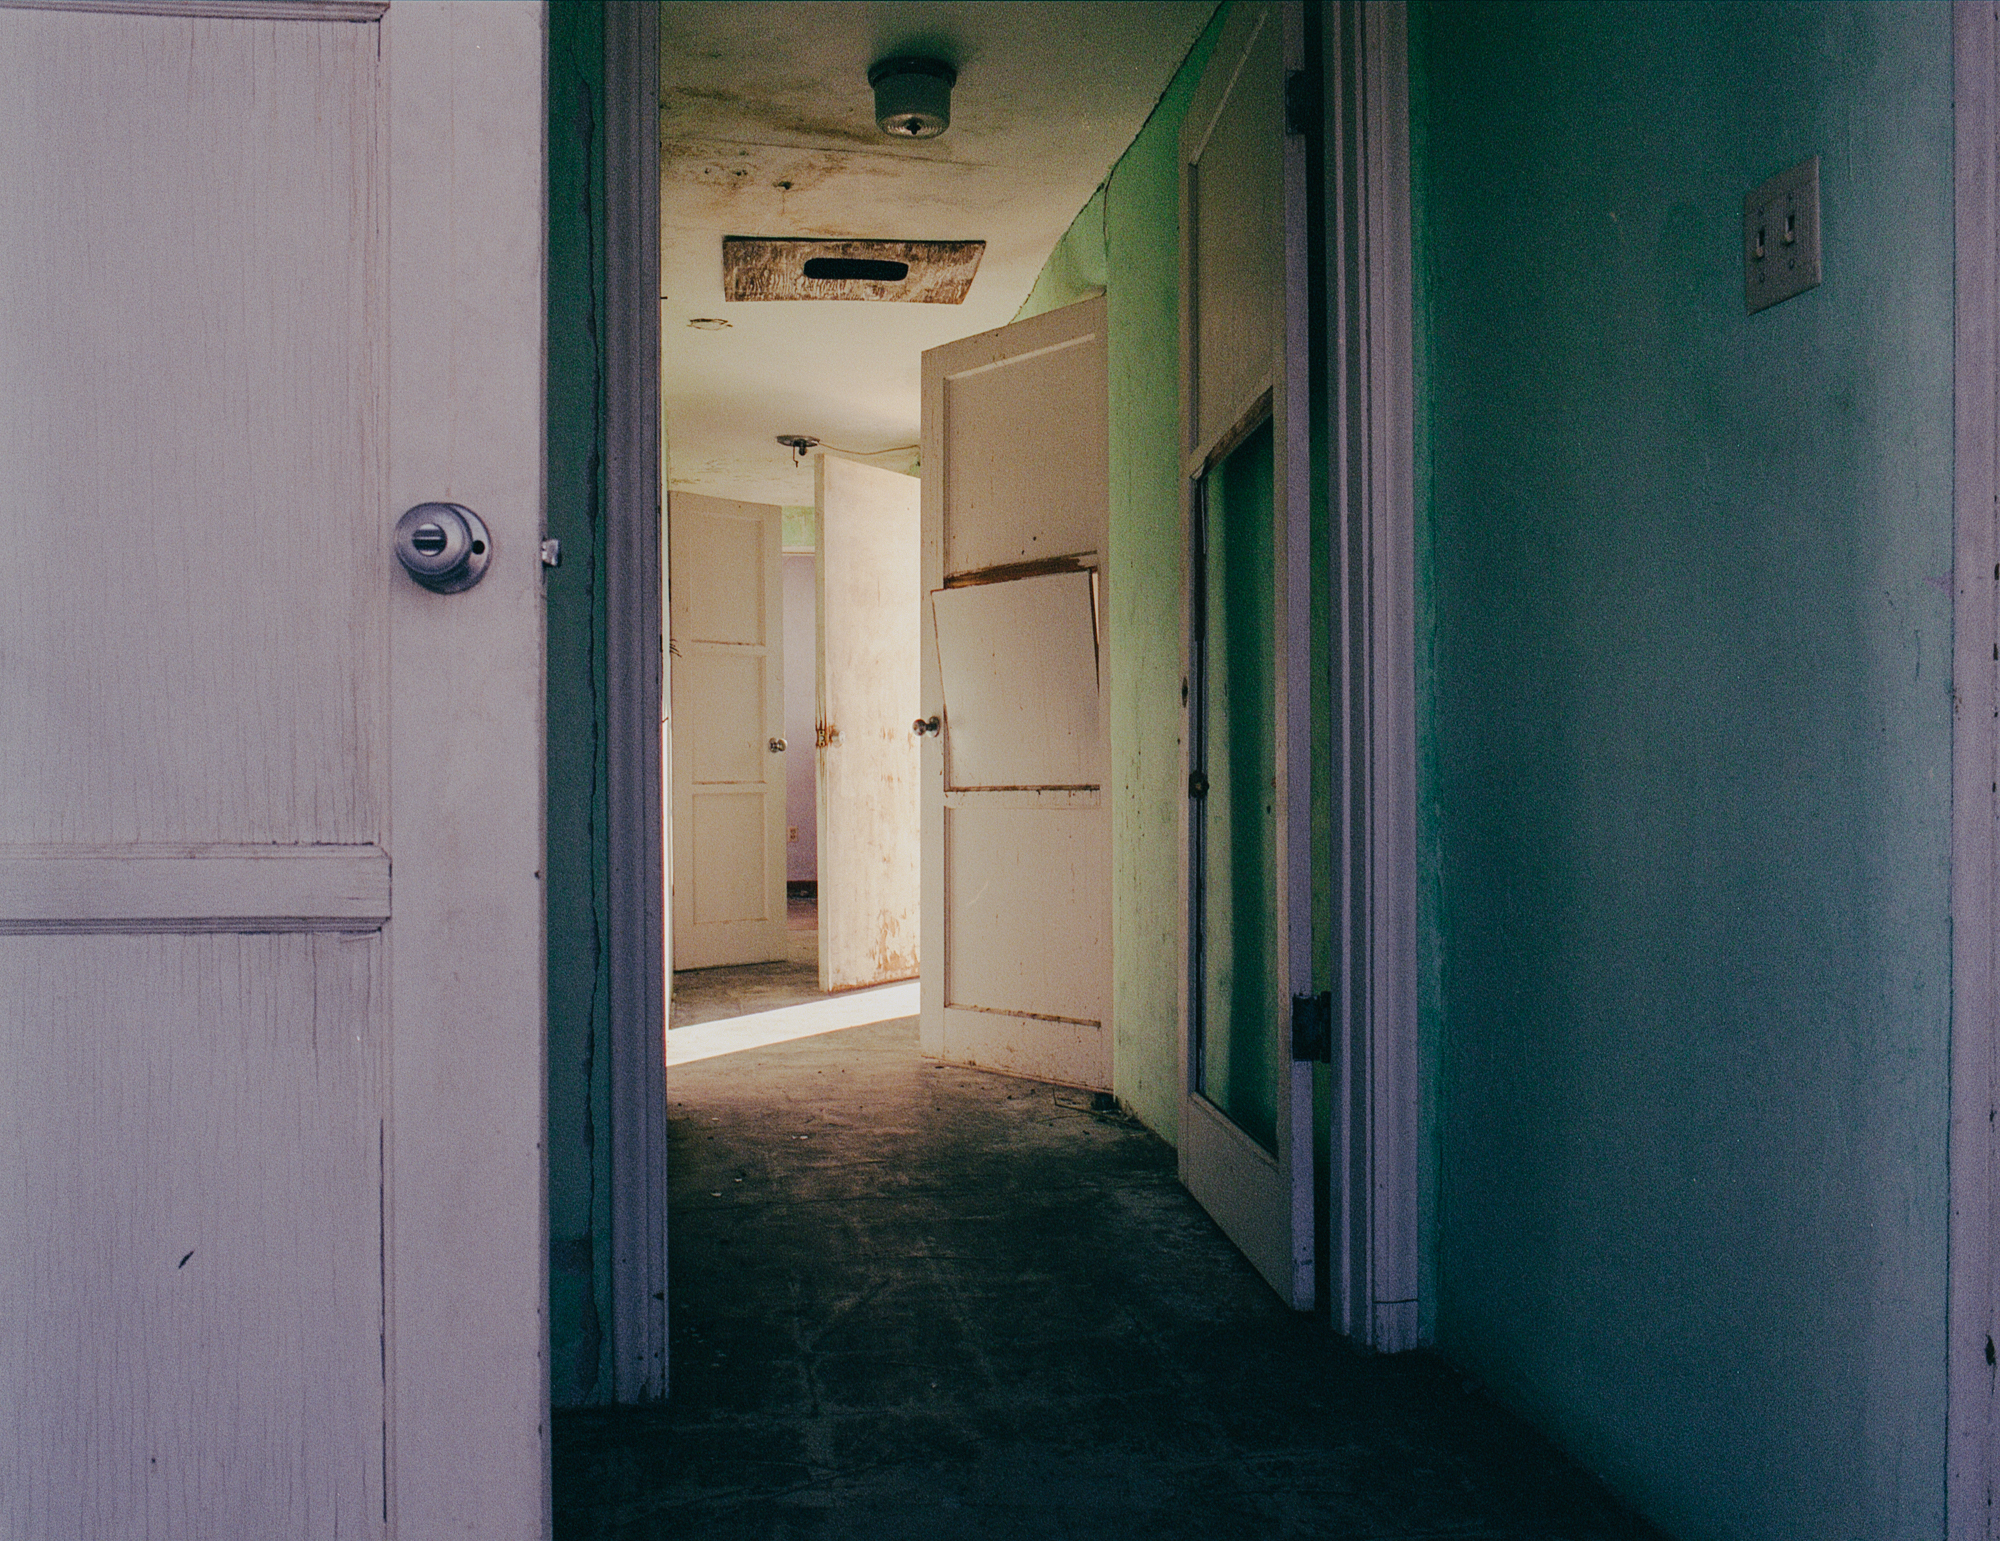
Finally, the last 3 photos are the best ones. I suppose to like the last one the most because, again, so many layers and elements to look for, but I still think it’s missing something to be one of the best of my work. The photo of the hallway and doors is fascinated to me because it’s mystery and make me wonder what’s inside those room, there’s so much possibilities inside those broken doors. It looks just like a scene in a movies. Last but not least, the whole church and abandoned houses around remind me of the TV series Preacher from AMC.

Thank you for coming all this way. Hope you enjoy it. And watch Preacher if you’re open to dark, ugly and cruel things ๐Ÿ™‚

san francisco street photos

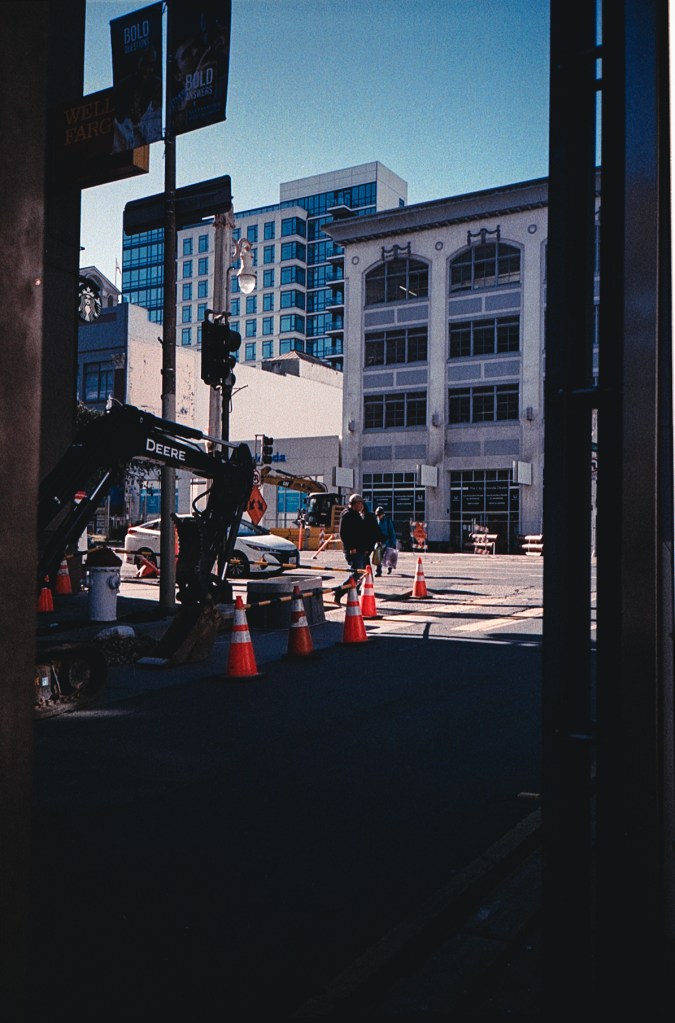
You may think that I just shoot landscape and houses because that’s all I’ve posted so far on this blog. Yes, I’m drawn into scenes that doesn’t have human present but definitely have human’s mark on it. Maybe because I like the hinted details or the metaphor of human’s present and their impact or just because I’m a big introvert. However, I had chances to take street photos and it’s quite excited I guess. I don’t think street photography is easy, it requires time and lots of exposures, skills and hard work. I know tons of street photographers go out walking for hours every single day to do their job. Fully respect from me for street photographers out there. Street photography is not like landscape or anything I do, you don’t have the time to meter, get your composition right, look for best angle, focus and then re-compose, everything happens in a split second and you have to react in a blink of an eye. However, it’s not all street photos are about capturing those candid moments like that, sometimes you can shoot slower depend on your themes. And I’m the slower shooter type.

I had a day in San Francisco in January this year and I luckily got some street shots that I feel good to share here. They’re quite different from what you usually see from my suburbs or landscape scenes. All were shot with Yashica T4 and Fuji C200. Hope you enjoy!

my favorite from the series

beach town observation

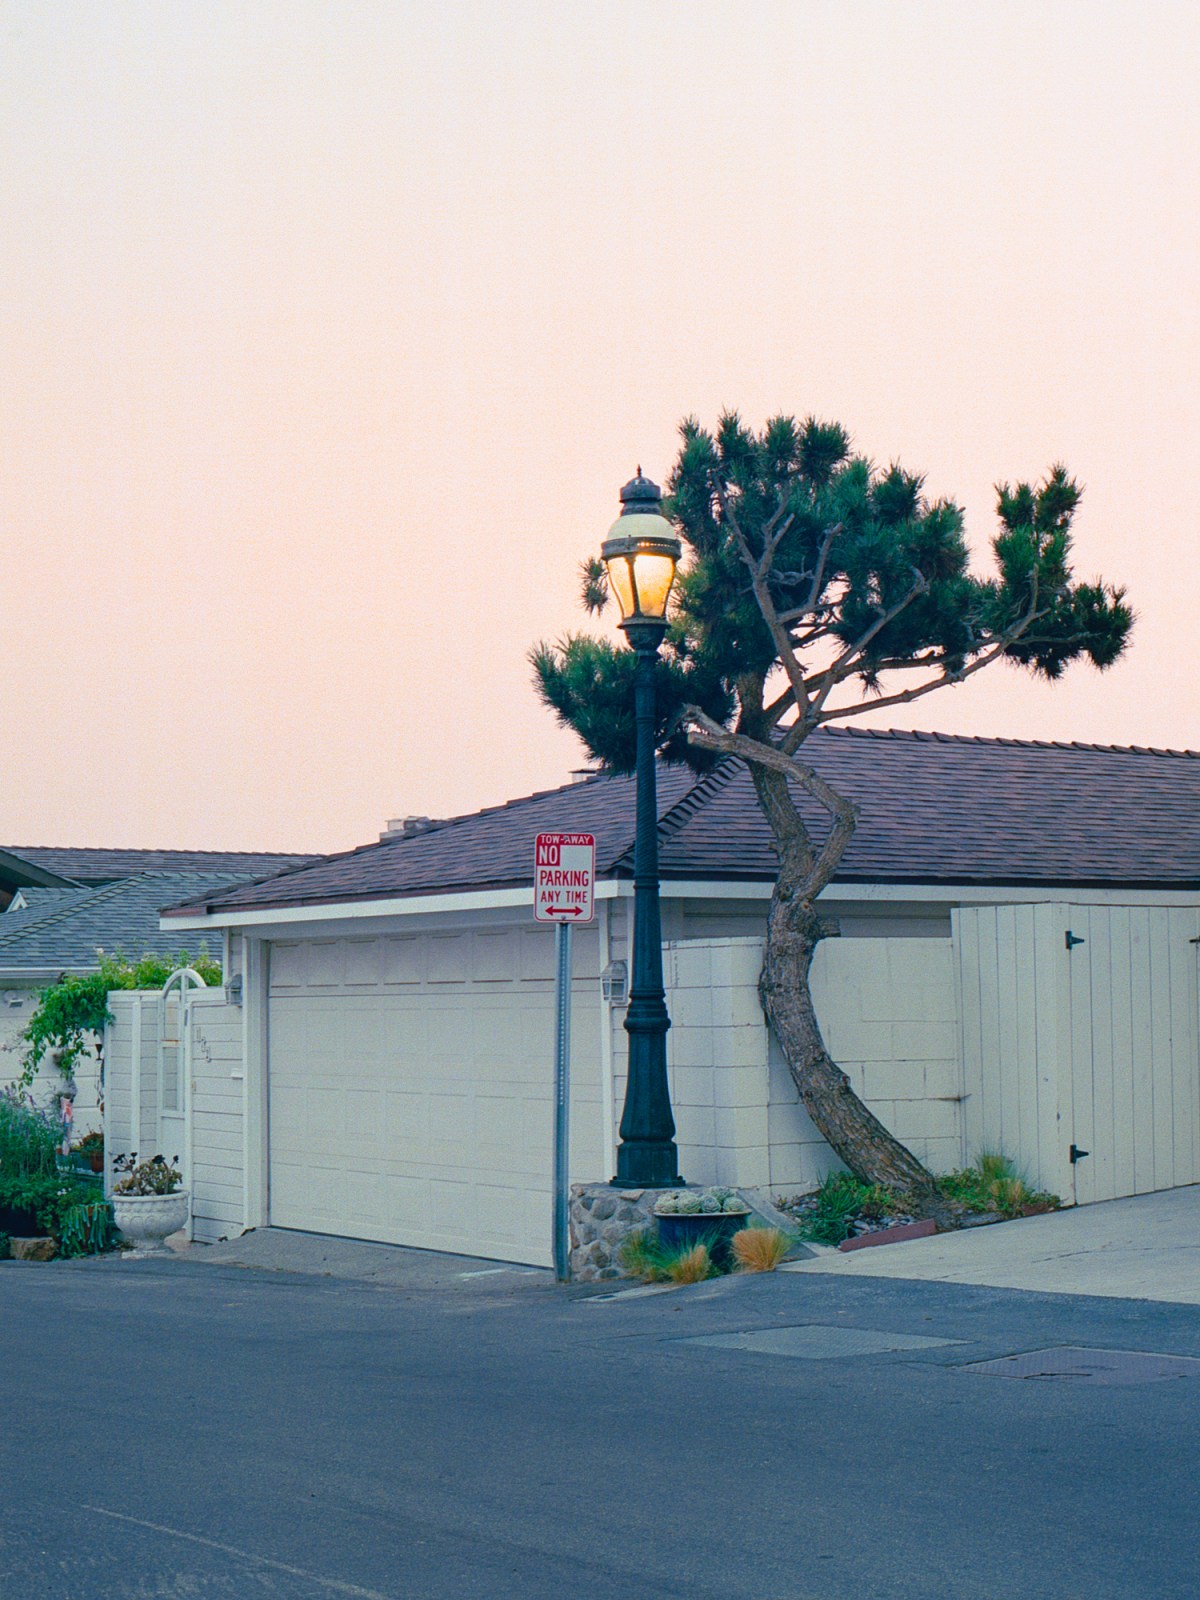
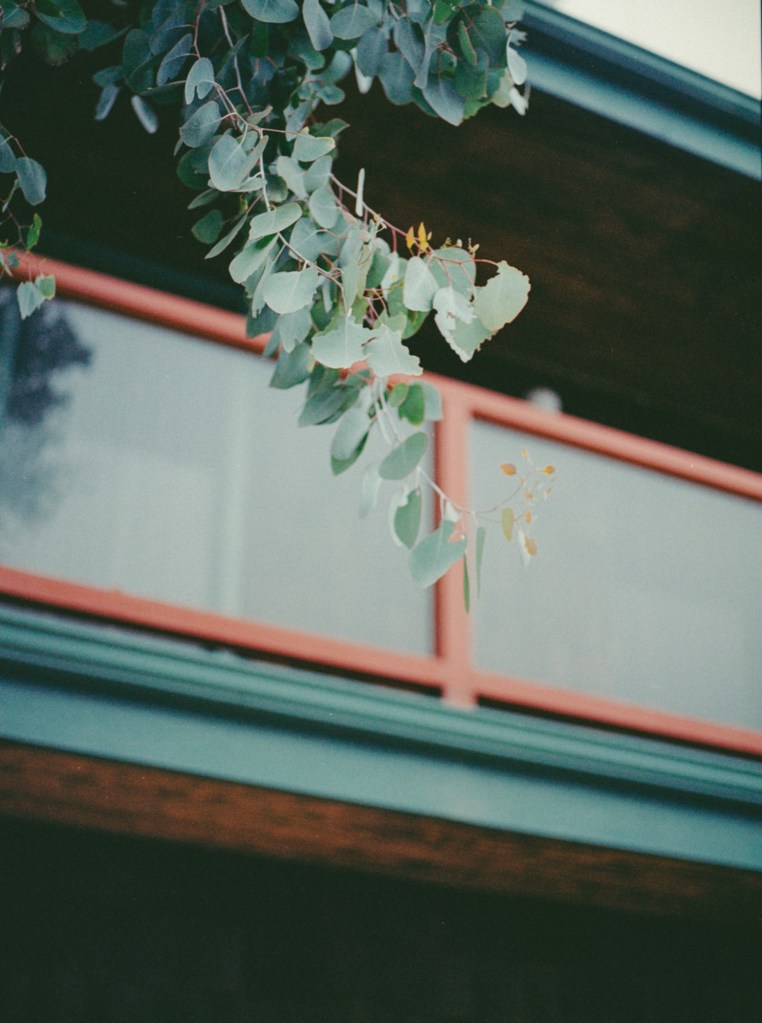
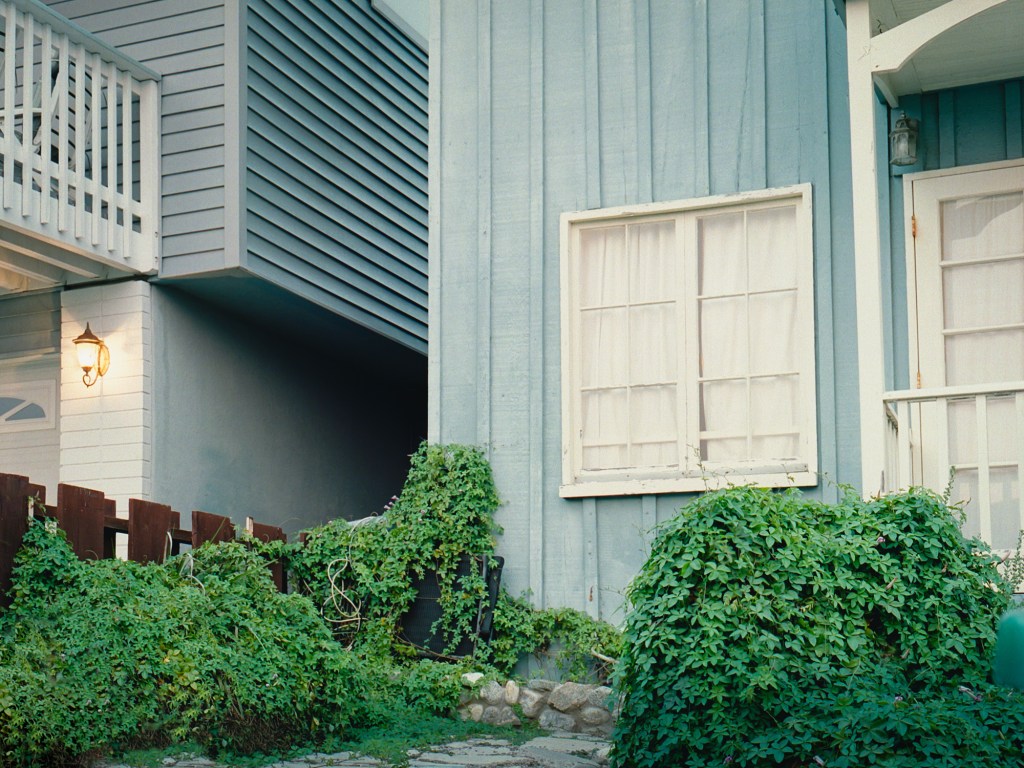
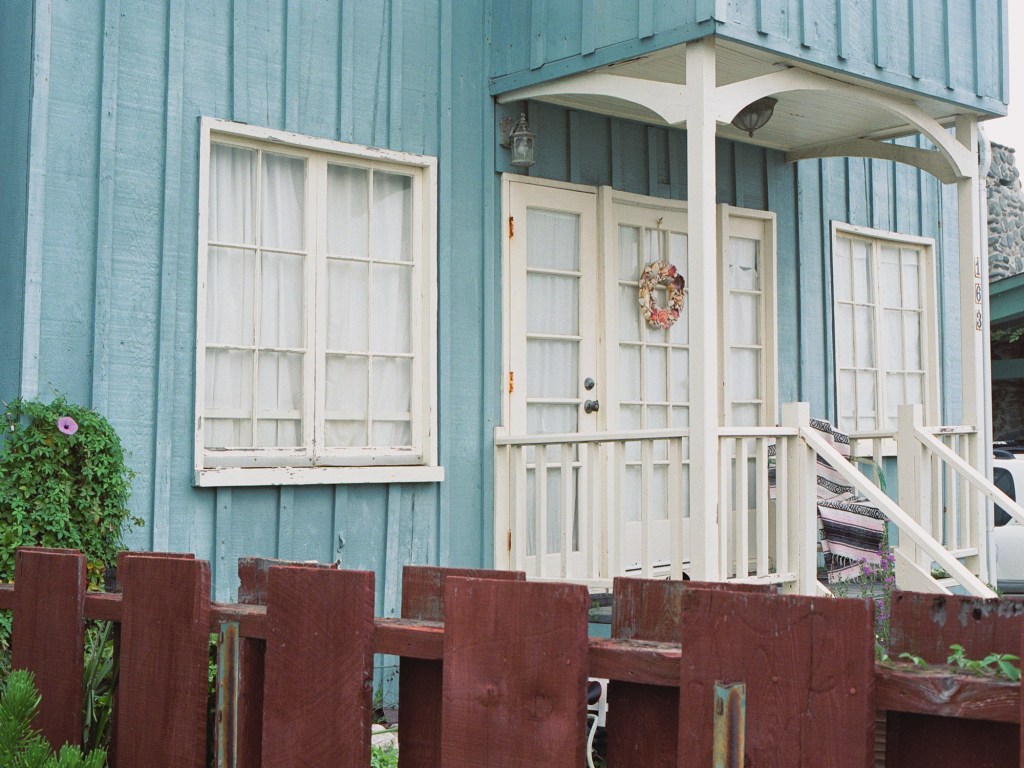
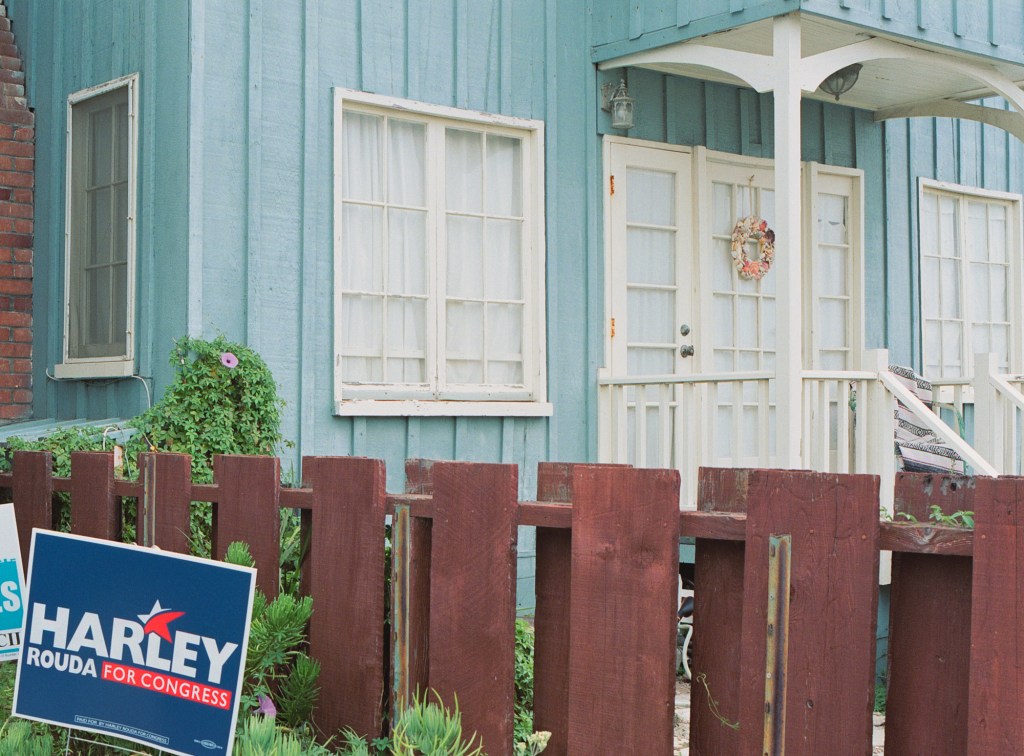
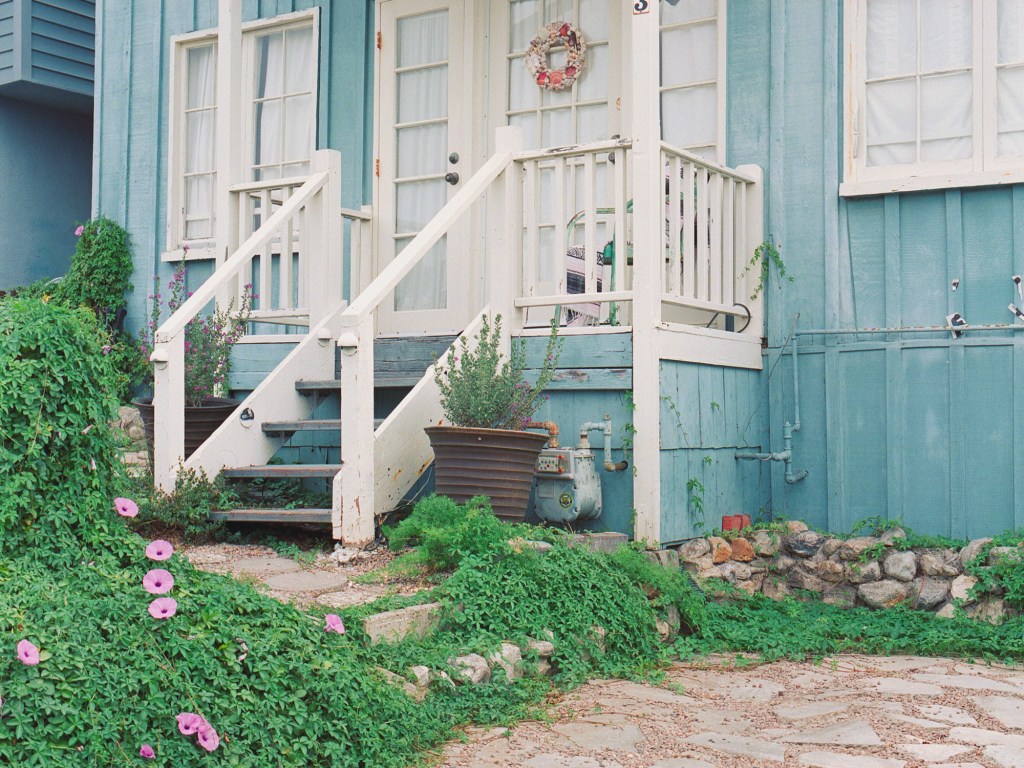
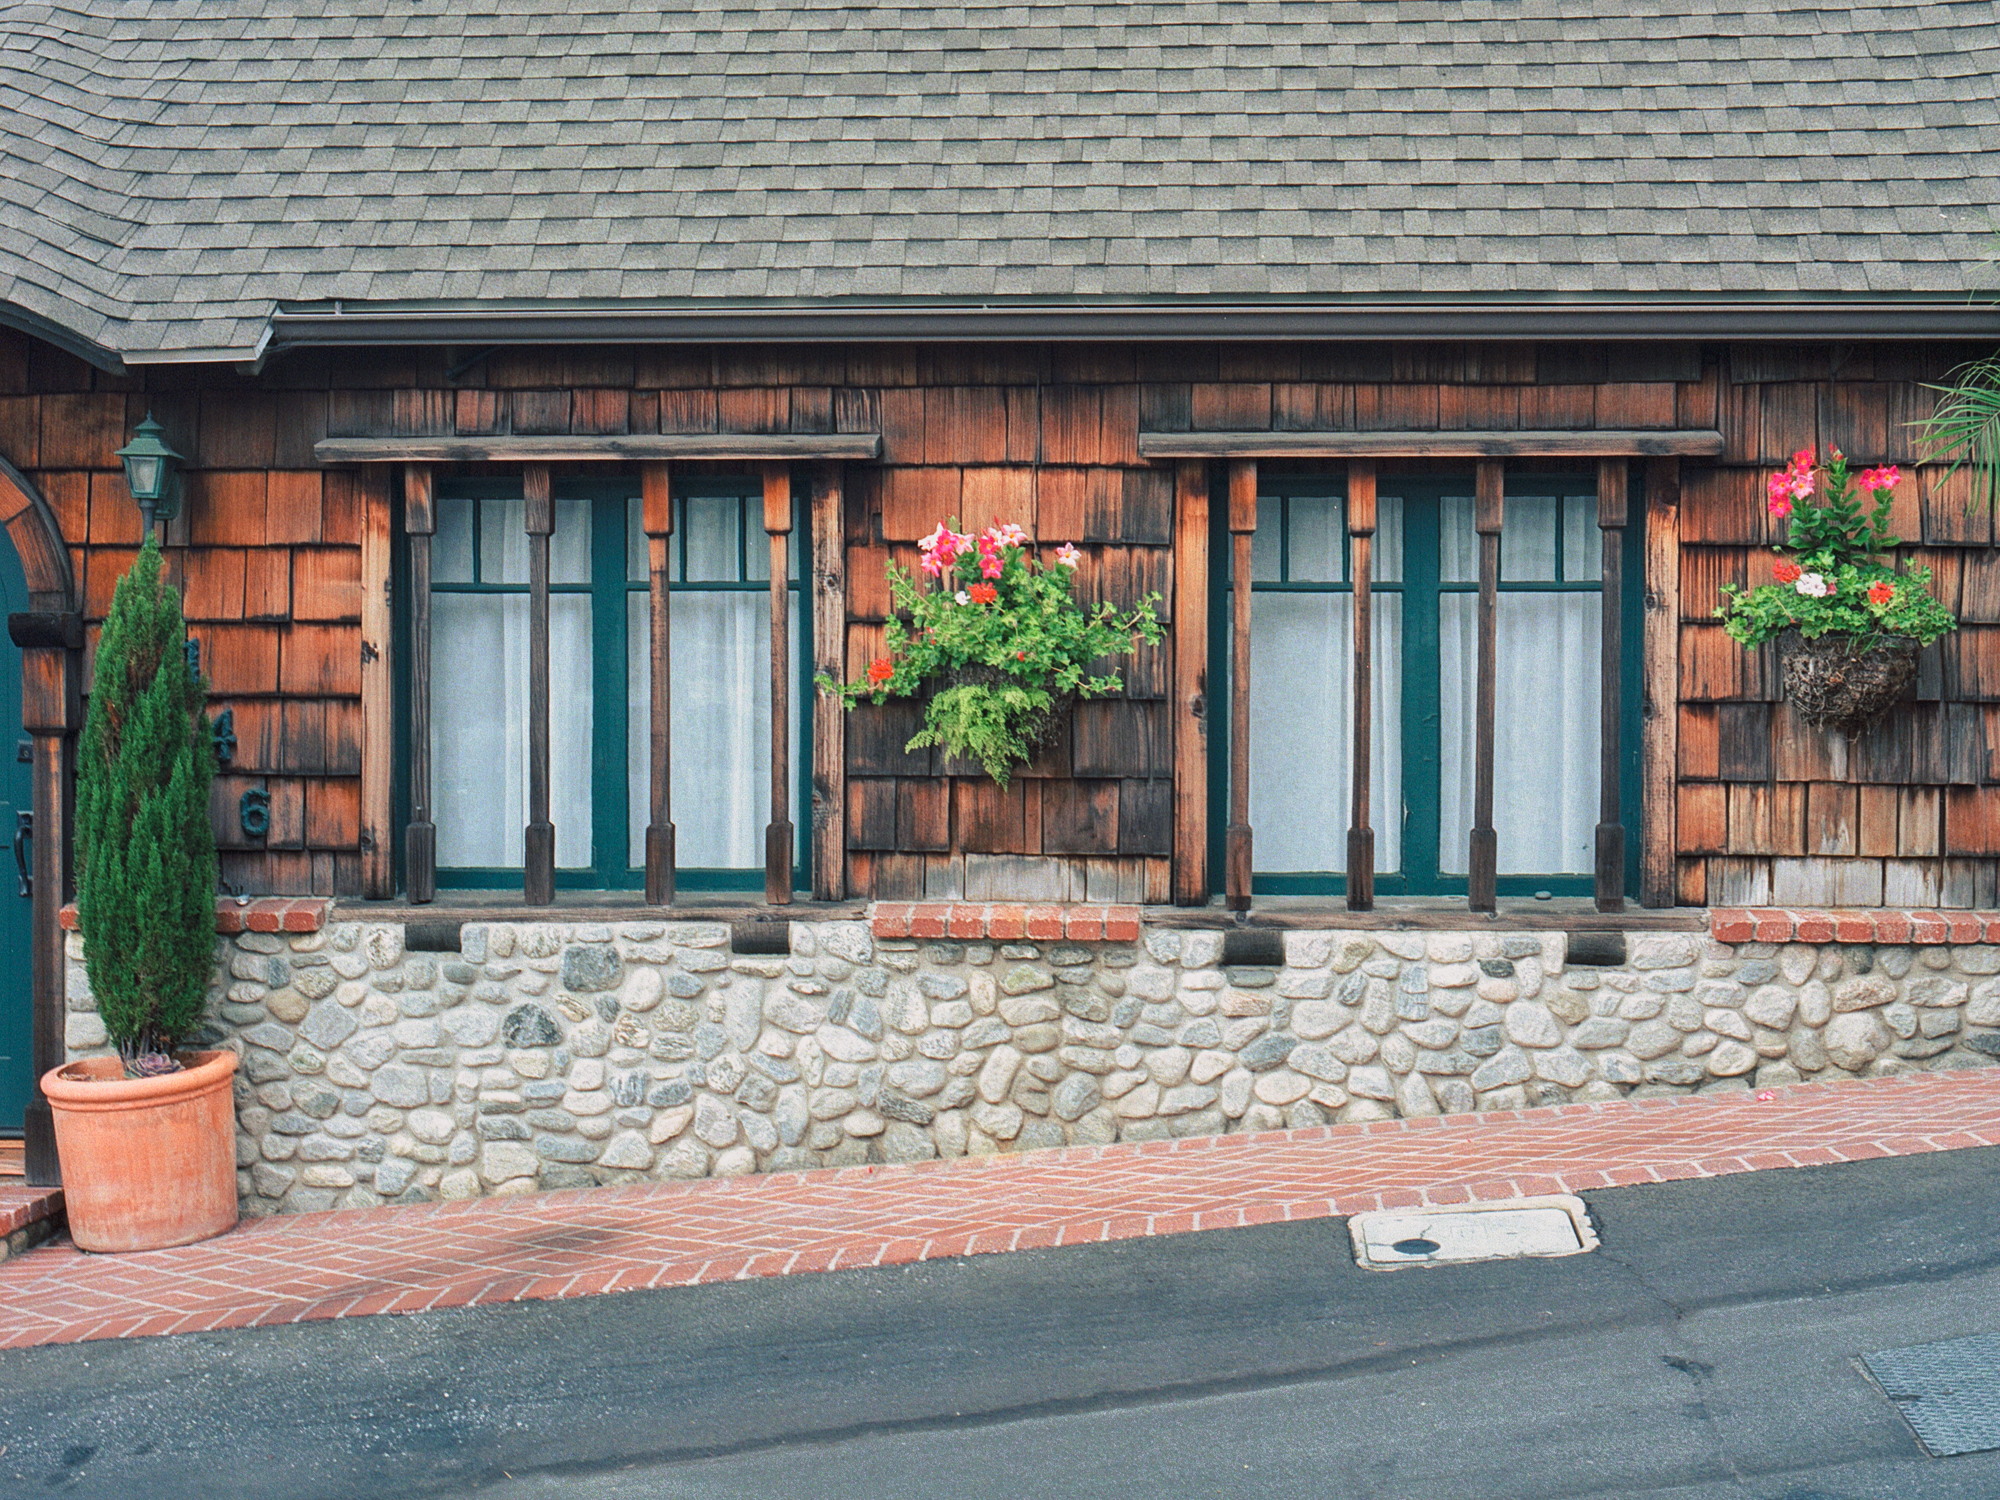
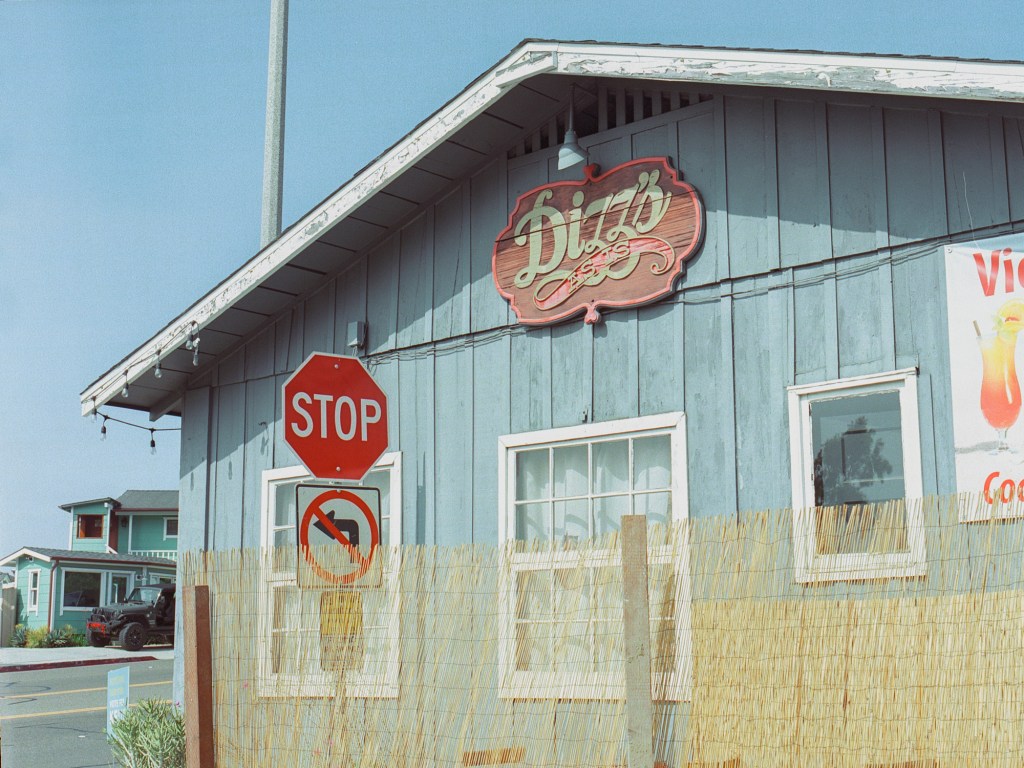
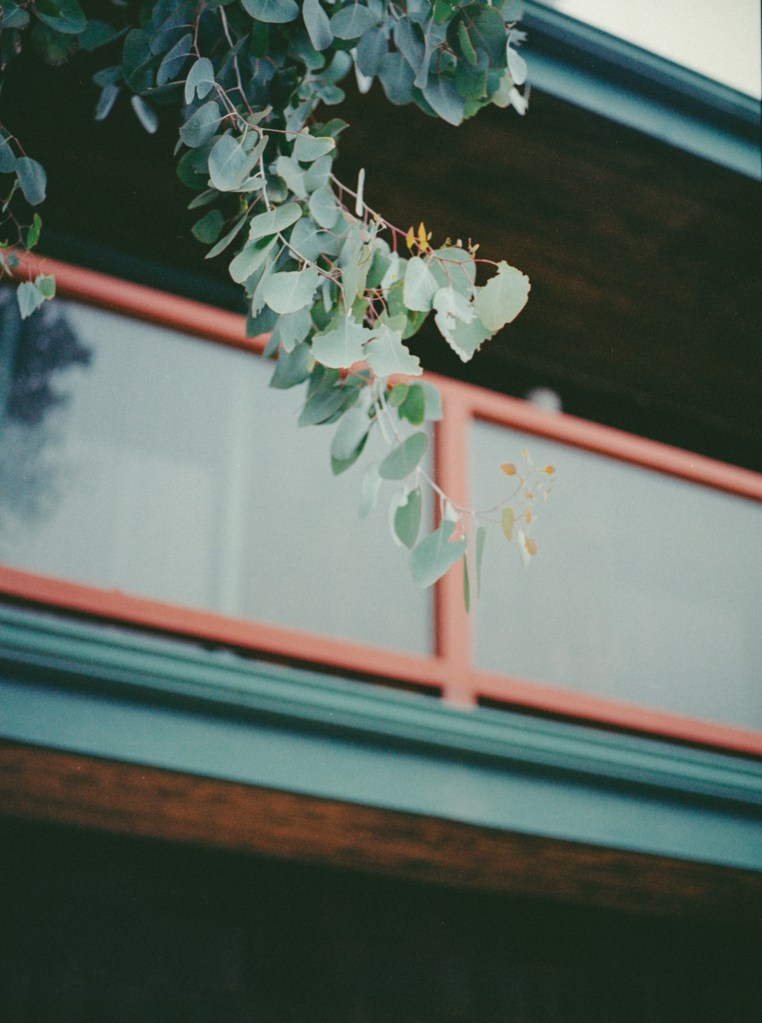
I went to the beach town by Victoria beach few week ago in sunset hour to take some sunset on the beach shots but got caught up in these residential houses scenes. I love the calmness and quiet atmosphere here, along with some nice little houses and windows that feels so warm and homely.

Before get into the photos from that afternoon, let me show you 2 photos I took in another morning walk in the same area. These shots are not anything special but I was testing my Mamiya 645 150mm lens before I sell it. Even though the composition is not that great but I love the tones here and the sharpness is really nice.


The next 2 shots I took one in golden hour and one in blue hour. That wasn’t the plan but somehow I feel drawn into the windows and the way it’s slide open just a bit to show a present of a person inside the room is quite nice and elegant. When I got back to the car after take photos on the beach, I came across it in blue hour and the yellow light came out of it is just nicely contrast with the blue sky outside. I think this is a short and straight forward form of “story telling”, something I desire to do in this blog. Wish that I were having the same composition so that the similarity and contrast are highlighted but it’s good to learn that same composition sometimes can help in story telling. I know that the trash cans are distractive but sometimes I just think if it’s there and I was capturing the scene, is it bad to exclude something out just because it’s not aesthetically pleasing? Or I should document the scene as its good and bad? So, I show you the non-crop and cropped version of the photo. Let me know if you hate the trash cans so bad ๐Ÿ™‚


This one is a photo that I really like but I still feel something doesn’t work out in this. The whole house feel very mysterious and old, all the windows and doors were covered with white thick curtain like the owner doesn’t want anyone to look inside. The house blends into the blue hour sky and those bush in general feel weirdly but sad at the same time.

Bronica ETRSi. 75mm/2.8. Fuji Pro 400H

Bronica ETRSi. 75mm/2.8. Fuji Pro 400H

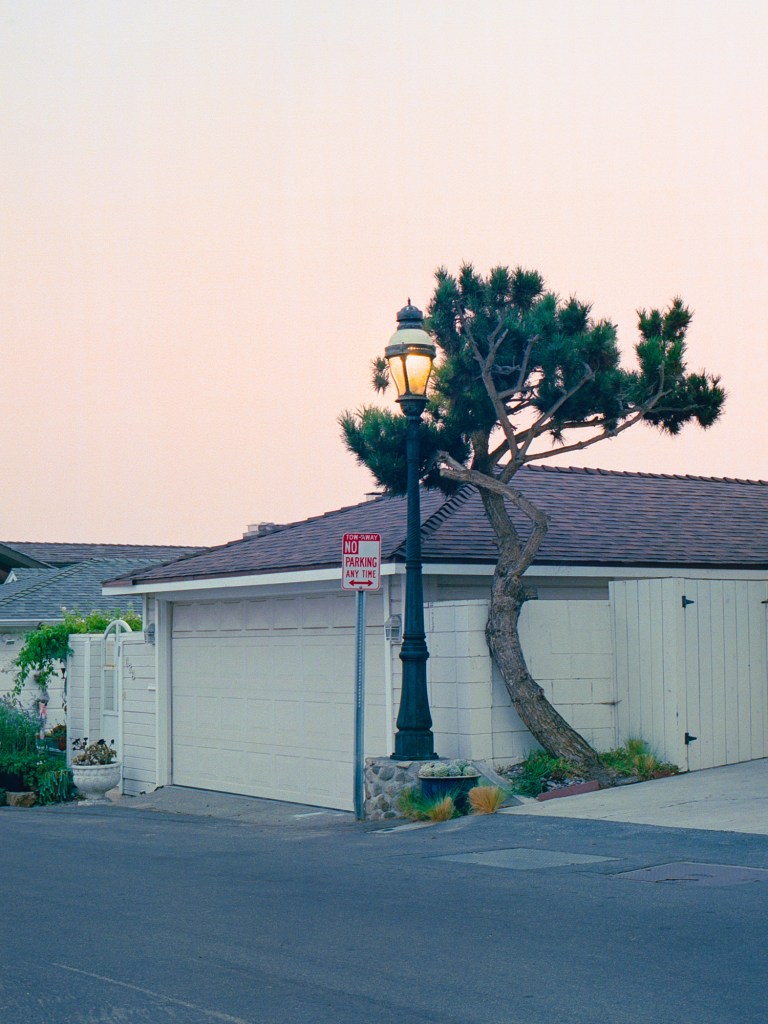
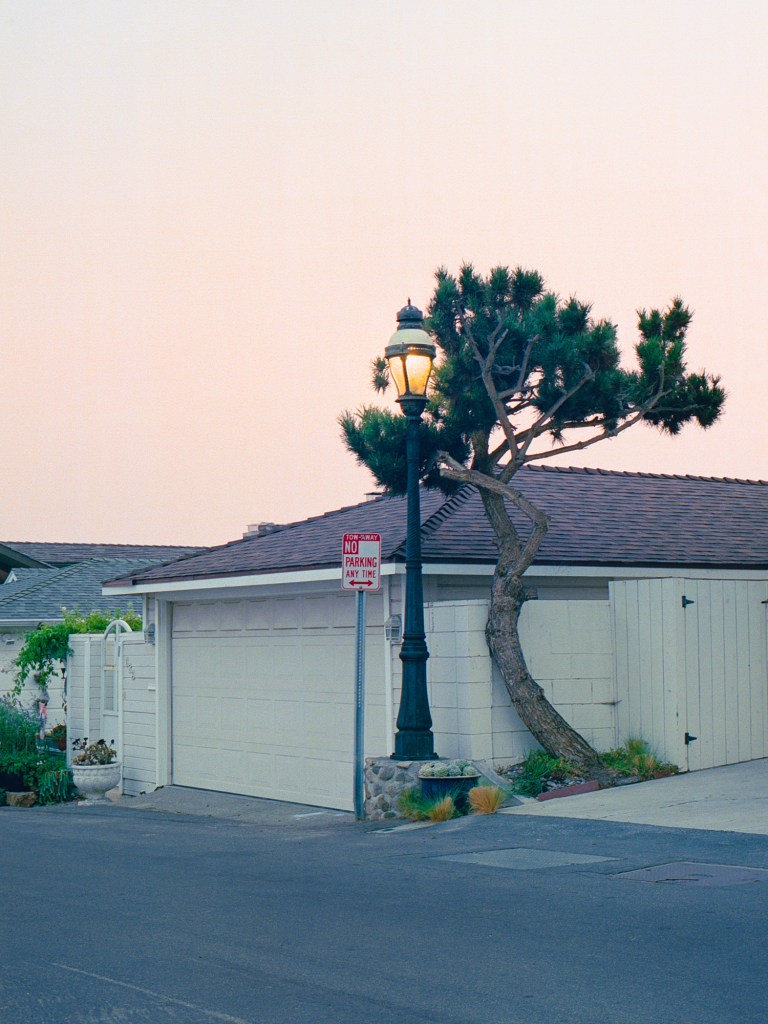
This photo is my favorite in the day. It’s the first scene captured my eyes in the town. I like the way the branches twist and the straight up street light glowing just in front of the tree. The scene was much more dynamic as in the photo but I think my photo is kind of 7/10 get to that atmosphere. The sky is subtle and soft while the green is quite saturated and pop.


After not successfully capturing the vibe of the house, I went back another day to try again. And these shots turn out okay I guess. The photo with the Harley sign makes me go down into the rabbit hole again about include and exclude things as it is or get the thing you want and ignore the rest. The others are nice in term of tones and composition.

So now you know how the whole house looks. This time I went in the morning so there’s no warm light as in previous photo but the photos are nice nevertheless.

And here’re some other shots I got from the day.

Pentax 645. 75mm/2.8. Fuji Pro 400H

Hope you enjoy the photo talk. Till next time!

First 645 SLR camera you should buy

This blog is not meant to talk about gear but since I had opportunities to try some 645 SLR cameras I think I may can give you some advices if you are wanting to buy your first medium format camera. Other Youtubers or people on the Internet may give you a bunch of 645 cameras and talk about the pros and cons and leave the decision to you, I think it’s cool because no one asks you to choose like them, you have the freedom to decide for yourself. But since you’re already here, I give you the short answer, Bronica ETRS/Si. Of course, this is my opinion and you literally can use any 645 camera to take beautiful photos as long as you you know what to do with the camera, Bronica just happen to be the easiest one to use. Or, if you find any good deal on a 645 camera, just take it, price can overrule all of the reasons I’ll show you below.

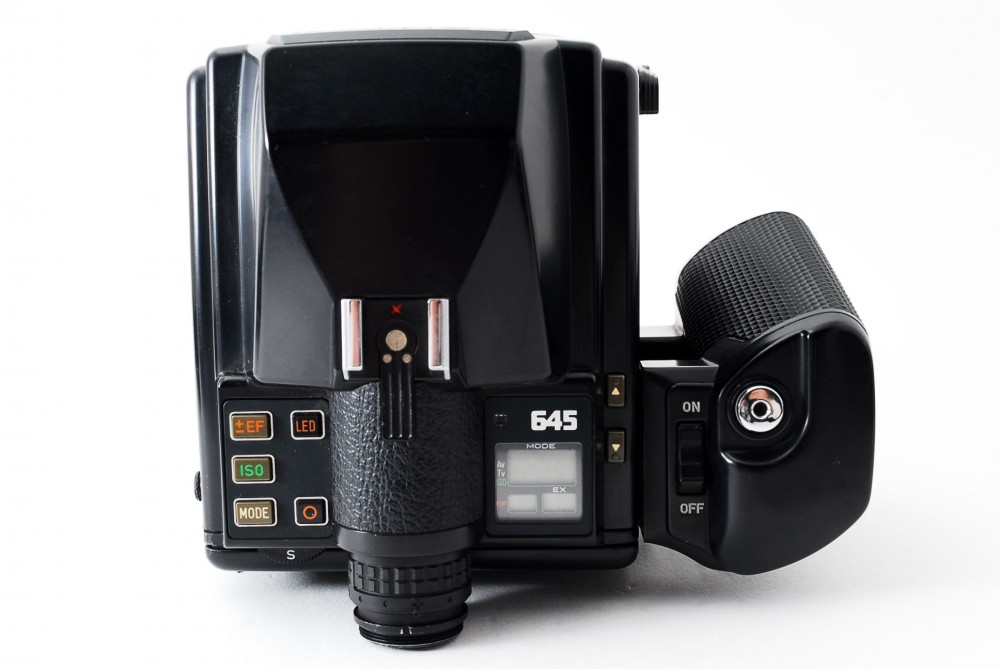
First, let’s talk about Mamiya 645. I haven’t use the m645 or the 1000s yet, so I can’t speak for those, but I used the Mamiya 645 Super, and I believe the Pro/Pro TL are very similar. Honestly, the Mamiya 645 Super/Pro is the one I wanted when I looking for my first ever medium format camera, but I couldn’t afford it because the price tag. I like the design of this series a lot, and while using it later, I really like the form factor of the camera, it feels really nice to hold the camera and take photos with it. Even though the box design may feel weird to hold but I was really surprise how fast I like to hold it, without using the grip. At first, the mechanism to open and remove the back and prism feel a little annoy (because you have to press 1 button down and slide the other button with the same finger at the same time) but I believe you can get used to it very quickly. The other thing I don’t think ergonomic about the camera is the ISO dial, it’s so damn hard to turn the dial. You have to use your finger’s nail to turn it and it’s not easy to move, not mention that the dial is half beneath the prism finder [as photo below] makes it even harder because you have a very little space to move your finger around. Of course you can dial the ISO before you put the film back onto the camera to avoid the prism finder (but it’s still hard) and yes, you just have to dial it once per roll or don’t have to redial if you continue to shoot same ISO film but to me, it’s worth notice. The Metering Mode dial and Exposure Compensation dial are the same, they’re just on the top of the prism so they’re a bit easier than the ISO dial but you get the idea. The shutter speed dial on the other hand, so easy and friendly to use! Other than that, the camera is great. The lens are a bit rigid to turn when you’re focusing but not too much, compare to Pentax or Bronica lens. One thing better than the Bronica is it has a hot shoe on the side. And of course, why I said Bronica is a better choice for your first medium format camera? The price.

Top view of Mamiya 645 Super and Prism Finder

Next, the Pentax 645. I will not talk about the N and Nii because I haven’t use them, and since they have auto focus and higher price range for “first medium format camera” we newbie looking for, let’s just talk about the 645 original. Not having interchange backs, fully battery depends, no Mirror Up, and buttons for mode, not dials, these are some downsides for the Pentax. If you can get used to the buttons operation, you are good to go take beautiful photos, but it can be hard at first, and of course, it can be more time consuming when you want to change mode or setting, compare to dials. The Pentax 645N has dials instead of button if you’re curious.

Pentax 645 buttons locate on top of the camera

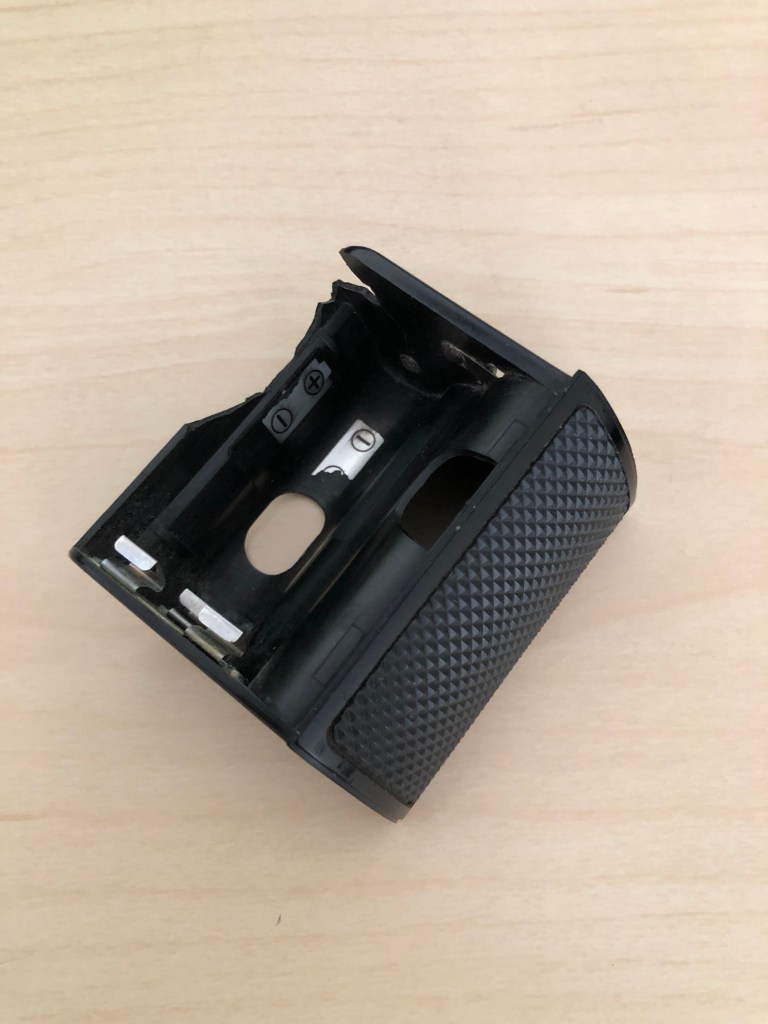
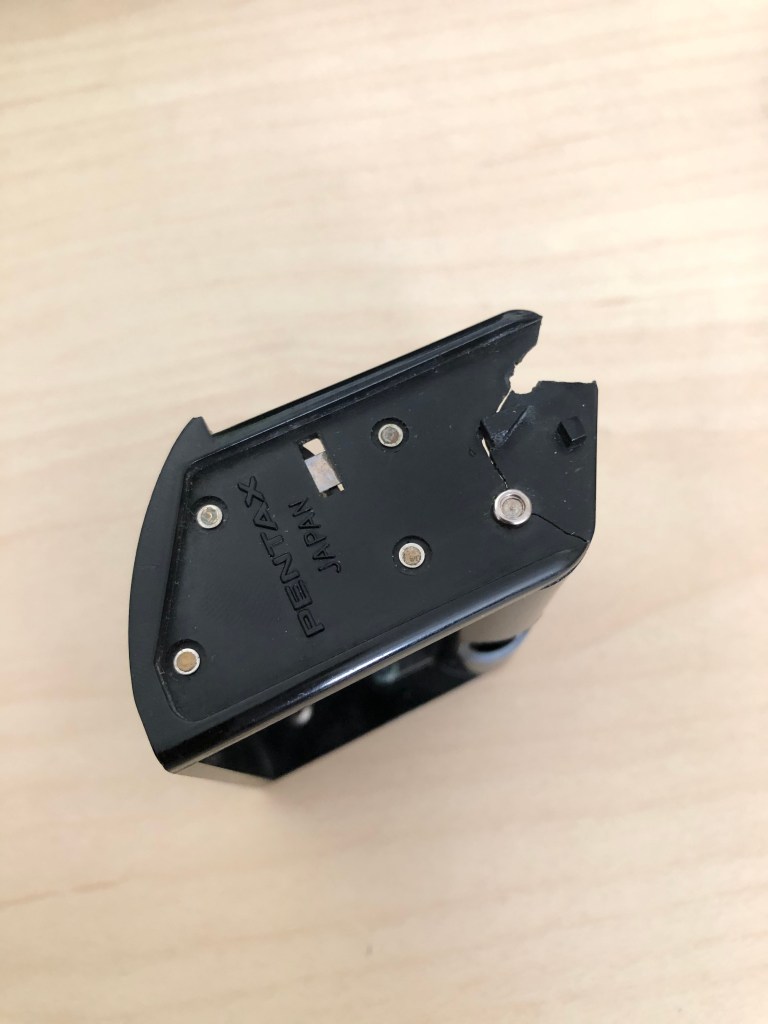
One big drawback of the Pentax 645 is the battery holder, it’s extremely easy to break, especially the plastic holder is couple decade years old. This is a common problem of the Pentax 645, because the way people designed the holder was not very effective I guess, 6 AA batteries are hold in a thin plastic holder (not that thin and fragile but if you have to put the batteries in and out quite often, there’s a good chance you will break it at some point). And of course you have to put the batteries in and out because if you don’t use the camera in weeks or months, you have to take the batteries out or corrosion will happen to your battery compartment. And it’s hard to put the 6 batteries in, especially if you have big fingers. If you buy a Pentax 645, careful with the battery holder please. It’s super hard to find the replacement because there’s no replacement. Pentax discontinued the battery grip long before, and there’s no left. There’s no single one on eBay. The replacement you may find is just from Pentax 645 cameras that stop working and they take their parts for sell but trust me, the holder always breaks before the camera. My battery holder was broken as you can see in the photos here and it’s so freaking hard to find the replacement battery grip or holder, until I bought a remote battery pack for Pentax 645, which is a battery pack that not attachable to the camera like the original grip, you connect the battery pack to the camera through a cord so the camera can use battery but now you have to solve the problem how to attach the battery pack to the camera. Luckily I tried to put the holder from the remote pack into the original grip and it works, even though they’re not identical! Keep this in mind if you are purchasing a Pentax 645. The remote battery pack is available on eBay but there’re not so many and around $100 or more/pack. The Pentax 645 is cheaper than Bronica but you don’t need to deal with the battery holder issue with Mamiya or Bronica because they have battery compartment inside the body, and they also require one single battery only. Please note that even if you can buy a replacement holder for your Pentax, there’s always a change you can break it later because they’re just easy to break. Here the link you can check to see the headache of having a broken battery holder ๐Ÿ™‚ https://www.pentaxforums.com/forums/48-pentax-medium-format/400427-645-battery-holder.html

Okay, so now we talk about Bronica ETRS/Si. The ETR is the oldest in the line and doesn’t work with the AE prism finder, the ETRC doesn’t have interchange backs and mirror up feature. The ETRS/Si can use the AE prism finder for meter and interchange backs, they’re best choices in ETR line. If you use Bronica ETRS/Si, you may need the speed grip because the boxing design is harder to handling like the Mamiya. I don’t know why but I feel more comfortable to hold the Mamiya Super without a grip than the Bronica. And 1 more reason to buy a speed grip is you can attach flash on the grip, because the camera itself doesn’t have a hot shoe mount. Another disadvantage of the Bronica is the aperture ring on the lens is small and hard to find (because they placed it more to the front of the lens, not way back like other lens), you may looking around to find it when taking a photo but you will get used to it eventually. Other than that, the Bronica has everything you want, affordable, effective, build quality, interchange backs, interchange finder (but please use the prism finder, the waist level finder is super hard to use if you want to take vertical photos), mirror lock up, multi exposure, leaf shutter in the lens (means you can have flash sync at every speed). It’s easy to use and as far as I know, there’s not much common problems with it.

A photo taken with Bronica ETRSi

Other cameras can be mentioned are Contax 645 but that’s another level and super expensive, Mamiya 645AF/AFD is also great but high price range for first time Medium Format shooters, too. I didn’t talk about lens or photos quality of these brands I mentioned above because honestly I don’t see much a different. Every camera here is more than capable of taking beautiful photos as long as you know how to use it. I hope these experiences I share here can help you on choosing your first medium format camera. A man in a camera shop once told me “If you want to shoot film, you better shoot now because film will go away” so I guess my advice is buy it because the price are continue to raise because film is trendy now and yes, film will go away eventually. Shoot more, have fun!

[Vietnamese] Sequoia road trip

Mรฌnh vร  1 sแป‘ ngฦฐแปi bแบกn vแปซa cรณ chuyแบฟn road trip ngแบฏn ฤ‘i Sequoia National Park cรกch ฤ‘รขy 3 tuแบงn. KhแปŸi hร nh tแปซ 8h tแป‘i thแปฉ 6, ฤ‘แบฟn 1h30 khuya sรกng thแปฉ 7 mรฌnh ฤ‘แบฟn nฦกi. Mรฌnh dร nh cแบฃ ngร y thแปฉ 7 vร  nแปญa ngร y Chแปง Nhแบญt ฤ‘แปƒ hiking vร  lรชn xe lรกi vแป OC lรบc 6h chiแปu Chแปง Nhแบญt. Lรฝ do ฤ‘แบฟn bรขy giแป mรฌnh mแป›i ฤ‘แบทng bร i blog nร y lร  vรฌ mรฌnh cแบฃm thแบฅy chuyแบฟn ฤ‘i nร y mรฌnh khรดng chแปฅp ฤ‘ฦฐแปฃc nhiแปu แบฃnh ฤ‘แบนp nhฦฐ mong muแป‘n. Nhรฌn chung hรฌnh khรดng phแบฃi lร  tแป‡ (hoแบทc tแป‡ thแบญt?!) nhฦฐng mรฌnh khรดng tรฌm ฤ‘ฦฐแปฃc แบฃnh nร o thแบญt sแปฑ ฦฐng รฝ vร  ฤ‘แบนp nhฦฐ chuyแบฟn ฤ‘i Lake Tahoe lแบงn trฦฐแป›c. ฤรณ lร  lรฝ do khiแบฟn mรฌnh khรดng tแปฑ tin ฤ‘แปƒ post แบฃnh nhฦฐng sau ฤ‘รณ mรฌnh nghฤฉ cรณ thแปƒ แบฃnh khรดng xuแบฅt sแบฏc nhฦฐng mรฌnh cรณ thแปƒ chia sแบป kinh nghiแป‡m vร  nhแปฏng sai sรณt cแปงa mรฌnh cho cรกc bแบกn qua nhแปฏng bแปฉc แบฃnh nร y. Mong cรกc bแบกn thแบฅy bร i blog nร y hแปฏu รญch vร  truyแปn cแบฃm hแปฉng.

Vแป camera vร  film thรฌ mรฌnh mang mรกy Bronica ETRSi vร  75mm/2.8 lens, ฤ‘รขy cลฉng lร  lens duy nhแบฅt mรฌnh cรณ cho mรกy, mรฌnh ฤ‘รฃ muแป‘n cรณ lens 50mm tแปซ chuyแบฟn Lake Tahoe lแบงn trฦฐแป›c nhฦฐng vแบซn chฦฐa mua vรฌ thแบญt sแปฑ vแบซn cรฒn cรขn nhแบฏc vแป sแป‘ tiแปn. Mรฌnh cลฉng mang theo 35mm camera lร  Nikon F2 cรนng vร i cuแป™n Kodak ProImage 100 (sau vร i lแบงn thแปญ thรฌ mรฌnh khรดng thรญch mร u cแปงa ProImage nhฦฐng mua vแบซn cรฒn dฦฐ nรชn phแบฃi dรนng cho hแบฟt), Portra 160 vร  1 cuแป™n Portra 800 (vรฌ Portra 800 ฤ‘แบฏt xแบฏt ra miแบฟng thแบญt!). Film 120 mรฌnh dแปงng Fuji Pro 400H vร  Ilford XP2 trแบฏng ฤ‘en. Mรฌnh chฦฐa bao giแป chแปฅp trแบฏng ฤ‘en nhฦฐng gแบงn ฤ‘รขy cรณ bแบกn bแบฃo mรฌnh nรชn thแปญ chแปฅp trแบฏng ฤ‘en ฤ‘แปƒ focus vรด mแบฃng khแป‘i vร  contrast trong khung hรฌnh, vร  bแบฃn thรขn mรฌnh nghฤฉ mรฌnh cลฉng nรชn chรบ รฝ hฦกn ฤ‘แบฟn bแป‘ cแปฅc khi chแปฅp nรชn mรฌnh ฤ‘รฃ mua 5 cuแป™n XP2, ฤ‘รขy lร  film trแบฏng ฤ‘en nhฦฐng dรนng C-41 ฤ‘แปƒ develop nhฦฐ film mร u, giรบp mรฌnh tiแบฟt kiแป‡m vร  ฤ‘แปก nhแปฉc ฤ‘แบงu research vแป hรณa chแบฅt cho film trแบฏng ฤ‘en ๐Ÿ™‚ แบขnh trแบฏng ฤ‘en cแปงa mรฌnh khรดng ฤ‘แบนp nhฦฐ mรฌnh mong nhฦฐng mรฌnh xin chia sแบป แปŸ ฤ‘รขy ฤ‘แปƒ ghi lแบกi quรก trรฌnh chแปฅp cแปงa mรฌnh.


Mแป™t ฤ‘iแปu cรกc bแบกn nรชn biแบฟt vแป chuyแบฟn ฤ‘i nร y lร  mรฌnh ฤ‘i trong lรบc chรกy rแปซng ฤ‘ang diแป…n ra trรชn diแป‡n rแป™ng แปŸ California. Tuy khรดng quรก gแบงn khu vแปฑc mรฌnh แปŸ vร  hiking nhฦฐng khรณi tแปซ ฤ‘รกm chรกy theo giรณ ฤ‘รฃ phแปง lรชn bแบงu trแปi 1 lแป›p bแปฅi than mแปng lร m bแบงu trแปi ngแบฃ mร u vร ng nรขu trรดng khรก u รกm. ฤรขy khรดng phแบฃi lร  ฤ‘iแปu kiแป‡n lรฝ tฦฐแปŸng ฤ‘แปƒ chแปฅp hรฌnh nhฦฐng mรฌnh vแบซn cแบฃm thแบฅy thรญch chuyแบฟn ฤ‘i lแบงn nร y.


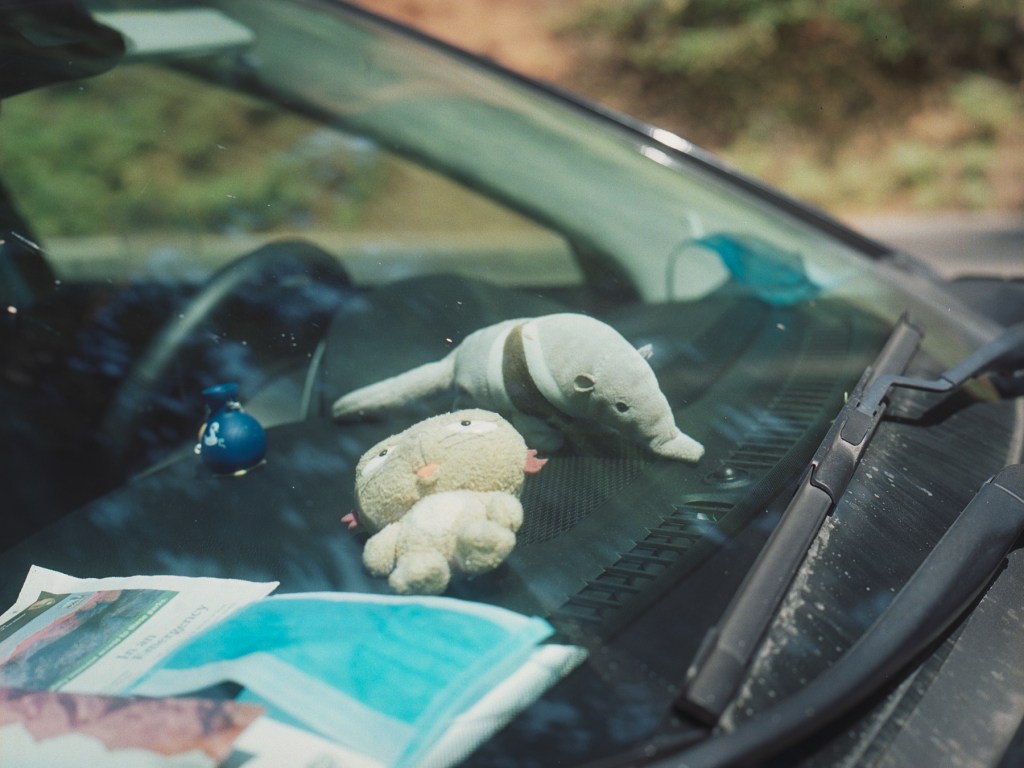
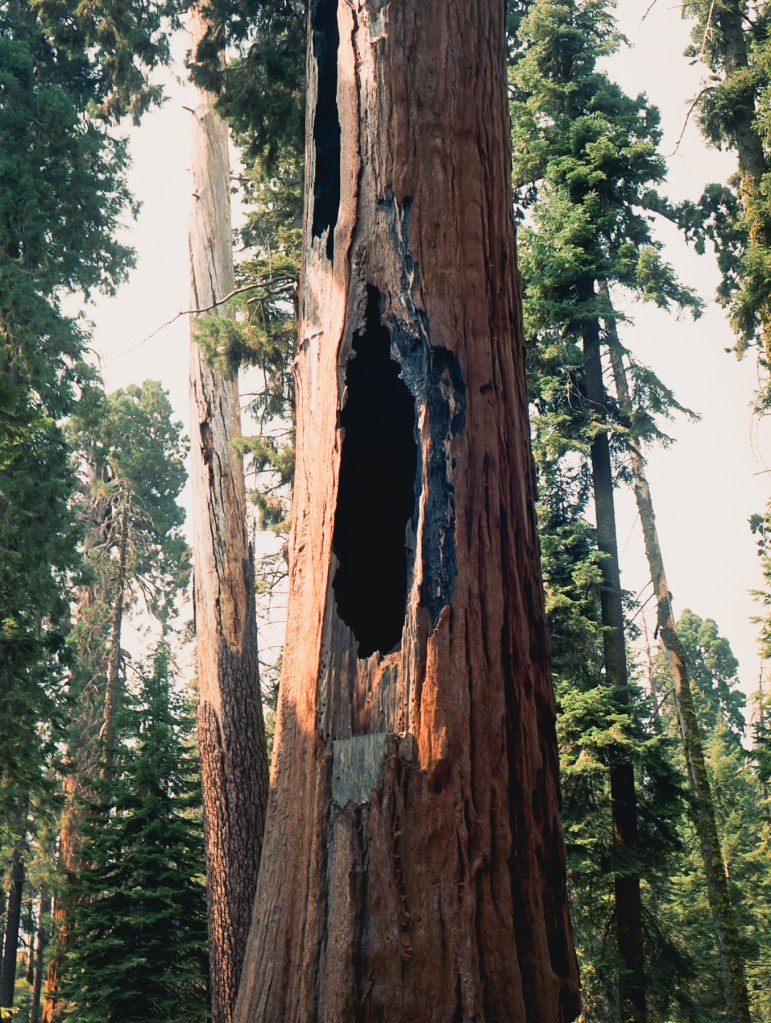
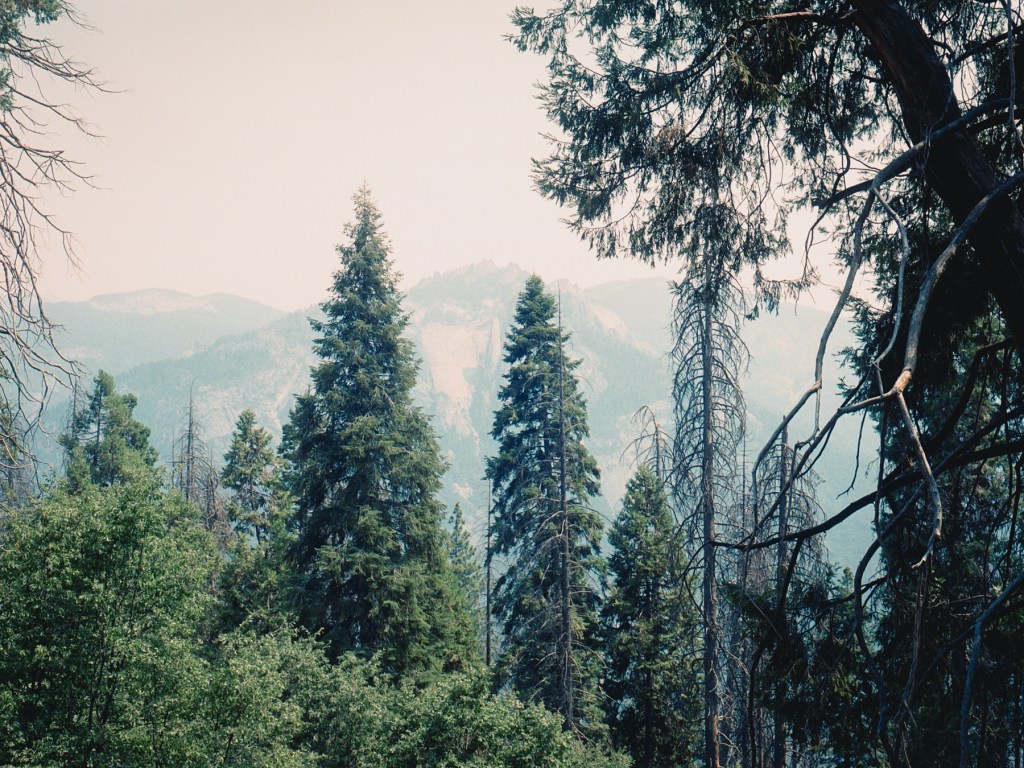
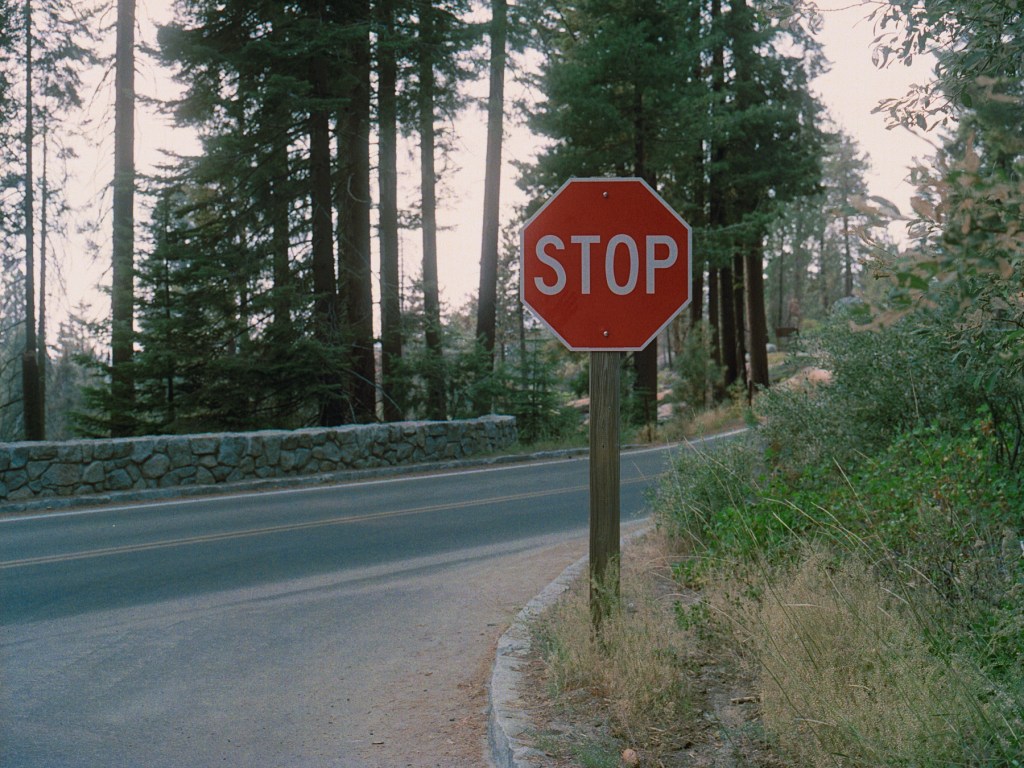
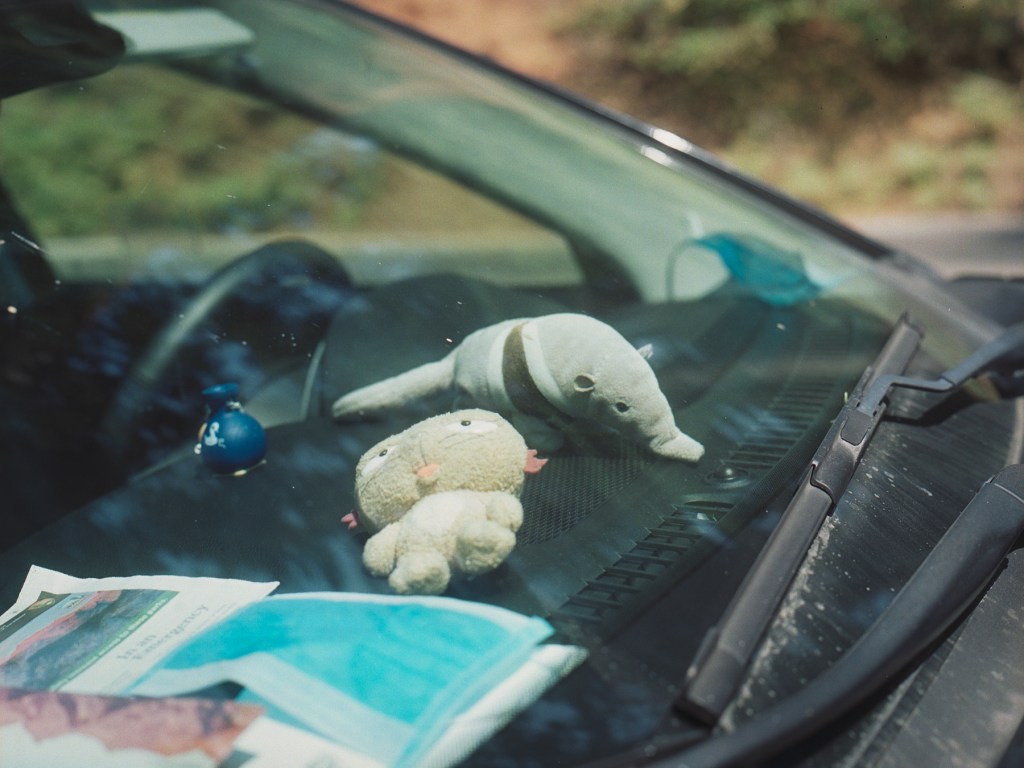
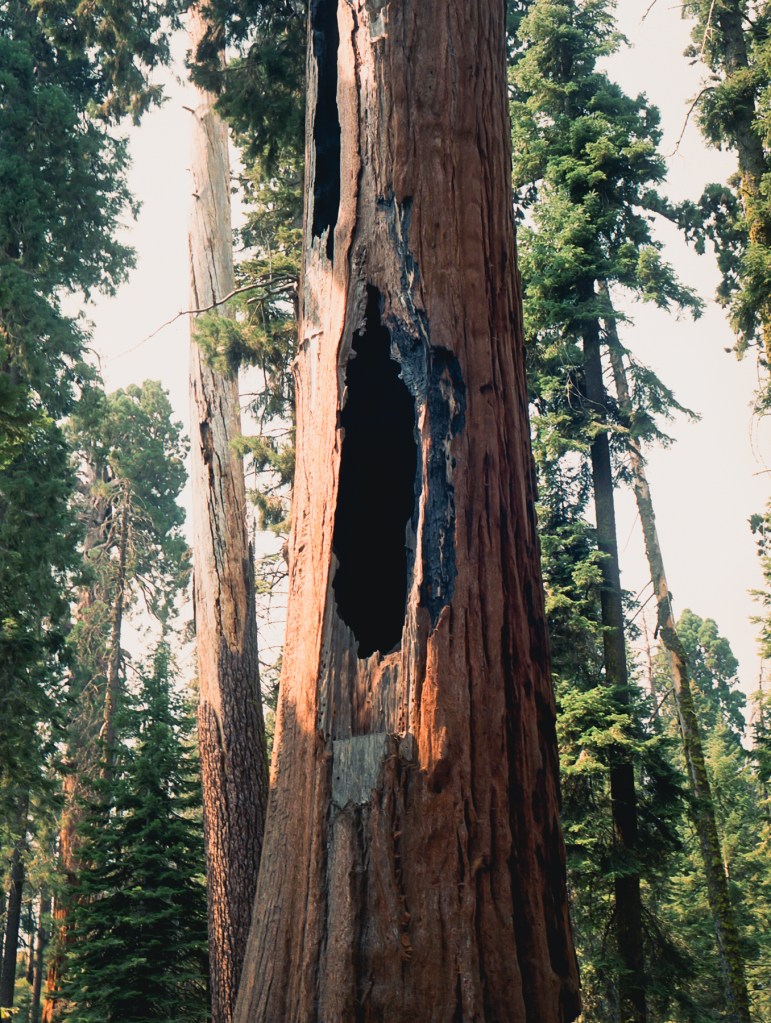
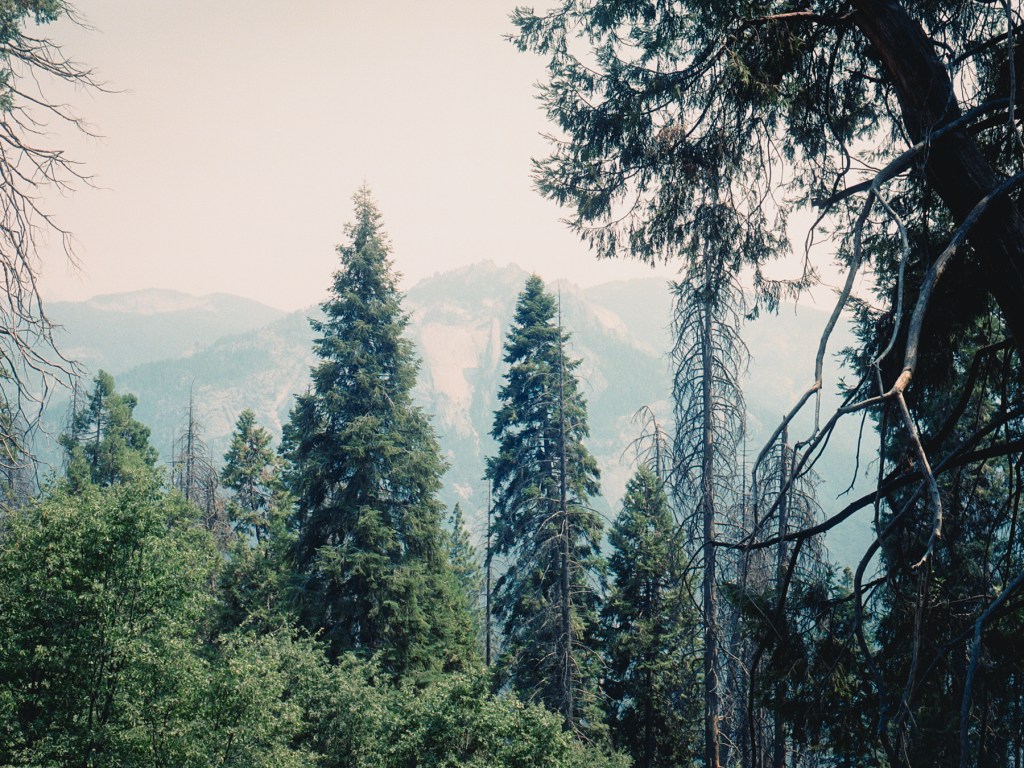
Tแบฅm hรฌnh ฤ‘แบงu tiรชn mรฌnh chแปฅp khi ฤ‘ang dแปซng xe trรชn ฤ‘ฦฐแปng ฤ‘แปƒ ฤƒn trฦฐa trรชn xe. ฤรขy vแบซn cรฒn lร  khu vแปฑc rรฌa cแปงa Sequoia National Park nhฦฐng cรขy cแป‘i ฤ‘รฃ phแปง xanh um tรนm, mแป™t ฤ‘iแปu mรฌnh rแบฅt thรญch. Mรฌnh ฤ‘ang ngแบฏm ฤ‘แปƒ chแปฅp thรฌ nghe tiแบฟng xe moto tแปซ xa vแปng lแบกi, thแบฟ lร  mรฌnh ฤ‘รฃ ฤ‘แปฃi chiแบฟc moto chแบกy vร o khung hรฌnh rแป“i bแบฅm mรกy. Dฤฉ nhiรชn lร  mรฌnh ฤ‘รฃ canh bแป‘ cแปฅc vร  lแบฅy nรฉt sแบตn ฤ‘แปƒ khi xe chแบกy tแป›i ฤ‘รบng khoแบฃng lแบฅy nรฉt thรฌ mรฌnh sแบฝ bแบฅm mรกy. Mรฌnh ฤ‘แปƒ khแบฉu ฤ‘แป™ 11 nรชn dฤฉ nhiรชn lร  phแบงn lแป›n khung hรฌnh sแบฝ in focus. Mแป™t ฤ‘iแปu ฤ‘รกng tiแบฟc trong bแปฉc แบฃnh nร y lร  mรฌnh ฤ‘รฃ bแบฅm mรกy hฦกi sแป›m, khi moto cรฒn ฤ‘ang khรก xa mรฌnh cho nรชn chiแบฟc moto vร  ngฦฐแปi lรกi bแป‹ nhแป vร  chรฌm vร o background. Nแบฟu moto chแบกy tแป›i mรฌnh gแบงn hฦกn thรฌ bแปฉc แบฃnh sแบฝ tแป‘t hฦกn nhiแปu. Tแบฅm hรฌnh tiแบฟp theo mรฌnh chแปฅp windshield xe cแปงa bแบกn mรฌnh, nhฦฐ 1 tแบฅm แบฃnh kรฝ sแปฑ vแป chiแบฟc xe vร  ฤ‘i chฦกi thแปi Covid, vแป›i thรบ bรดng vร  khแบฉu trang giแบฅy ๐Ÿ™‚ Tiแบฟp ฤ‘แบฟn lร  1 thรขn cรขy bแป‹ chรกy ฤ‘en แปŸ bรชn trong. Tuy tแบฅm แบฃnh khรดng xuแบฅt sแบฏc nhฦฐng ฤ‘รขy lร  lแบงn ฤ‘แบงu tiรชn mรฌnh thแบฅy 1 thรขn cรขy chรกy ฤ‘en bรชn trong nhฦฐng vแบซn cรฒn sแป‘ng vร  bรชn ngoร i vแป cรขy mร u cam rแปฑc rแปก nhรฌn rแบฅt thรบ vแป‹. 2 แบฃnh kแบฟ ฤ‘แบฟn chแป‰ lร  cแบฃnh landscape bรฌnh thฦฐแปng nhฦฐng cลฉng ฤ‘แปง ฤ‘แปƒ thแบฅy bแบงu trแปi trรดng nhฦฐ thแบฟ nร o nhแปฏng ngร y mรฌnh แปŸ Sequoia.

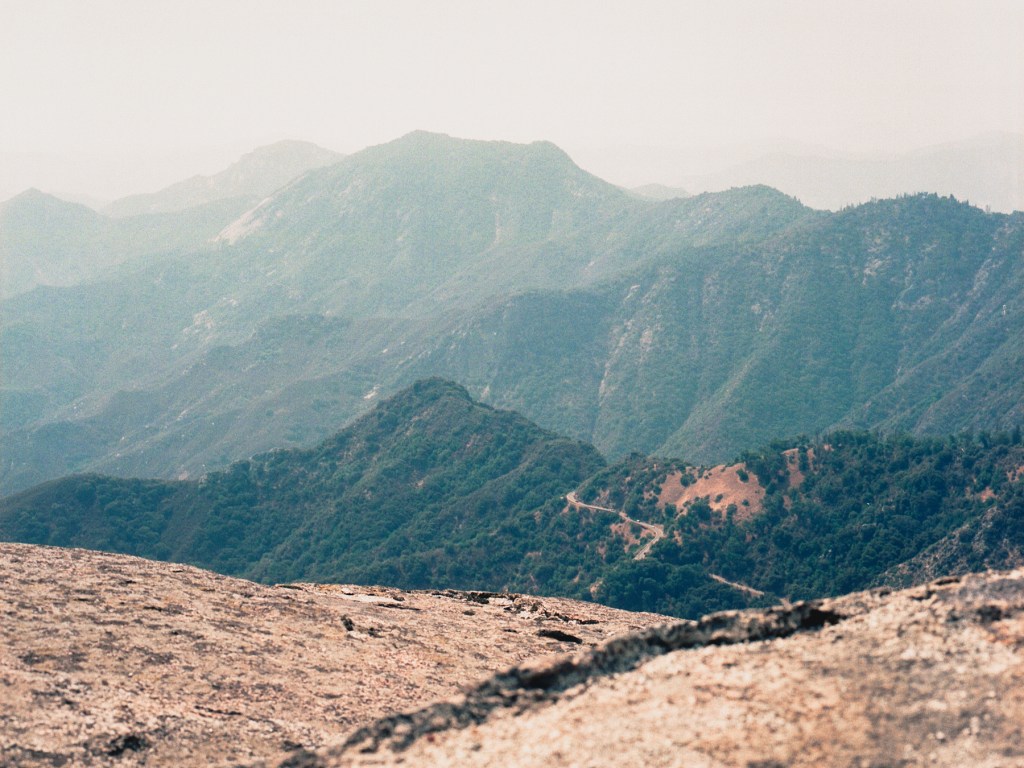
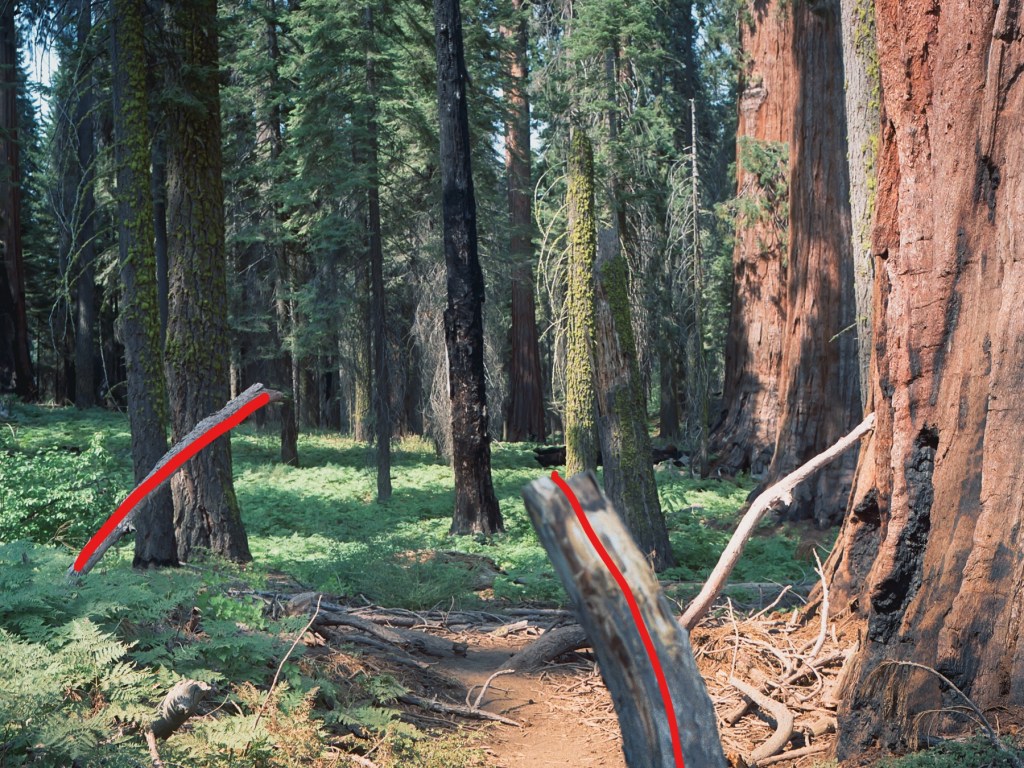
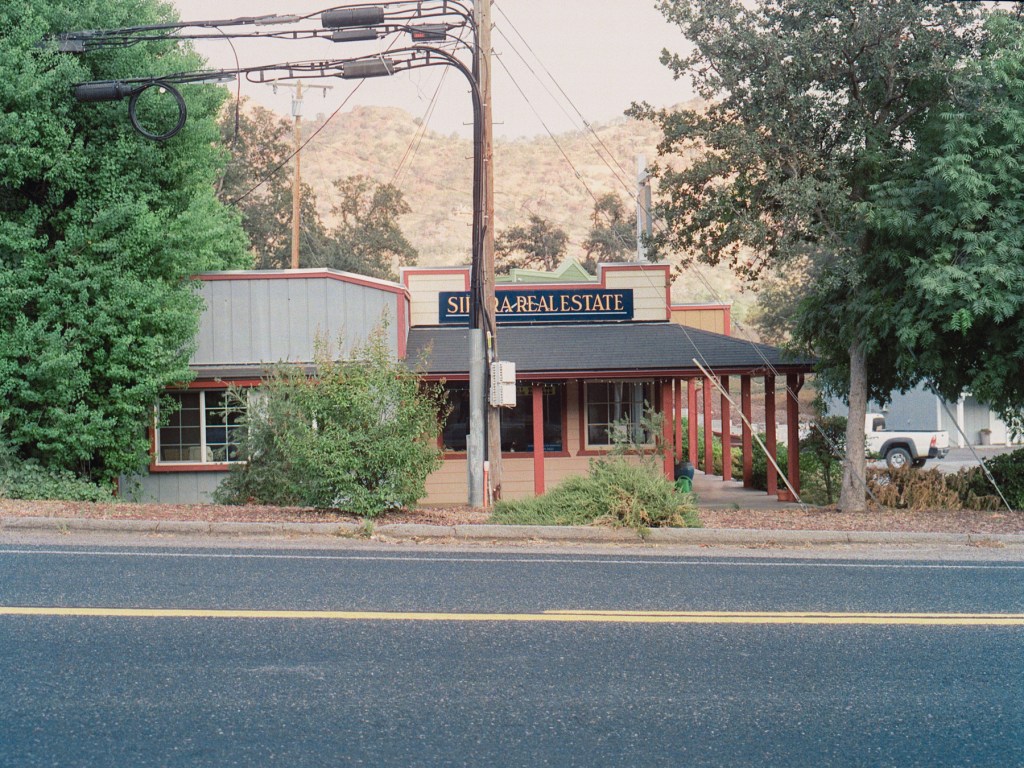
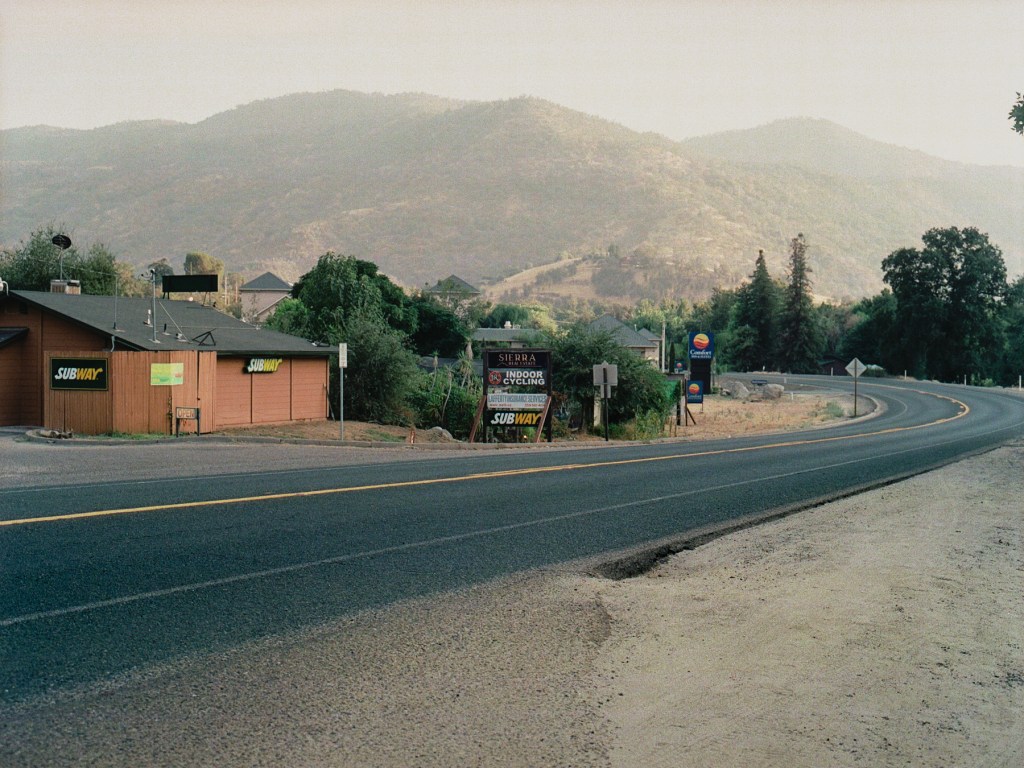
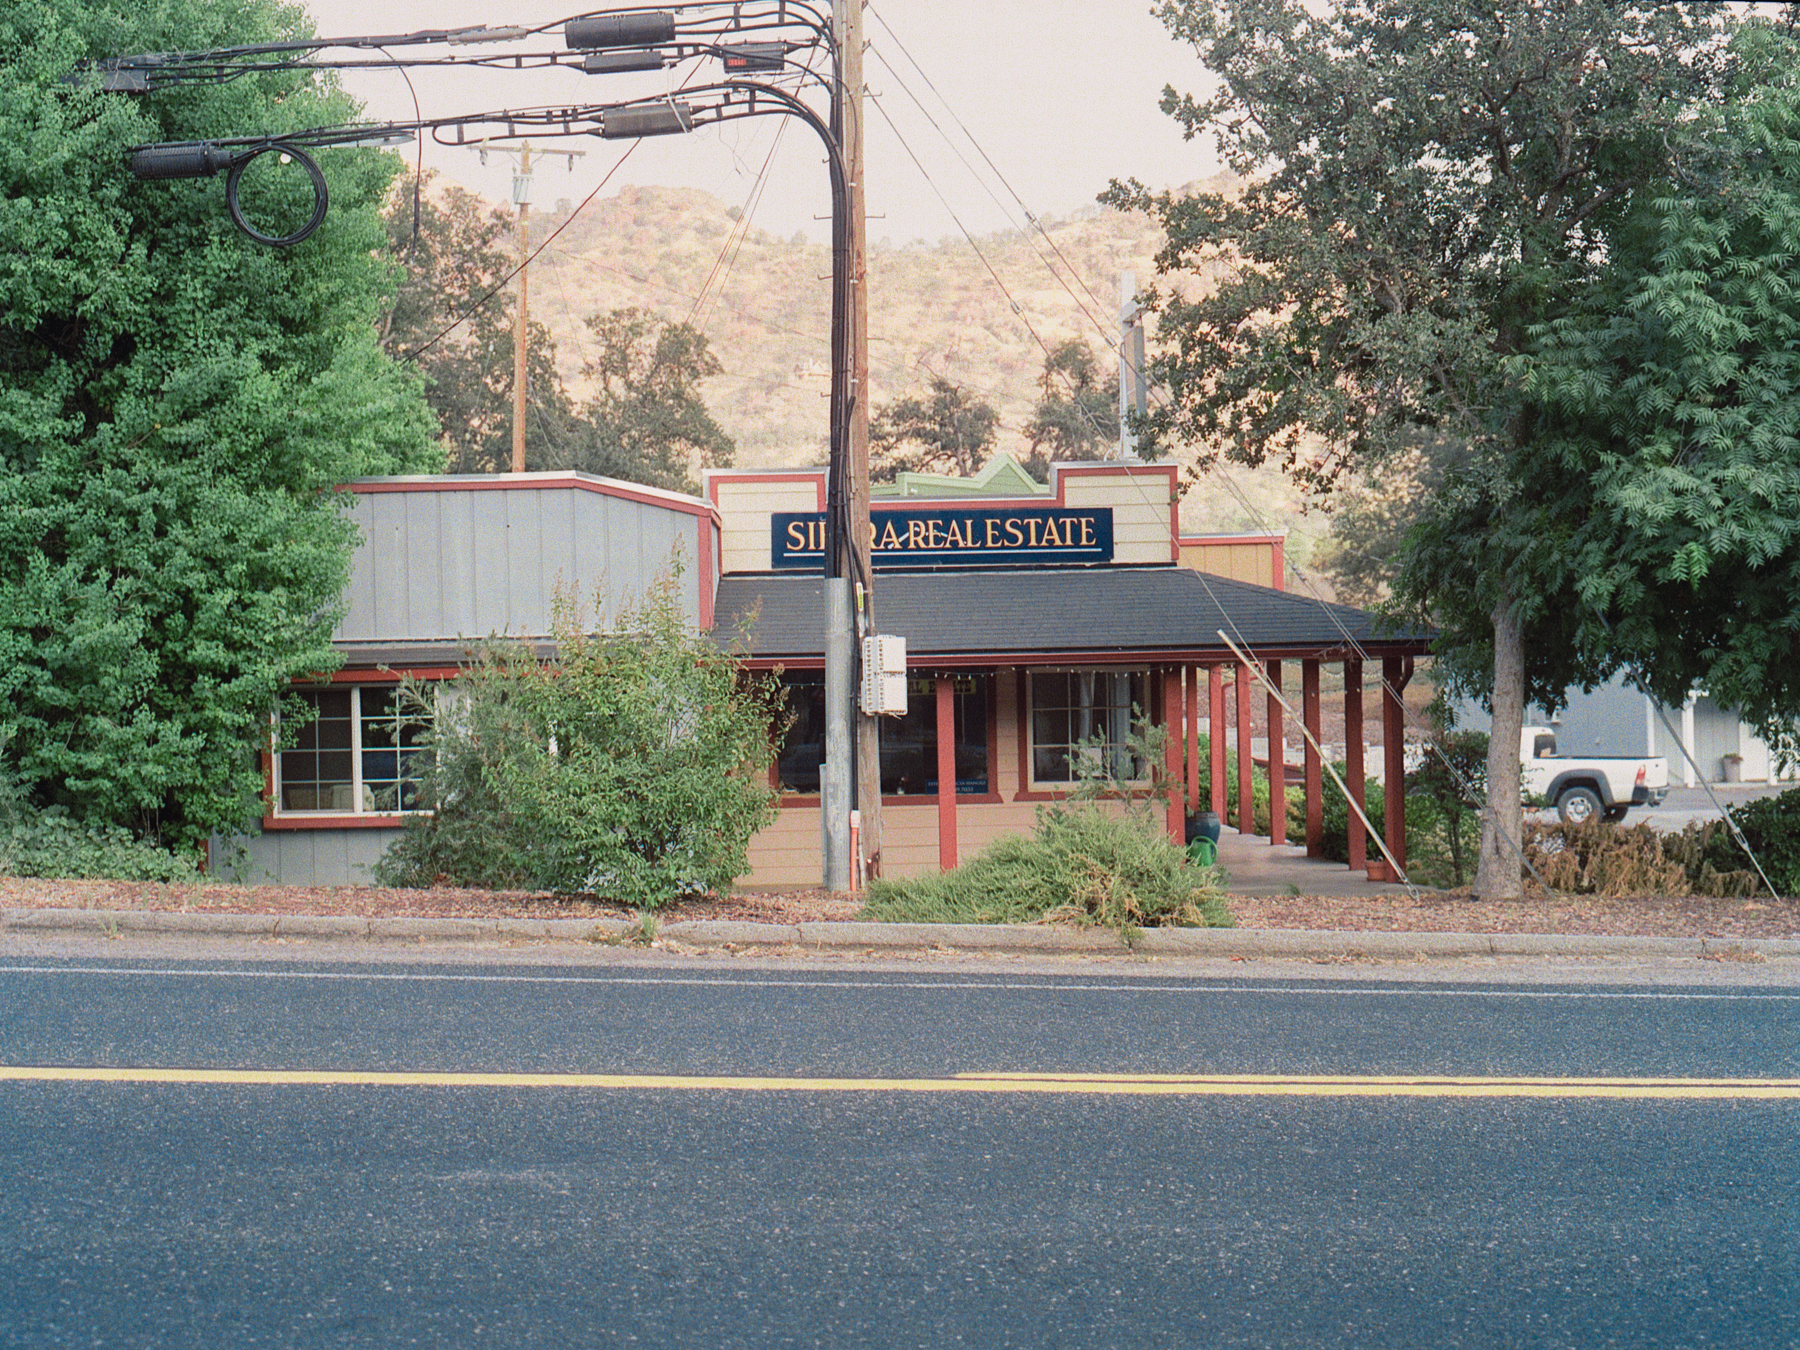
แบขnh tiแบฟp theo [6] mรฌnh ฤ‘รฃ chรบ thรญch รฝ ฤ‘แป“ trรชn hรฌnh. Rแบฅt tiแบฟc mรฌnh ฤ‘รฃ khรดng thแปƒ hiแป‡n ฤ‘ฦฐแปฃc ฤ‘iแปu mรฌnh muแป‘n trรชn แบฃnh. Cรฒn lแบกi lร  cรกc แบฃnh [7,8,9,10] mรฌnh chแปฅp trong ngร y thแปฉ 7. Mรฌnh thรญch แบฃnh [10] vรฌ ฤ‘รณ lร  chแปง ฤ‘แป ฦฐa thรญch cแปงa mรฌnh, nhแปฏng ngรดi nhร  nhแป trong town nho nhแป vแป›i nรฉt retro vร  tฤฉnh lแบทng. Nแบฟu ฤ‘ฦฐแปฃc chแปฅp lแบกi mรฌnh sแบฝ nรขng mรกy cao hฦกn ฤ‘แปƒ lแบฅy phแบงn cแป™t ฤ‘รจn nhiแปu hฦกn, dฤฉ nhiรชn tรขm ฤ‘iแปƒm bแปฉc แบฃnh khรดng phแบฃi lร  cแป™t ฤ‘รจn nhฦฐng แบฃnh lแบกi cแบฏt ngay lรบc dรขy diแป‡n rแบป ngang ra lร m mรฌnh cรณ cแบฃm giรกc mรฌnh cแบฏt vแบญt thแปƒ ngay mรฉp, rแบฅt khรณ chแป‹u khi nhรฌn. Mรฌnh ฤ‘รฃ ฤ‘ฦฐแปฃc hแปc vแป trang trรญ vร  bแป‘ cแปฅc rแบฑng hoแบทc lร  mรฌnh lแบฅy trแปn vแบญt thแปƒ hoแบทc cแบฏt ngay lรบc vแบญt thแปƒ khรดng cรณ biแบฟn chuyแปƒn gรฌ thรบ vแป‹, tuyแป‡t ฤ‘แป‘i khรดng cแบฏt vแบญt thแปƒ ngay mรฉp (nhฦฐ mรฌnh ฤ‘ang lร m) hoแบทc ngay gรณc. Nhฦฐng nhรฌn chung mรฌnh vแบซn rแบฅt thรญch แบฃnh nร y vรฌ cแบฃm giรกc nรณ mang lแบกi. แบขnh [11] cลฉng lร  1 แบฃnh mรฌnh thแบฅy khรก thรบ vแป‹, mรฌnh thรญch mร u xanh trong hรฌnh mang 1 cแบฃm giรกc lร nh lแบกnh vร  mฦก hแป“ rแบฅt ฤ‘แบทc biแป‡t.

11

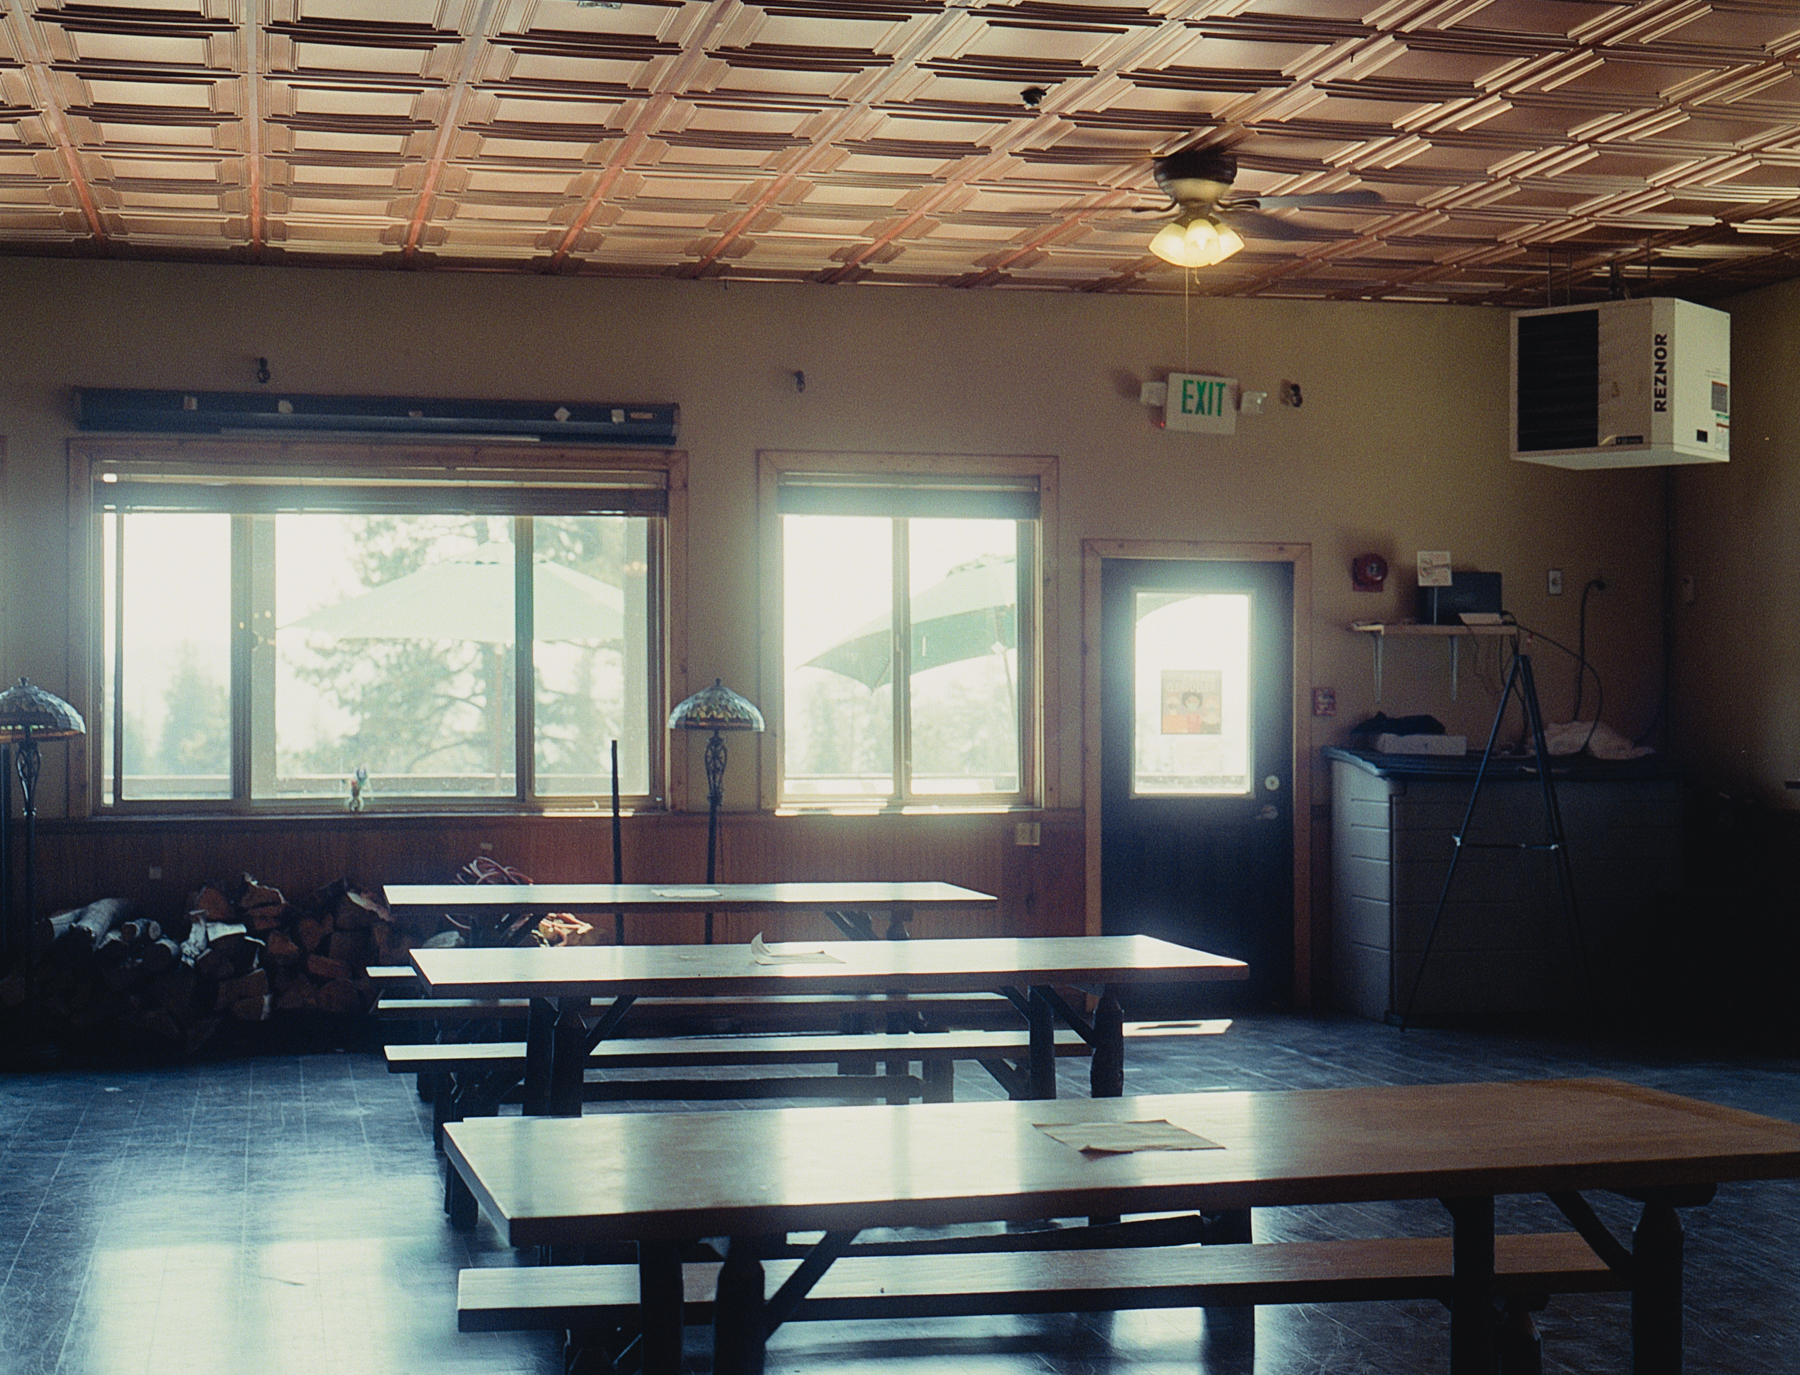
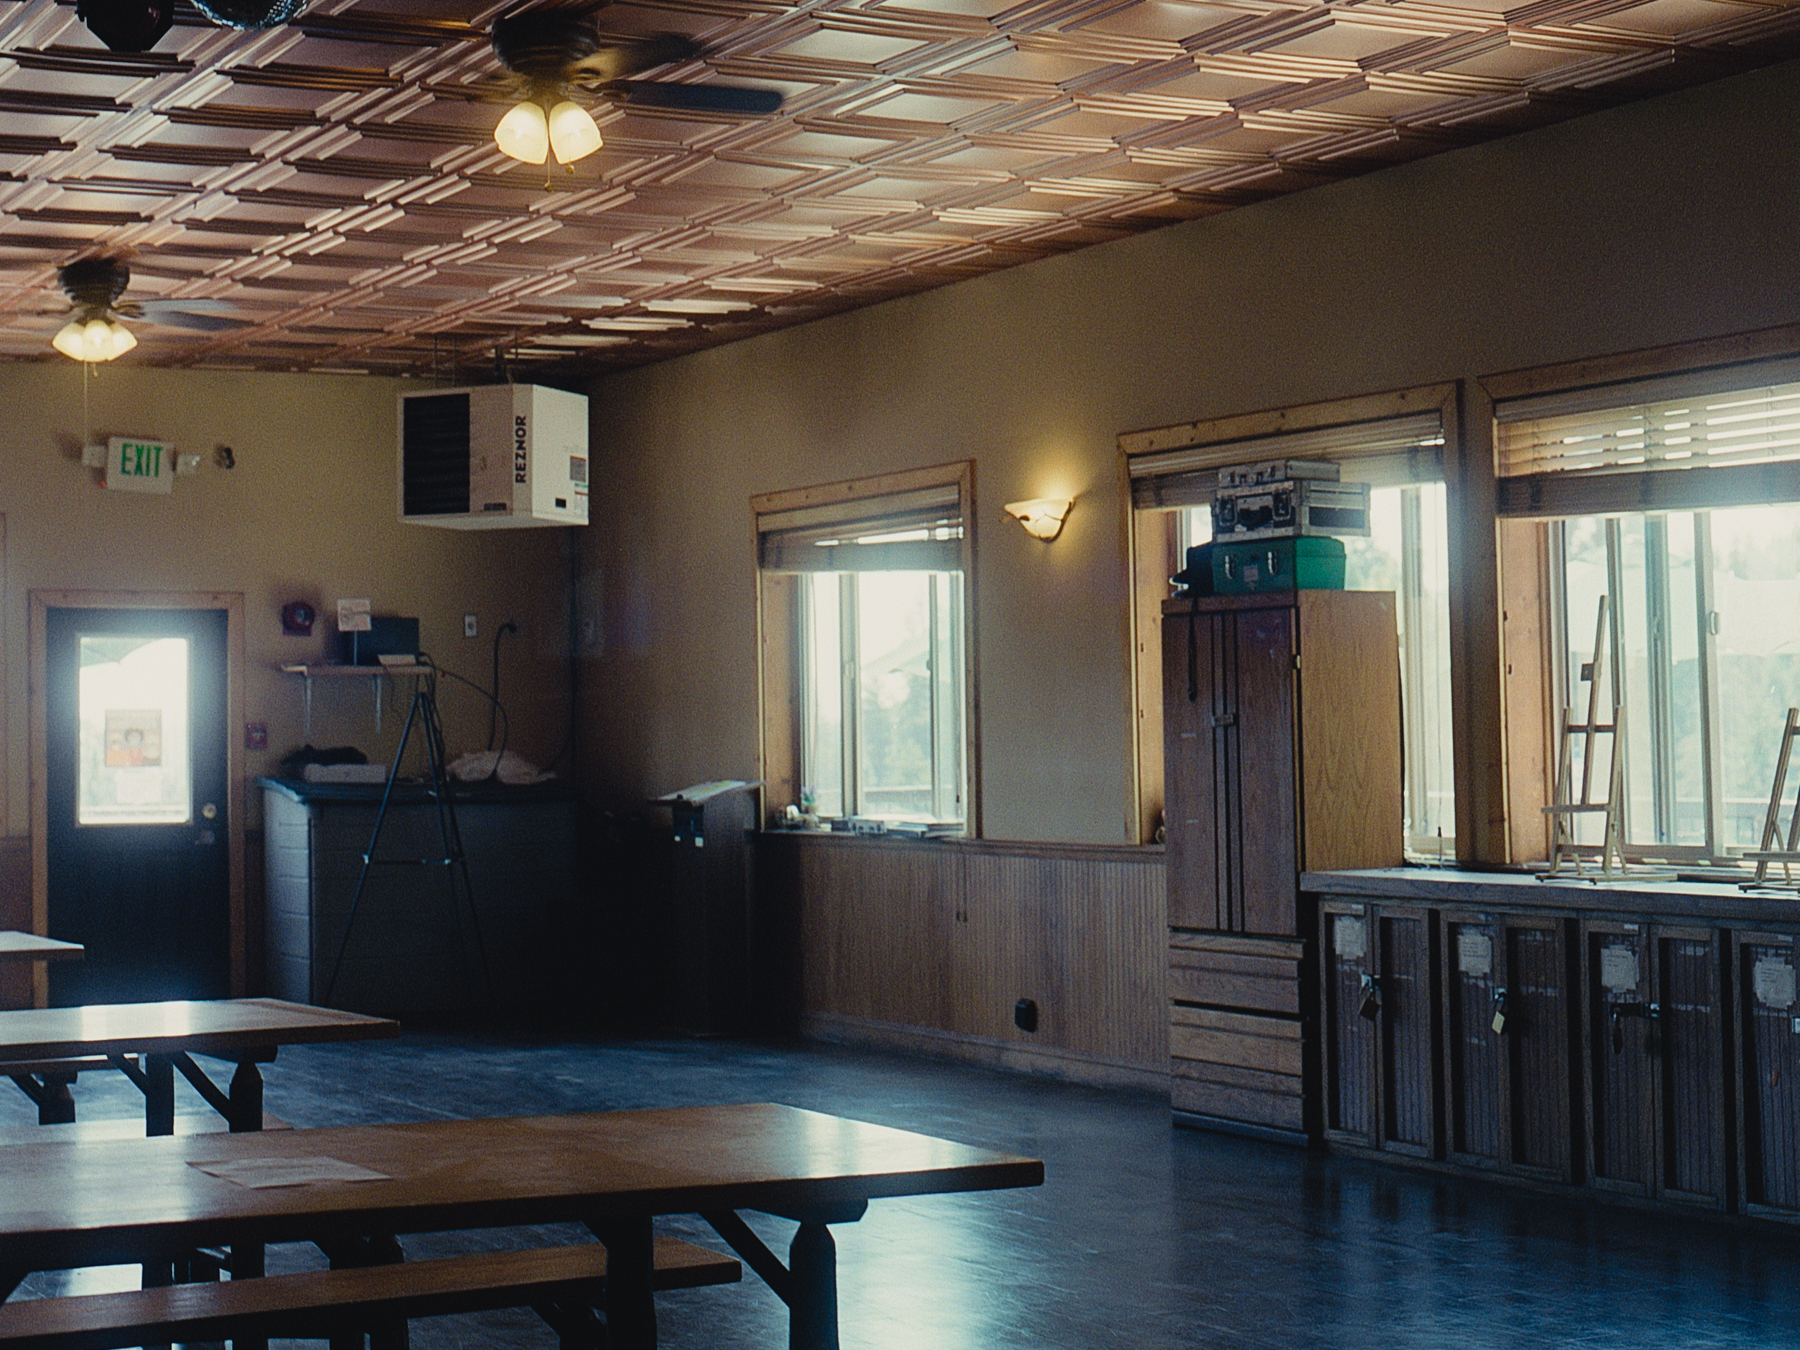
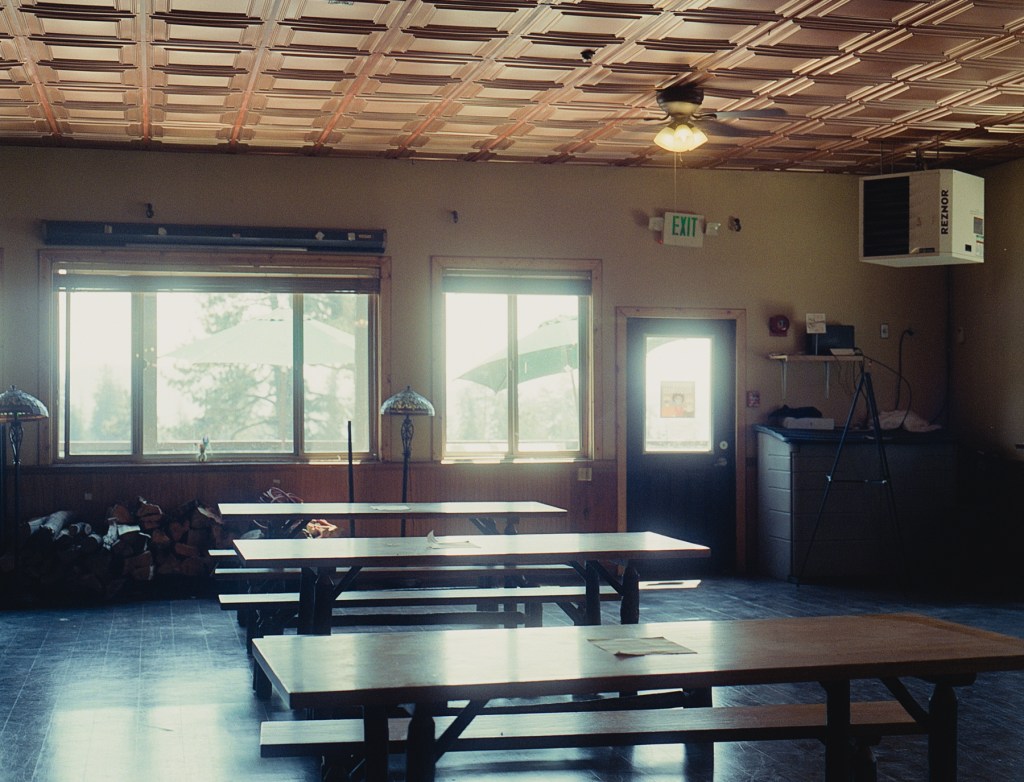
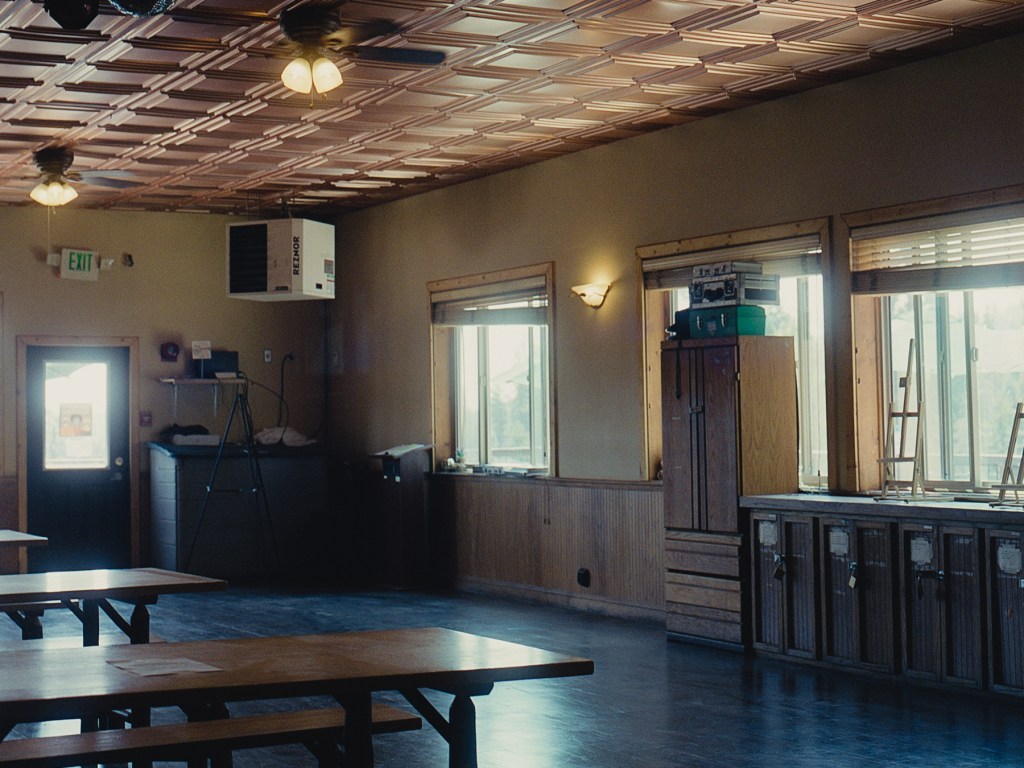
Mรฌnh vแปซa mua pro mist filter 1/4 ฤ‘แปƒ chแปฅp thแปญ vรฌ mรฌnh thแบฅy cรดng dแปฅng cแปงa nรณ khรก hay. Pro mist filter dรนng ฤ‘แปƒ giแบฃm highlight xuแป‘ng vร  ฤ‘แป“ng thแปi lร m highlight glow 1 chรบt, nhฦฐ cรณ thแปƒ thแบฅy แปŸ 2 tแบฅm hรฌnh bรชn phแบฃi. ฤรขy lร  trฦฐa Chแปง Nhแบญt khi mรฌnh vร  cรกc bแบกn dแปซng lแบกi trฦฐแป›c 1 nhร  hร ng trong ski resort ฤ‘แปƒ ฤƒn trฦฐa. Dฤฉ nhiรชn ski resort khรก vแบฏng vแบป mรนa nร y, nhฦฐ trong hรฌnh lร  1 sแปฑ trแป‘ng trแบฃi vร  รขm u trong phรฒng ฤƒn khรดng 1 bรณng ngฦฐแปi.


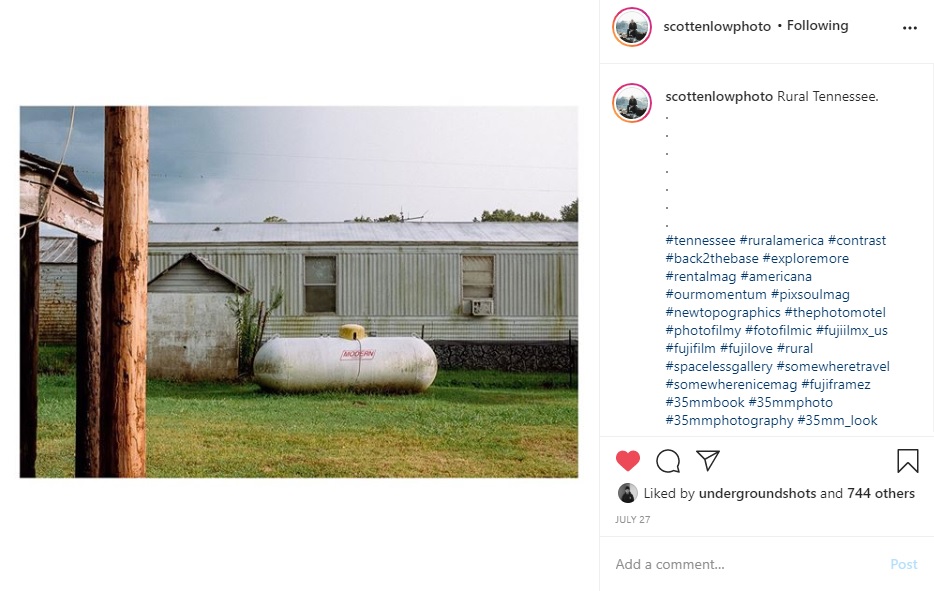
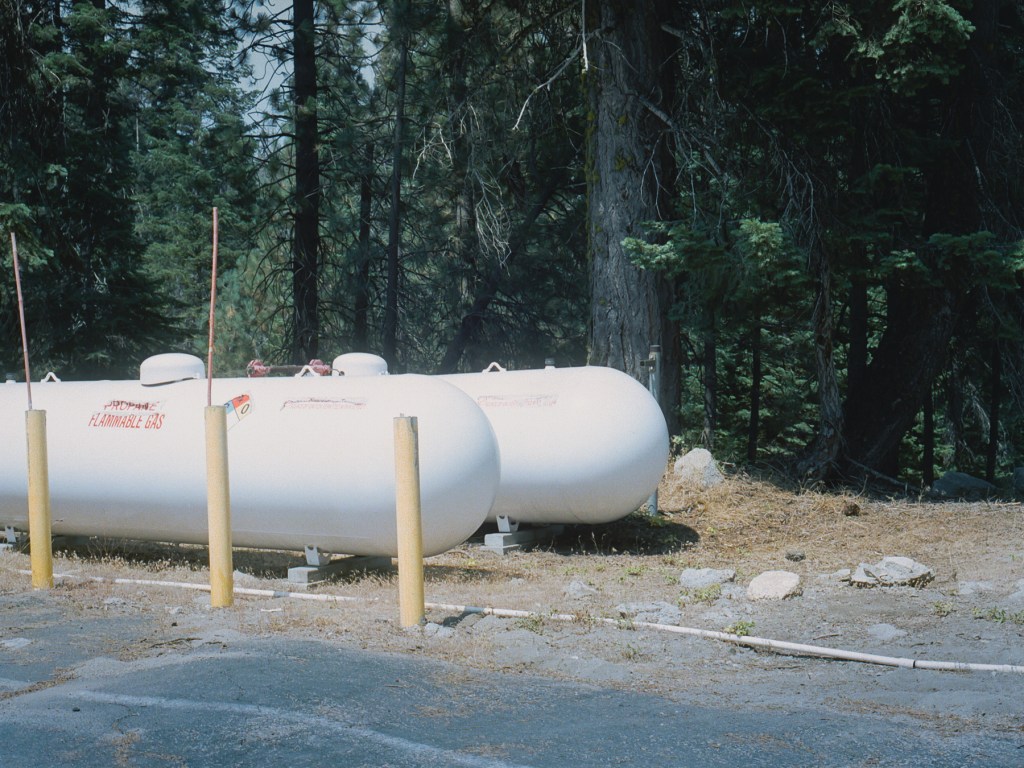
แบขnh bแป“n gas nร y mรฌnh chแปฅp theo 1 bแปฉc แบฃnh cแปงa photographer Scott Enlow ฤ‘ฤƒng bรชn dฦฐแป›i. Mรฌnh ฤ‘แบทc biแป‡t thรญch tแบฅm แบฃnh nร y cแปงa Enlow vรฌ nรณ chแปฉa ฤ‘แปฑng tแบฅt cแบฃ nhแปฏng gรฌ mรฌnh muแป‘n nhรฌn thแบฅy trong 1 bแปฉc แบฃnh, tiแปn cแบฃnh, trung cแบฃnh, hแบญu cแบฃnh, cแป xanh, รกnh mแบทt trแปi trong vร  vร ng แบฅm, bแบงu trแปi hฦกi u รกm nhฦฐng toร n bแป™ hรฌnh lแบกi khรดng cรณ cแบฃm giรกc u รกm nแบทng nแป. Mรฌnh thรญch sแปฑ cลฉ kแปน vร  hฦกi hoang tร n nhฦฐng cลฉng rแบฅt “neat” vร  tฦฐฦกi mรกt mร  bแปฉc แบฃnh mang lแบกi. Mรฌnh ฤ‘แบทc biแป‡t thรญch cรขy cแป™t gแป— แปŸ tiแปn cแบฃnh, mรฌnh cแบฃm thแบฅy cรขy cแป™t gแป— lร m tแบฅm แบฃnh rแบฅt sแป‘ng ฤ‘แป™ng vร  thรบ vแป‹. Cรกc bแบกn nรชn xem thรชm แบฃnh cแปงa Scott Enlow qua Instagram nhฦฐ trong hรฌnh bรชn dฦฐแป›i. Mรฌnh rแบฅt thรญch Scott Enlow vรฌ แบฃnh cแปงa nhiแบฟp แบฃnh gia nร y rแบฅt retro vร  dreamy.

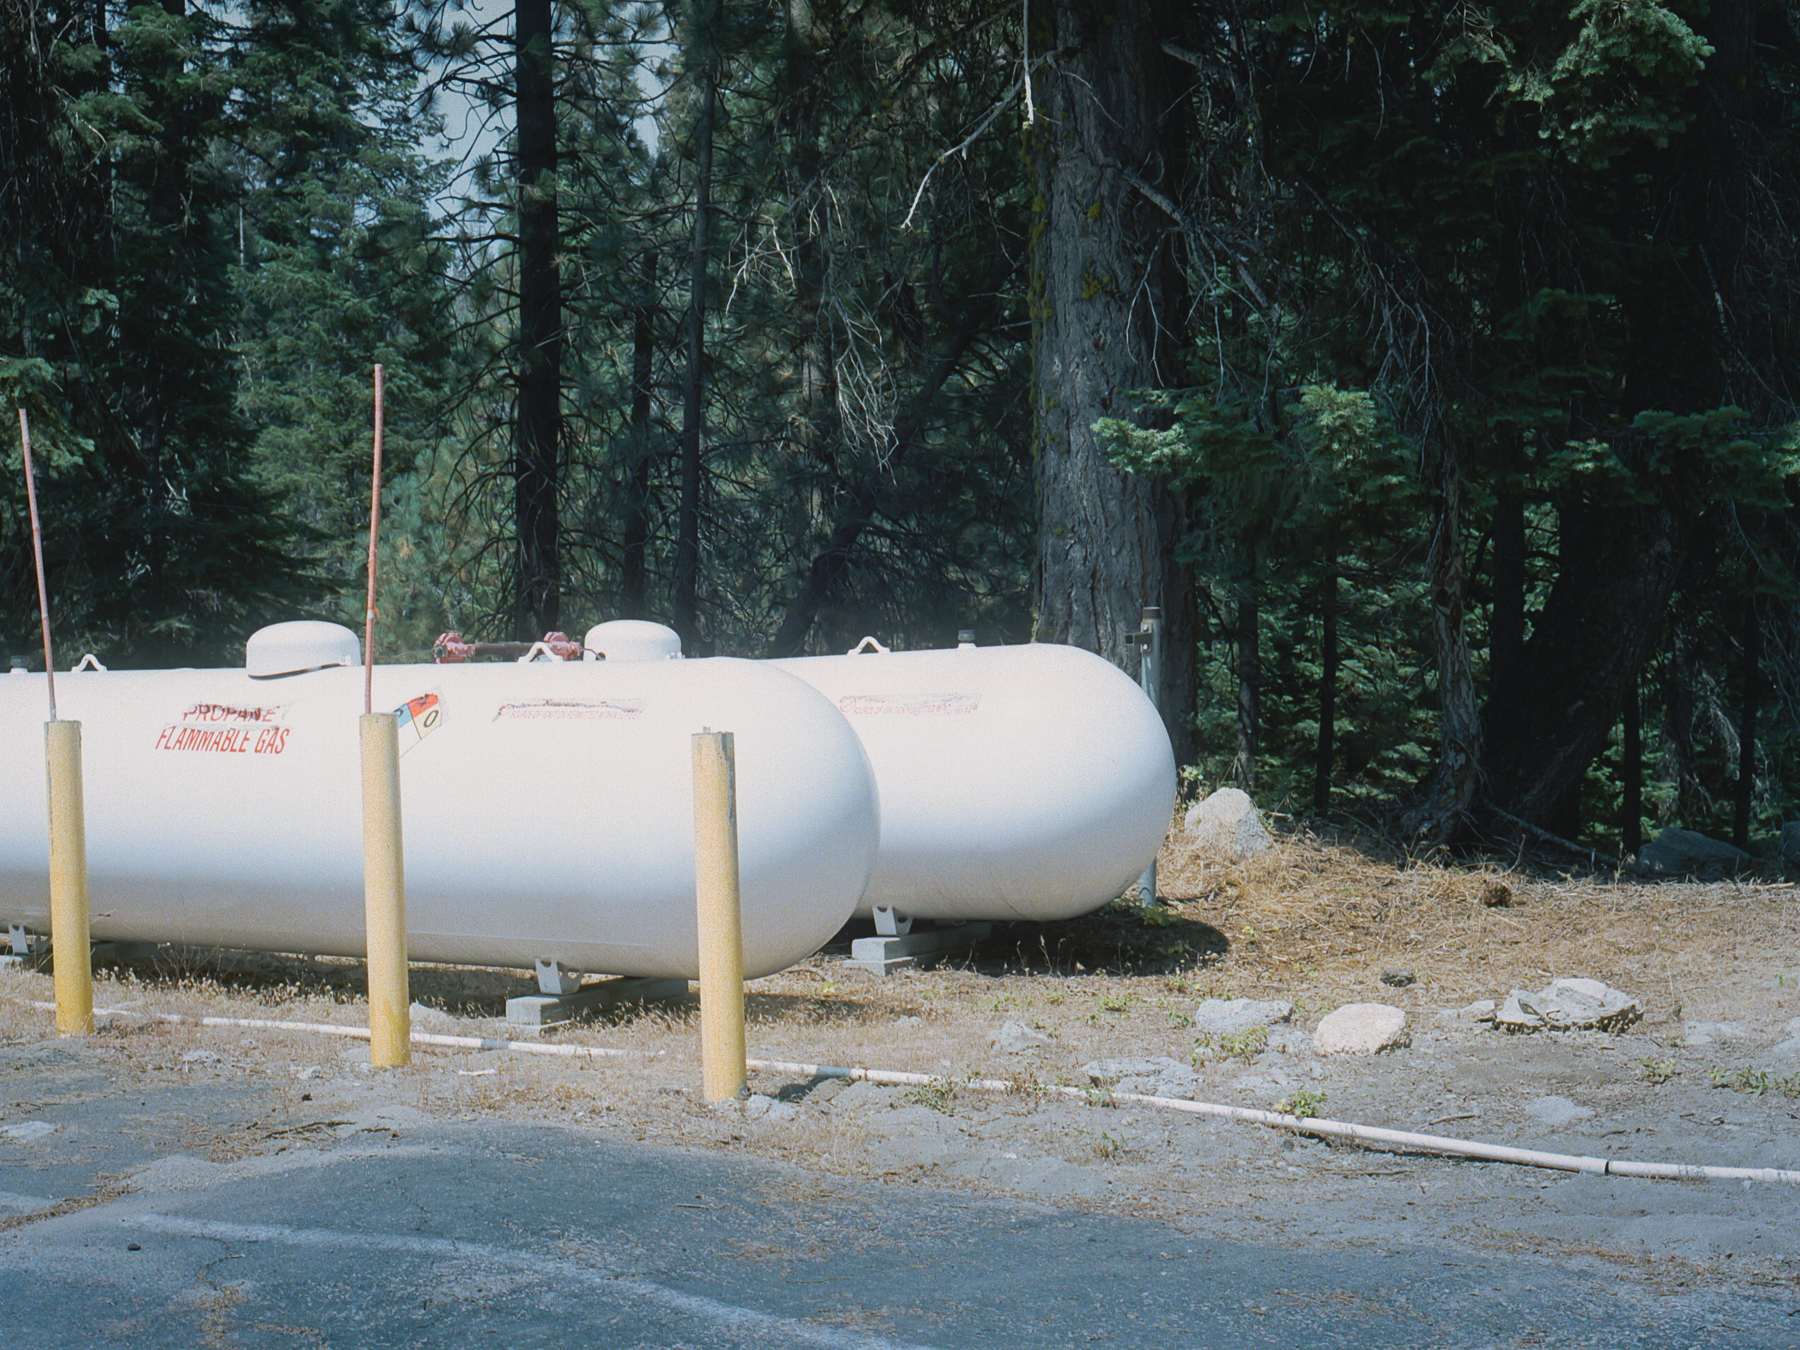
Quay trแปŸ lแบกi vแป›i แบฃnh cแปงa mรฌnh, mรฌnh nghฤฉ แบฃnh bรชn phแบฃi tแป‘t hฦกn แบฃnh trรกi bแปŸi vรฌ แบฃnh trรกi cรณ chiแบฟc lแปu nhแป khรก kแปณ cแปฅc trรชn bแป“n gas lร m mรฌnh khรดng thแปƒ nร o chแปn ฤ‘ฦฐแปฃc 1 bแป‘ cแปฅc ฤ‘แบนp cho แบฃnh. Hรฌnh thแปฉ 2 khรก hฦกn vรฌ bแป“n gas mร u trแบฏng, dแป… tรกch biแป‡t giแปฏa chแปง thแปƒ vร  background hฦกn. Thแบญt ra cลฉng khรดng phแบฃi lร  tแบฅm แบฃnh mรฌnh ฦฐng รฝ 100% nhฦฐng mรฌnh cลฉng thแบฅy nรณ khรก thรบ vแป‹. Nhแบฅt ฤ‘แป‹nh lแบงn sau gแบทp 1 bแป“n gas mรฌnh sแบฝ thแปญ lแบกi.


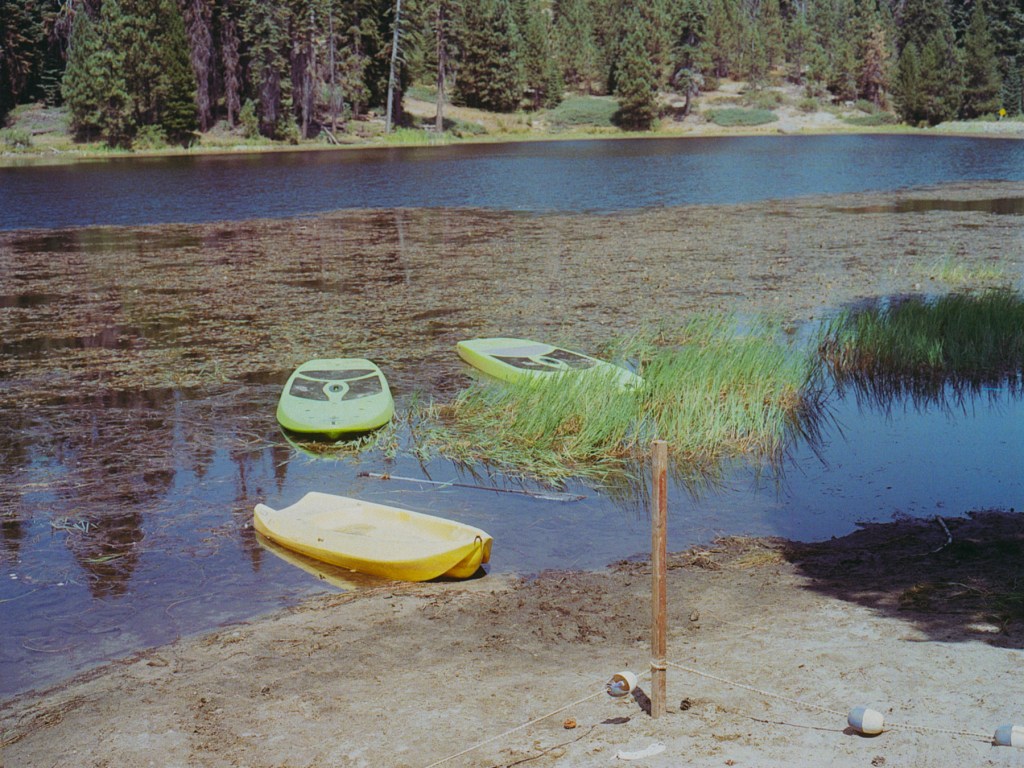
Tแบฅm แบฃnh mแบฅy tแบฅm vรกn bแป‹ bแป lแบกi trรชn hแป“ nhรฌn khรก buแป“n vร  cลฉ. Khรดng hiแปƒu sao 2 tแบฅm nร y mร u scan ra nhรฌn hฦกi รกm tรญm vร  trแบงm dรน mรฌnh chแป‰ dรนng Fuji 400H, cรณ thแปƒ lร  do cแบฃnh quรก tฦฐฦกng phแบฃn giแปฏa highlight vร  shadow nรชn khi scan mรกy cแป‘ tone down highlight ฤ‘แปƒ giแปฏ lแบกi chi tiแบฟt แปŸ highlight (thแบญt ra mรฌnh khรดng rรต lแบฏm, cลฉng cรณ thแปƒ do mรฌnh chฦฐa biแบฟt cรกch chแปฅp, scan trong ฤ‘iแปu kiแป‡n tฦฐฦกng phแบฃn mแบกnh). Nhฦฐng mรฌnh nghฤฉ nรณ khรก hแปฃp vแป›i nแป™i dung cแปงa แบฃnh, vแป ฤ‘แป“ vแบญt bแป‹ con ngฦฐแปi bแป lแบกi vแป™i vรฃ nแบฑm chฦกi vฦกi bรชn bแป hแป“ giแปฏa ฤ‘รกm cแป mแปc lแป‘ nhแป‘ khรดng ai chฤƒm sรณc. Tแบฅm thแปฉ 2 cรณ bแป‘ cแปฅc ฤ‘แบนp vร  nhiแปu lแป›p (tiแปn cแบฃnh, trung cแบฃnh, hแบญu cแบฃnh) hฦกn แบฃnh thแปฉ 1. Nhฦฐng mรฌnh nghฤฉ 2 แบฃnh ฤ‘i chung sแบฝ mang nแป™i dung mแบกnh vร  thuyแบฟt phแปฅc hฦกn.

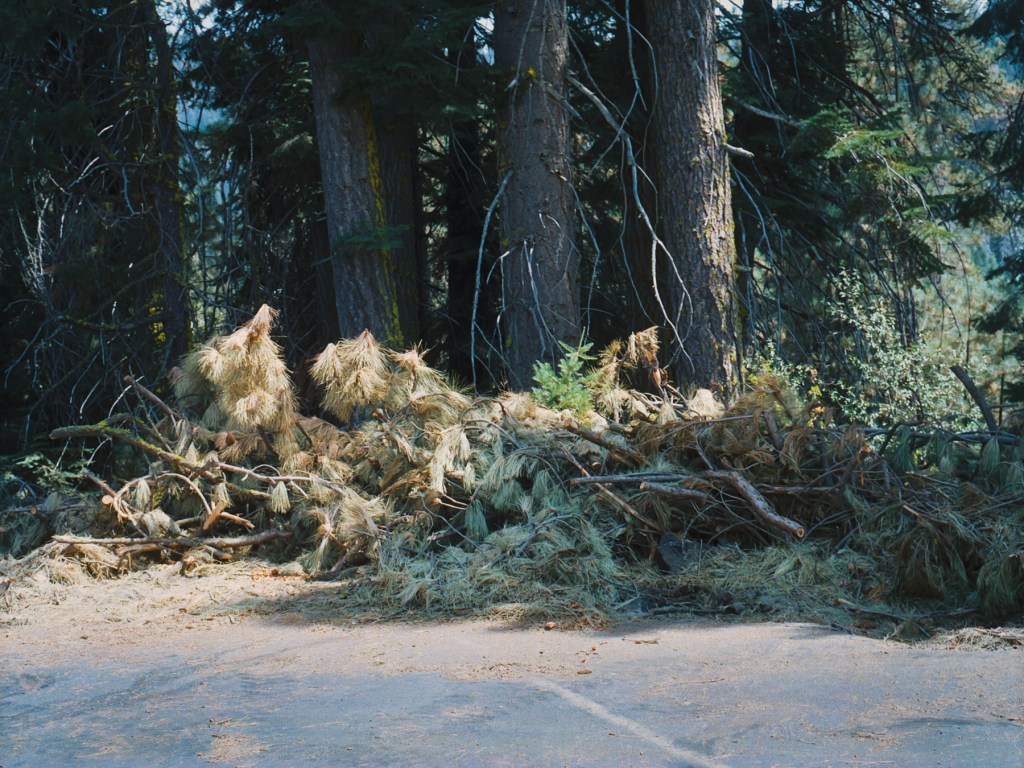
แบขnh [18] mรฌnh chแปฅp vรฌ รกnh nแบฏng rแปi xuแป‘ng chรณp cแปงa nhแปฏng cร nh thรดng khรด nhรฌn rแบฅt bแบฏt mแบฏt, ฤรขy cลฉng lร  1 cแบฃnh tฦฐฦกng phแบฃn mแบกnh vแป ฤ‘แป™ sรกng cลฉng nhฦฐ mร u sแบฏc, mร u vร ng cam cแปงa chรณp thรดng khรด vร  mร u xanh thแบซm cแปงa cร nh thรดng dฦฐแป›i bรณng rรขm lร m cแบฃnh nhรฌn rแบฅt thu hรบt. Rแบฅt tiแบฟc lรชn hรฌnh mรฌnh khรดng thแปƒ hiแป‡n ฤ‘ฦฐแปฃc vแบป ฤ‘แบนp ฤ‘รณ. แบขnh [19] mรฌnh rแบฅt thรญch, vรฌ ฤ‘รณ lร  chแปง ฤ‘แป ฦฐa thรญch cแปงa mรฌnh, nhแปฏng cแบฃnh bรฌnh thฦฐแปng hร ng ngร y cแปงa cuแป™c sแป‘ng nฦกi xa cรกch chแป‘n thร nh thแป‹ hiแป‡n ฤ‘แบกi tแบฅp nแบญp. แบขnh nร y chแปฅp แปŸ khแบฉu 5.6 nรชn khรดng cรณ nhiแปu vรนng in focus, lร  1 ฤ‘iแปu mรฌnh rแบฅt tiแบฟc, nhฦฐng cแบฃnh khรก thiแบฟu sรกng nรชn ฤ‘รขy lร  nhแปฏng gรฌ tแป‘t nhแบฅt mรฌnh cรณ thแปƒ lร m.

21

Cuแป‘i cรนng lร  nhแปฏng hรฌnh chแปฅp casual trรชn ฤ‘ฦฐแปng hoแบทc lรบc ฤ‘i hiking. Thแบญt ra mรฌnh cรณ thแปƒ chแปฅp nhiแปu hฦกn trong lรบc hike nhฦฐng mรฌnh khรดng thแปƒ cแบฃm nhแบญn ฤ‘ฦฐแปฃc vแบป ฤ‘แบนp cแปงa ฤ‘รก nรชn mรฌnh khรดng chแปฅp nhiแปu dรน trong lรบc hiking cรณ ฤ‘i quang qua 1 ฤ‘oแบกn ฤ‘ฦฐแปng toร n ฤ‘รก xanh, chแป‰ cรณ 1 khe nhแป ฤ‘แปง ฤ‘แปƒ 1 ngฦฐแปi chui qua, cแบฃnh nhรฌn rแบฅt Thแบญp Diแป‡n Mai Phแปฅc vibe vรฌ thแบญt ra bแบกn khรดng thแปƒ thแบฅy gรฌ xung quanh mรฌnh ngoแบกi trแปซ ฤ‘รก, vร  mรฌnh luรดn cรณ cแบฃm giรกc ai ฤ‘รณ cรณ thแปƒ nแบฅp ฤ‘แบฑng sau 1 tแบฃng ฤ‘รก vร  nhแบฃy ra mai phแปฅc mรฌnh[?!] lol. Nhรฌn chung, mรฌnh nghฤฉ nรณ khรก thรบ vแป‹ nhฦฐng khรดng nghฤฉ nรณ photographic cho mรฌnh.

Cuแป‘i cรนng lร  2 hรฌnh cuแป‘i cแปงa 1 thรกc nฦฐแป›c nhฦฐng ฤ‘รฃ cแบกn nฦฐแป›c vรฌ ฤ‘รขy lร  mรนa khรด. Lแบงn sau mรฌnh nรชn kiแปƒm tra thรกc nฦฐแป›c trฦฐแป›c khi mang theo tripod ฤ‘i hiking ๐Ÿ™‚ Khรดng cรณ nฦฐแป›c cแบฃnh chแป‰ toร n ฤ‘รก khรด khแป‘c nhฦฐng mรฌnh cลฉng thแบฅy vui vรฌ chuyแบฟn ฤ‘i nร y.


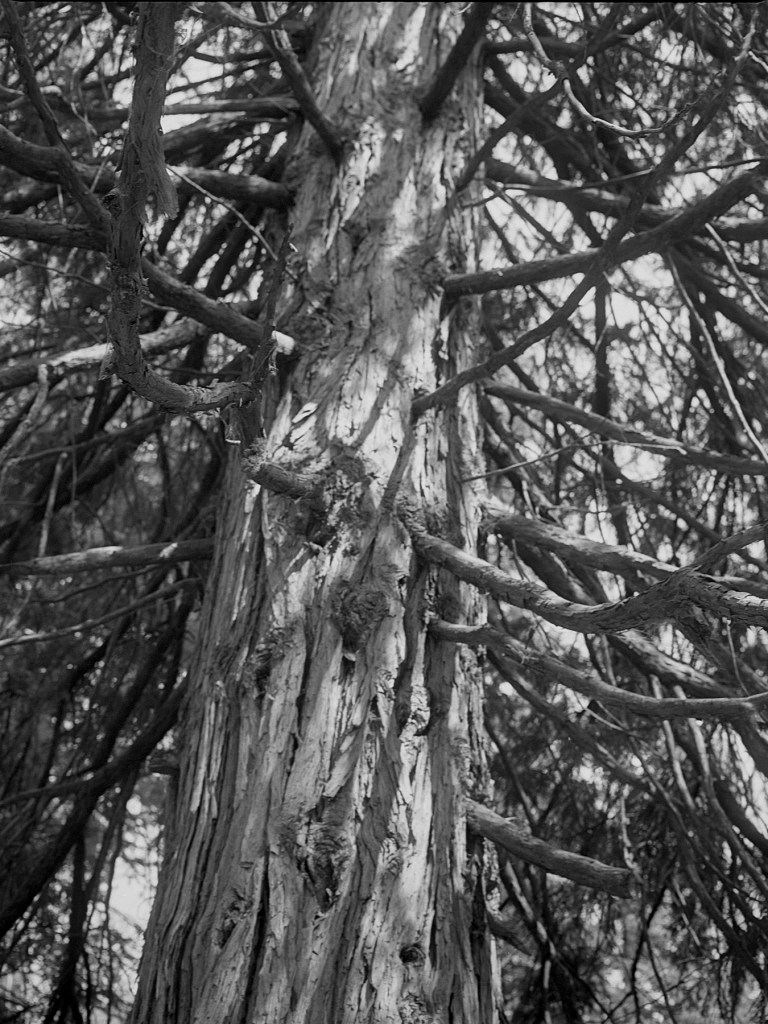
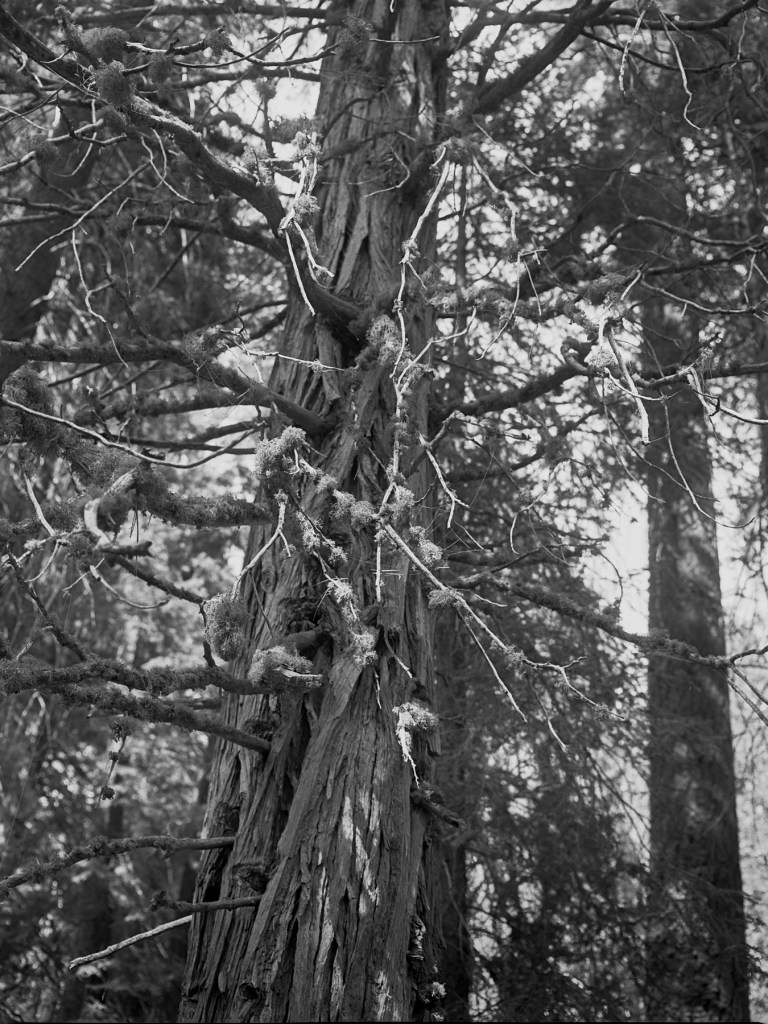
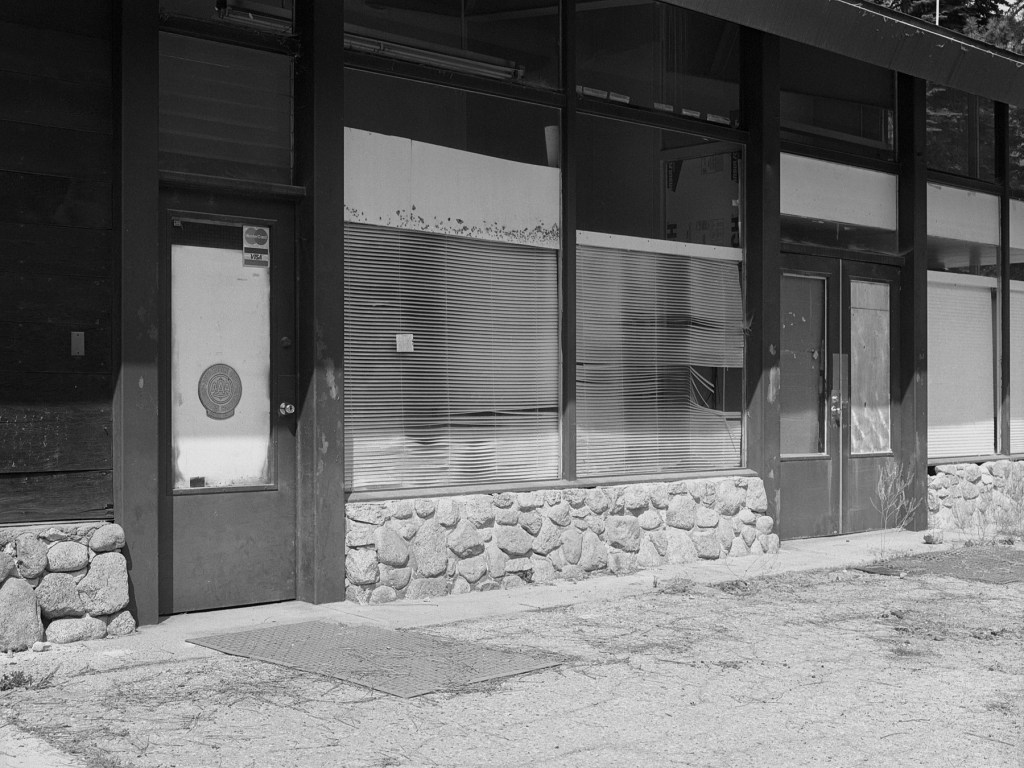
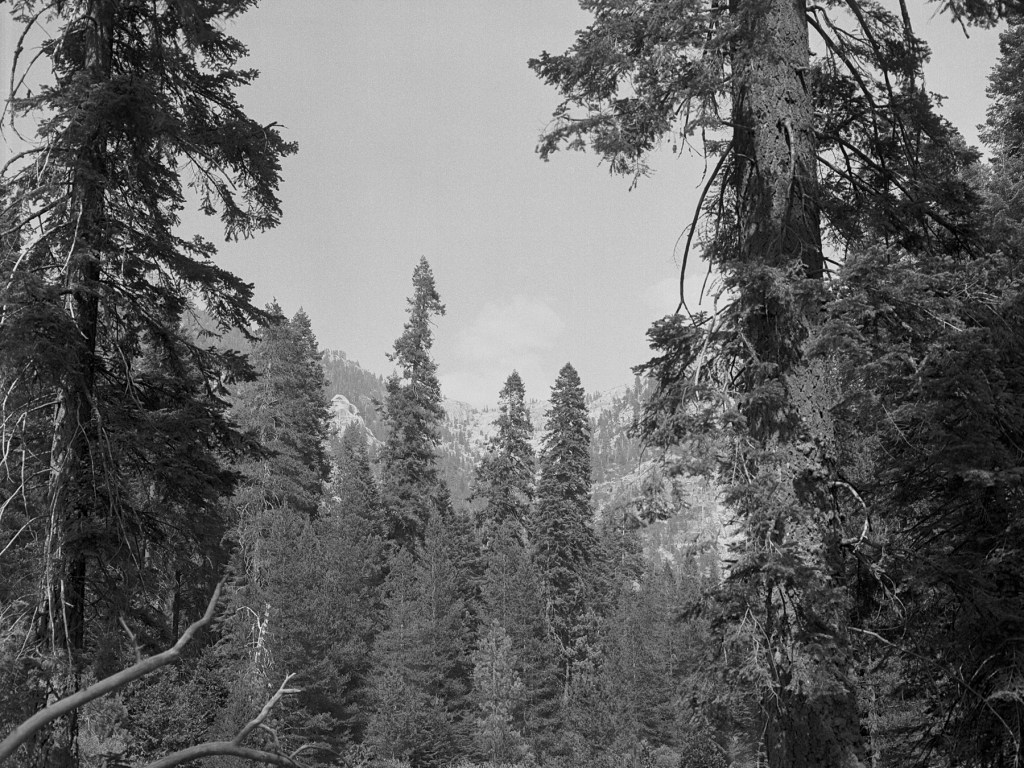
Sau ฤ‘รขy lร  แบฃnh tแปซ cuแป™n film trแบฏng ฤ‘en duy nhแบฅt mรฌnh chแปฅp trong chuyแบฟn ฤ‘i nร y.

Cแบฃm ฦกn cรกc bแบกn ฤ‘รฃ theo dรตi ฤ‘แบฟn ฤ‘รขy. Mรฌnh biแบฟt bร i viแบฟt khรก dร i nhฦฐng mong hแปฏu รญch cho cรกc bแบกn. Chรบc cรกc bแบกn chแปฅp แบฃnh nhiแปu hฦกn vร  hร i lรฒng vแป แบฃnh cแปงa mรฌnh. Cheers!

Sequoia road trip

I was having a hard time to write this post, because I think my photos out of this trip are not that great as I expected. But it’s okay to share them because we all know that I’m learning along the way. So I hope you learn something from here or find some inspirations somewhere in this.

My friends and me went to Sequoia 3 weeks ago. We started to drove around 8pm Friday night and got there around 12:30am Saturday. Then we spend whole Saturday and haft Sunday to hike and drove back home in Sunday evening. Back then the wildfires were not as crazy as right now (September 10th) but the area were covered by a thin layer of smoke and the sky turned orange brownish already. Not ideal for photography but that’s what I got. For the gear, I brought the same Bronica system and Nikon F2, left my digital Nikon and the Yashica T4 home because it’s a short trip and I didn’t want to bring too many cameras. For film, I had Fuji Pro 400H, and Ilford XP2 black and white 120 film, I also had some 35mm rolls of Kodak Proimage and Portra 160, and 1 roll of Portra 800 (because it’s so freaking expensive!). I never shoot black and white before, I like seeing some black and white photos but never seeing myself shooting black and white but some fellow on discord told me that I should shoot black and white to focus on shapes and contrast in my photos, [and be more careful about the composition] so I picked up some XP2 because I can develop them at home with my C-41 chemicals. My black and white photos are not special but I’ll share them here as a encouragement to others it’s okay to have bad photos, they help you to see your mistakes and improve your photography.

Above are my first photos of the trip. The first one is when we’re having lunch on the car at road side and I was framing the photo while the moto appeared and I waited for him to be on the spot I want and shot it, I wish I had waited a little more for he to come closer because he was so far back in the frame and so small. The second one is taken with the idea of document the trip and the windshield had some weird plush toys and the disposable masks that remind you of the Covid-19 era. The photo of the hollowed tree is not good but personally I never saw a tree burned inside before so it’s a new thing to me, and I guess if I live in California I will definitely see that a lot more.

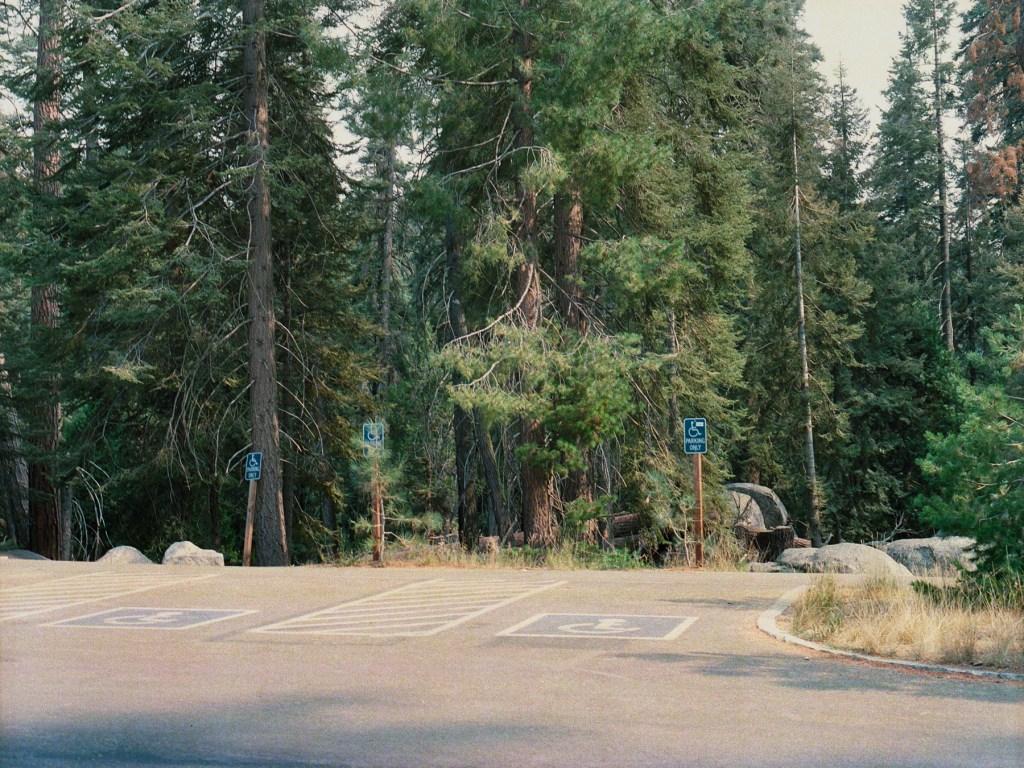
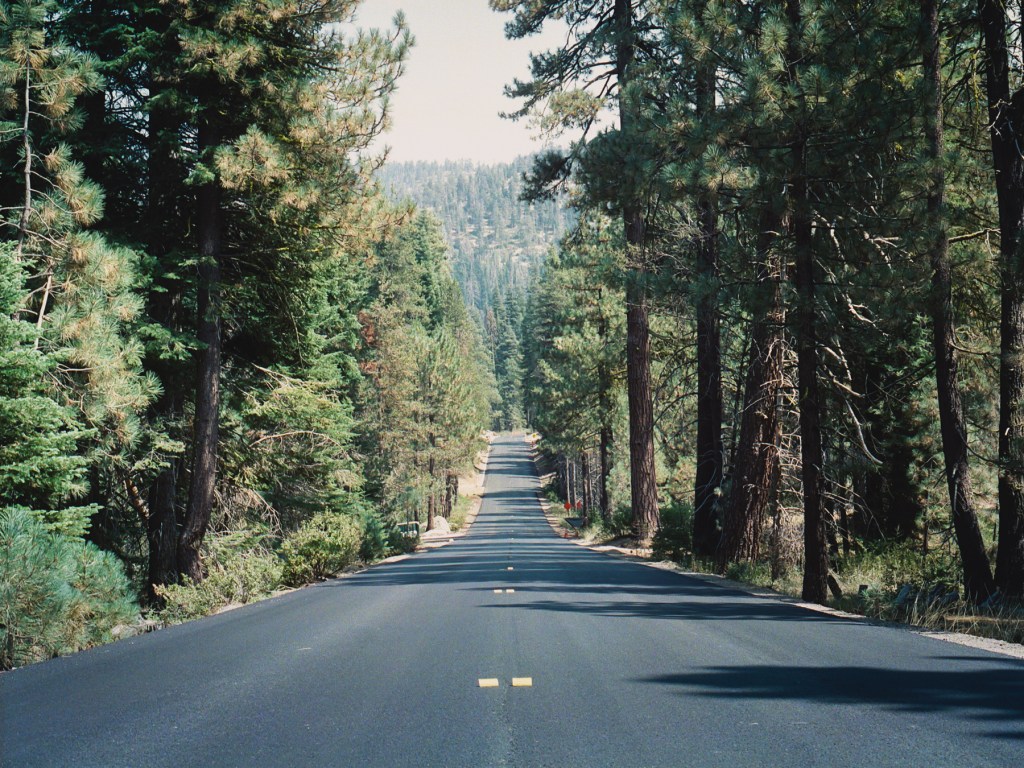
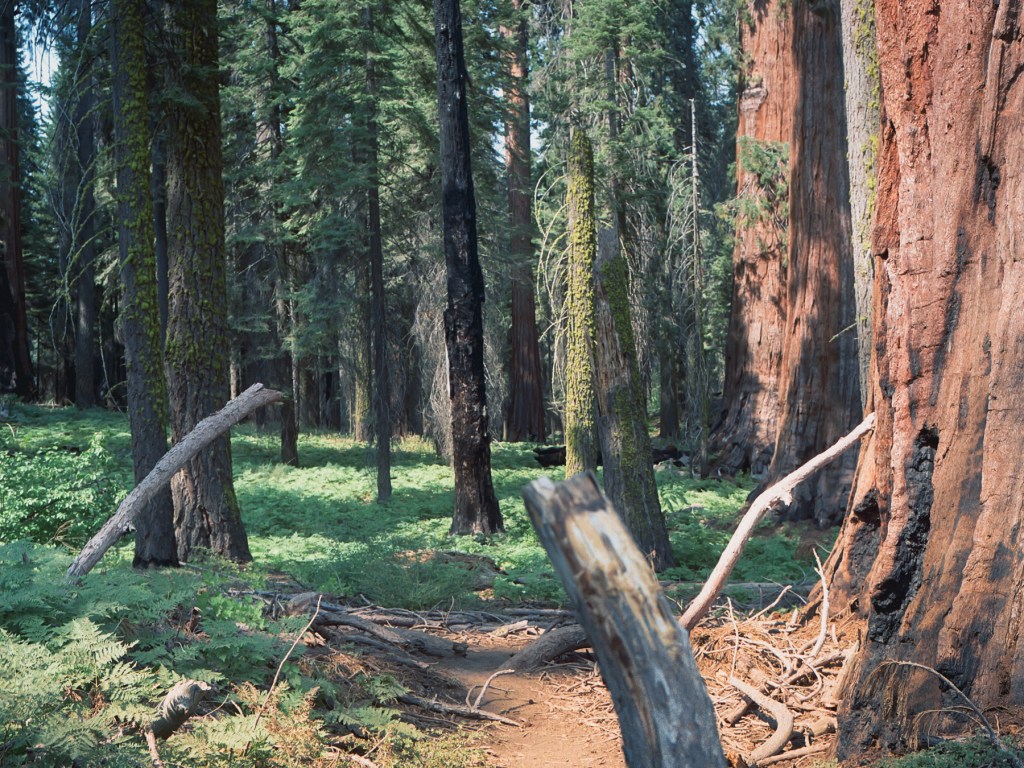
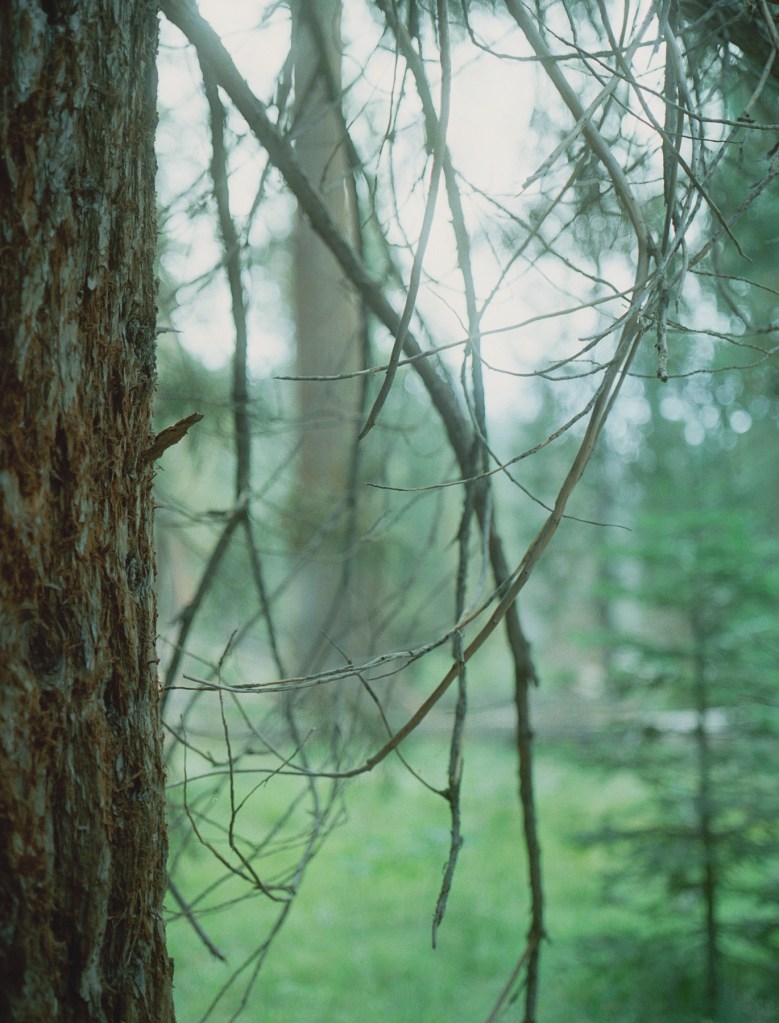
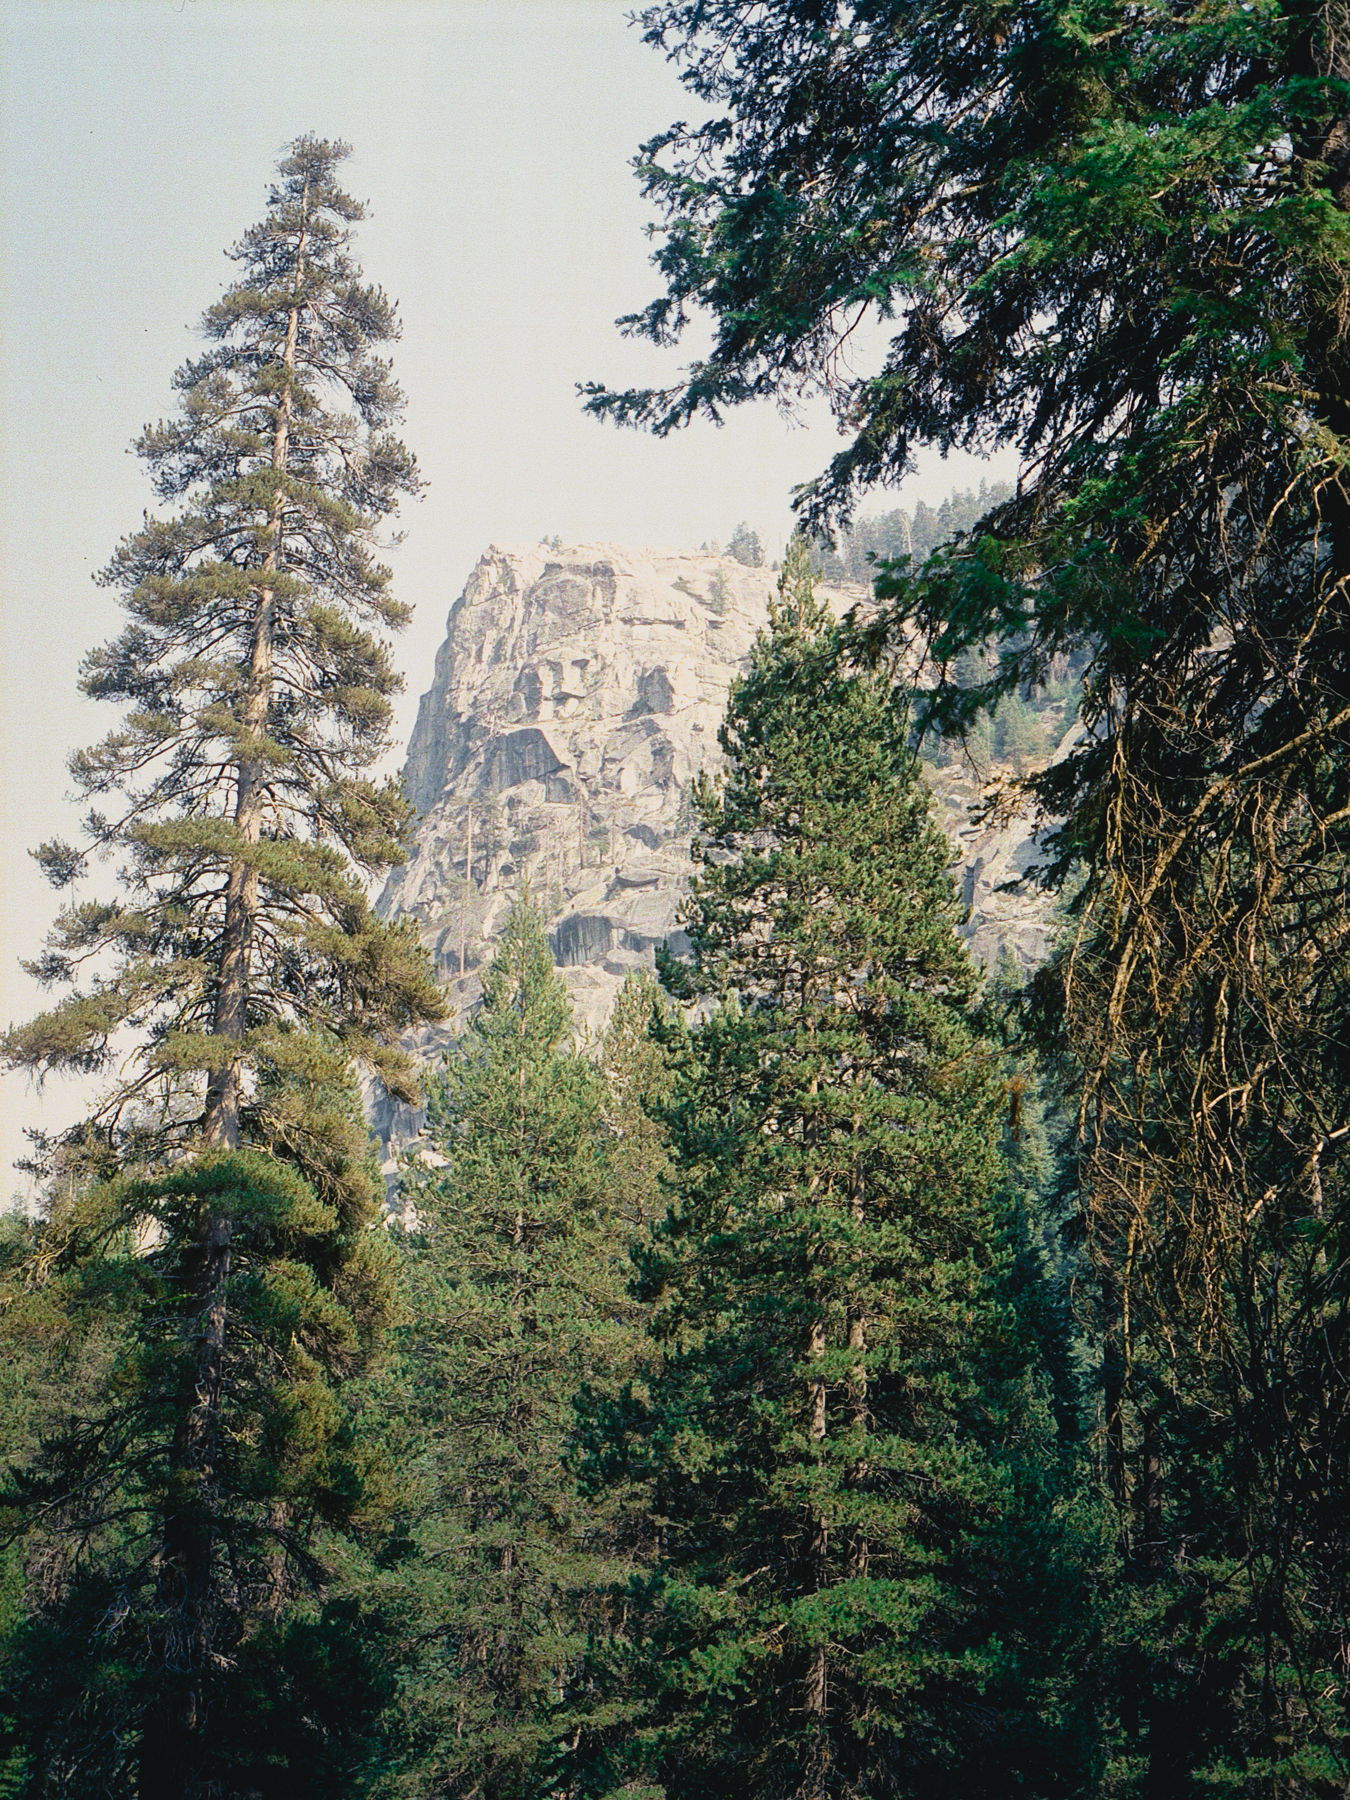
The Moro Rock is an iconic sightseeing in Sequoia. Unfortunately the day we hike there’s so much smoke in the air and the view was not good at all, I had some photos taken on the rock but they’re not much to share. [And if you read the Lake Tahoe road trip post you know that I’m into forest and green scenes, not rock :)]. I hope my first photo gives you and idea of how the atmosphere was. The second I explain in the photo description. The next ones are some nice scenes I came across when we’re heading back to the Airbnb after a hike day. The green trunk photo with some dried branches is my favorite, maybe because it has a cool and poetic vibe. The last photo is definitely my thing, I like to shoot hundred of photos like this and put them together as a zine because I love the calmness and poetry in it. One thing I regret is that I should lifted the camera higher to get the whole electric pole in frame. I don’t mind cut a part of it out but in this photo I cut it right at the horizon wires, which is so annoy me every time I look at it.

Next are some shots on the second day hiking. We stopped at a restaurant in a ski resort, which is much empty now, for food and then I took these 2 shots to test out the pro mist 1/4 filter I just got. The glow is definitely nice and dreamy, but the photos are not that strong. However, I still love these 2 and think they’re pair well together. And all of the photos on this trip is taken with the pro mist filter on, but then I learn that not everything with pro mist on is good. The next two photos of the gas tanks are inspired by a photo of photographer Scott Enlow showed below. I love this photo to the moon and back. It has everything I wanted in a photo, retro vibe, old and abandoned stuff, green, foreground, midground, background, negative space, but above all of that, I love the feeling it gives, fresh and relaxed but still has some neatness and sadness. You can check out Scott @scottenlowphoto on Instagram and his website. I love his work!

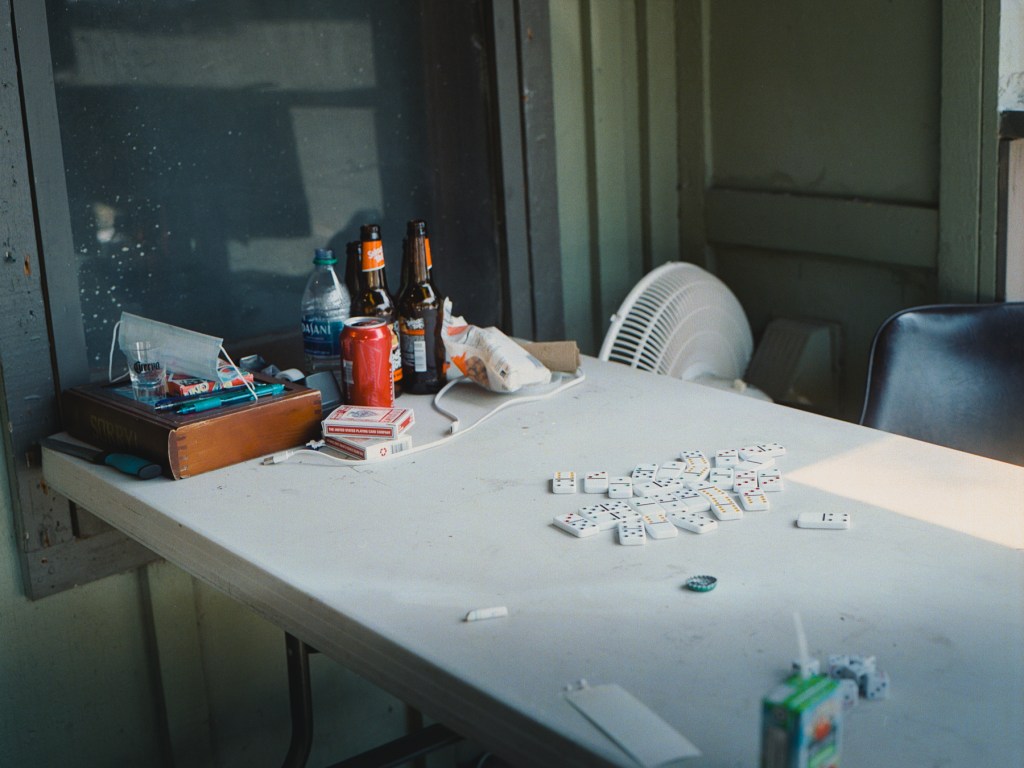
Back to my photos, I like the second tanks than the first, because the first tank has a structure on top of it and I couldn’t make the composition look good while the second one is much nicer since it’s white and has green background behind. It’s not a great photo though but it’s the best I can get out of it. The next one is a effort to capture the sunlight hitting the cut off branches at the tips on the ground but it seems like I can not convey that to the viewer. It’s so contrast between the highlight and shadow and the colors really interesting in real life but in the photo they don’t work out. The photo of the table and domino pieces with some bottles and a can of coke is my favorite although I wish I could have more in focus. The scene was little dark so I had to open the lens up to 5.6. I like the feel in this, some kind of mundane everyday life scene in a suburb area. The photos of the canoe and board feel off to me, usually I like the clean or warm colors but colors in these 2 are so purplish and sad, which is not my type, and I couldn’t correct the color as I want so I try to make them look best. The second one has a stronger composition and the feeling of leaving stuff behind vibe.

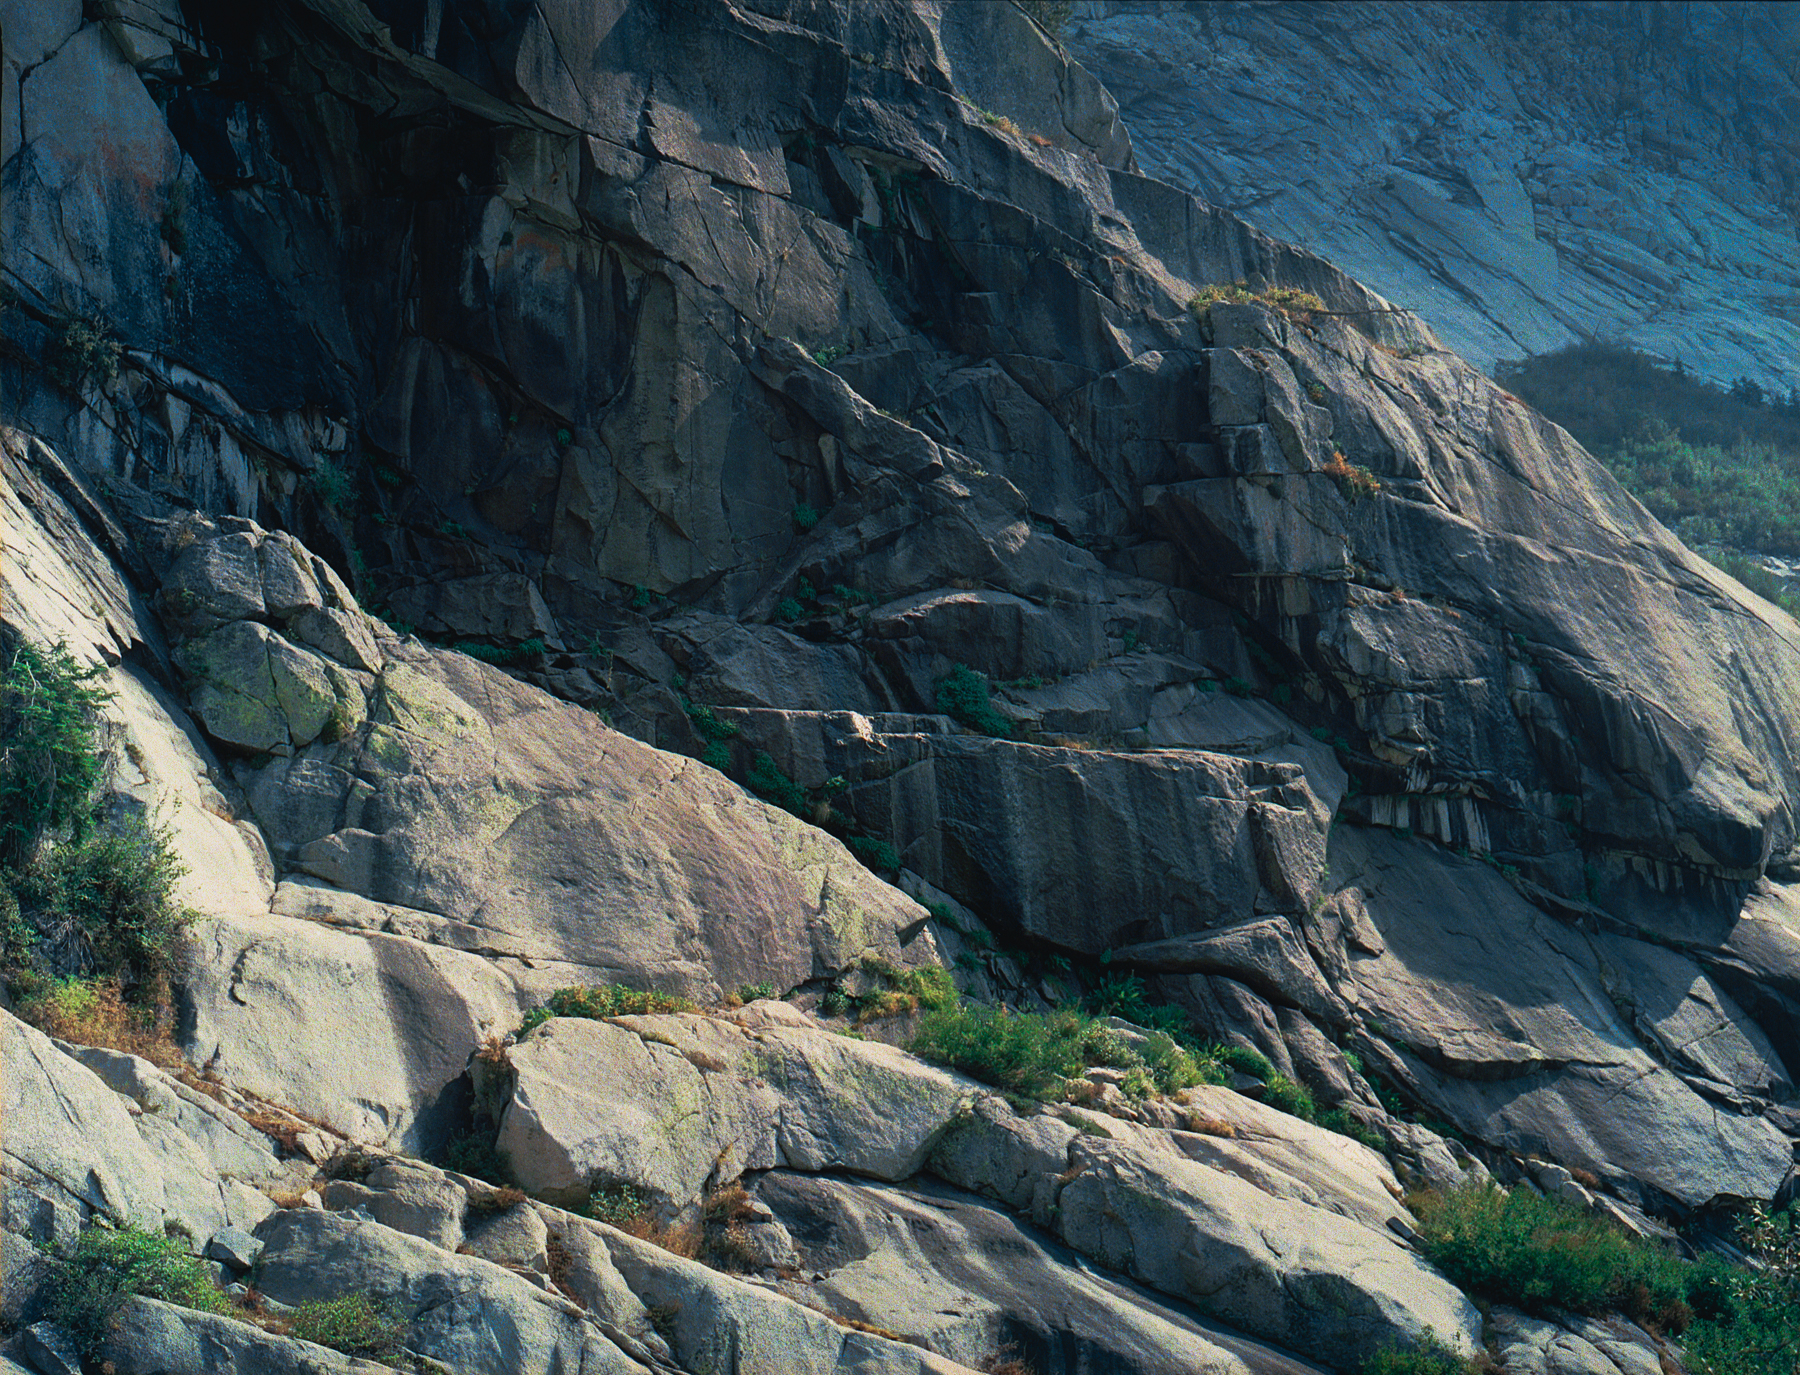
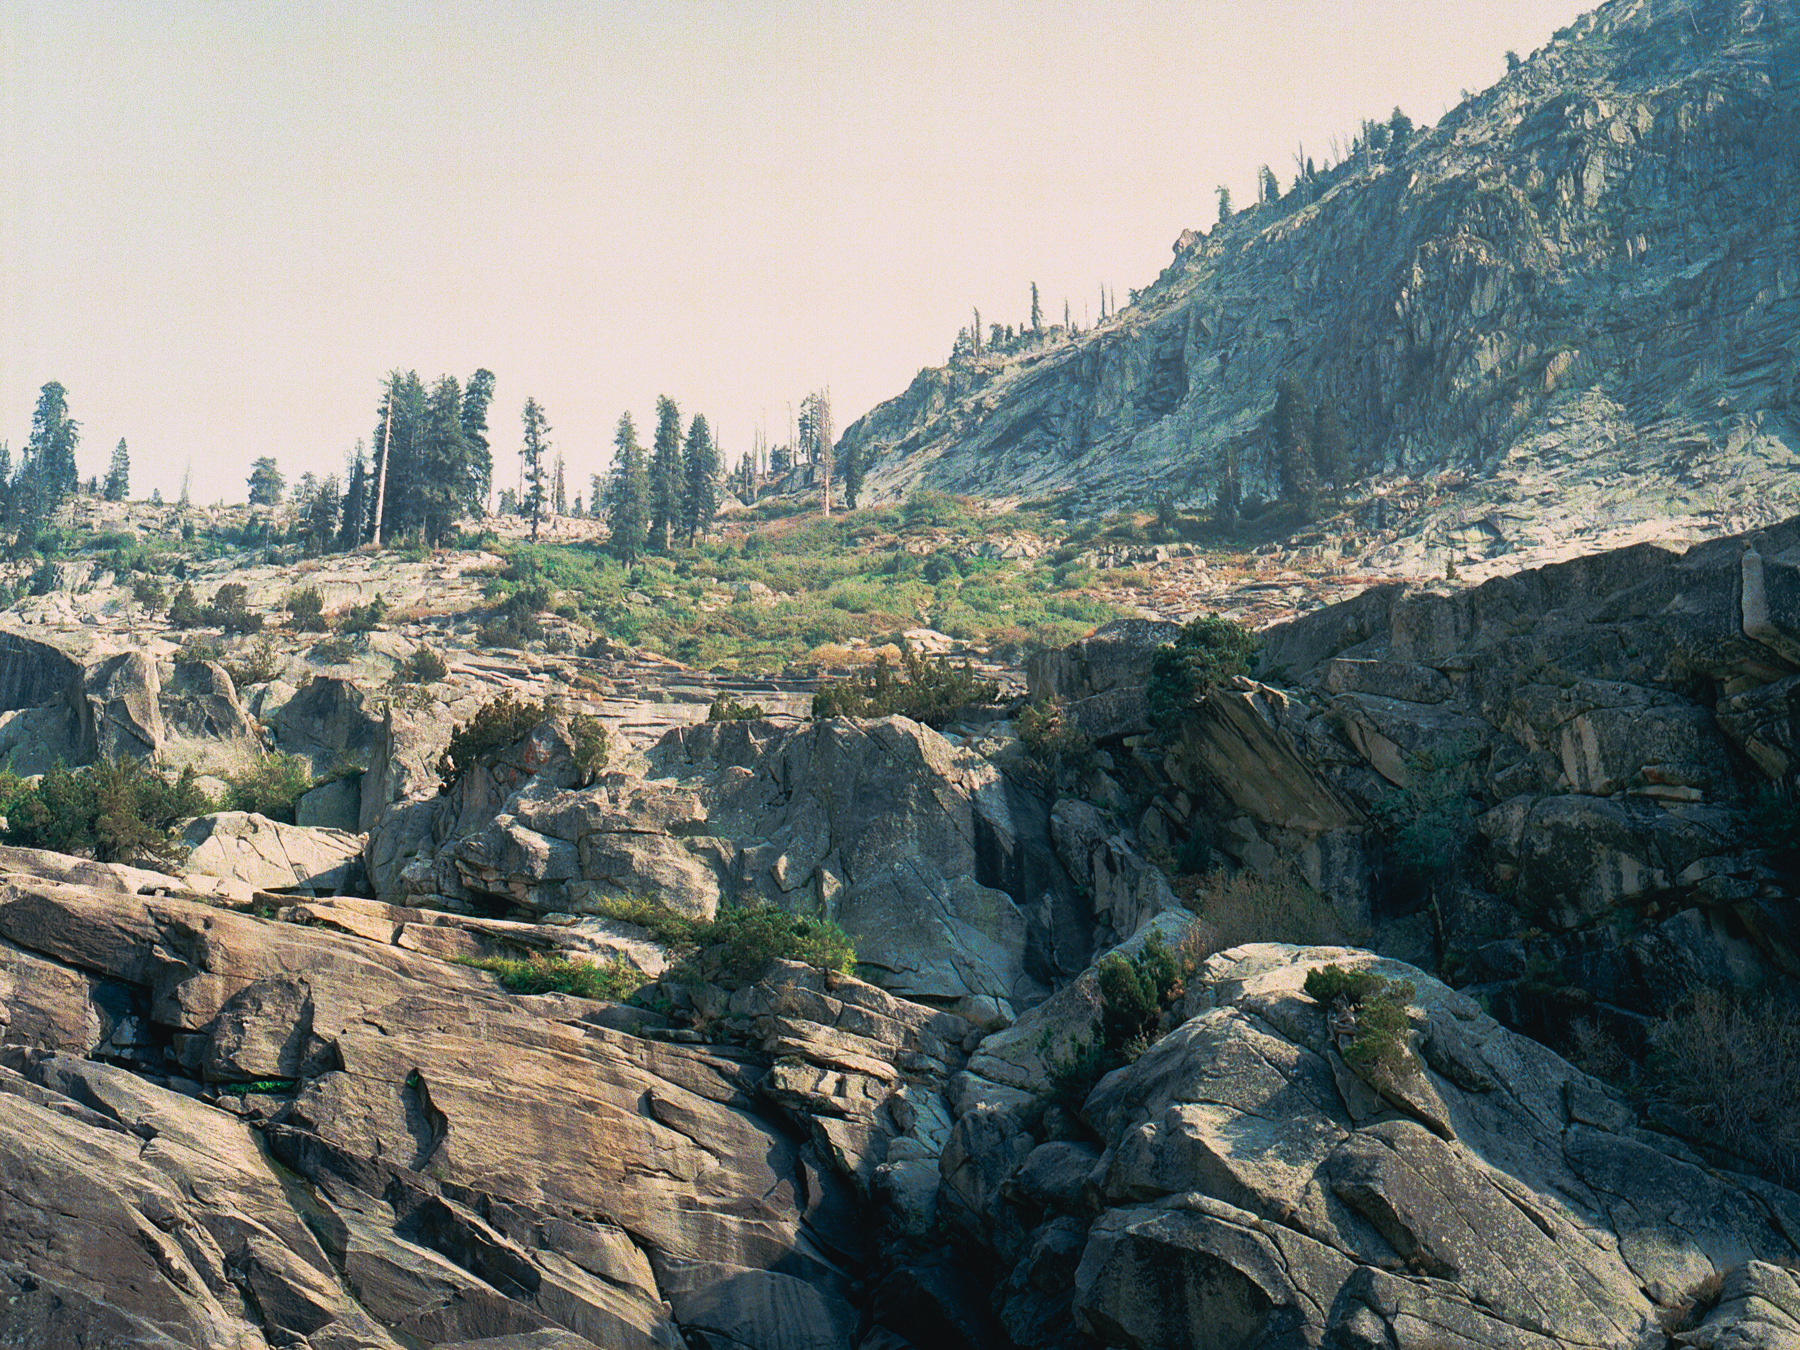
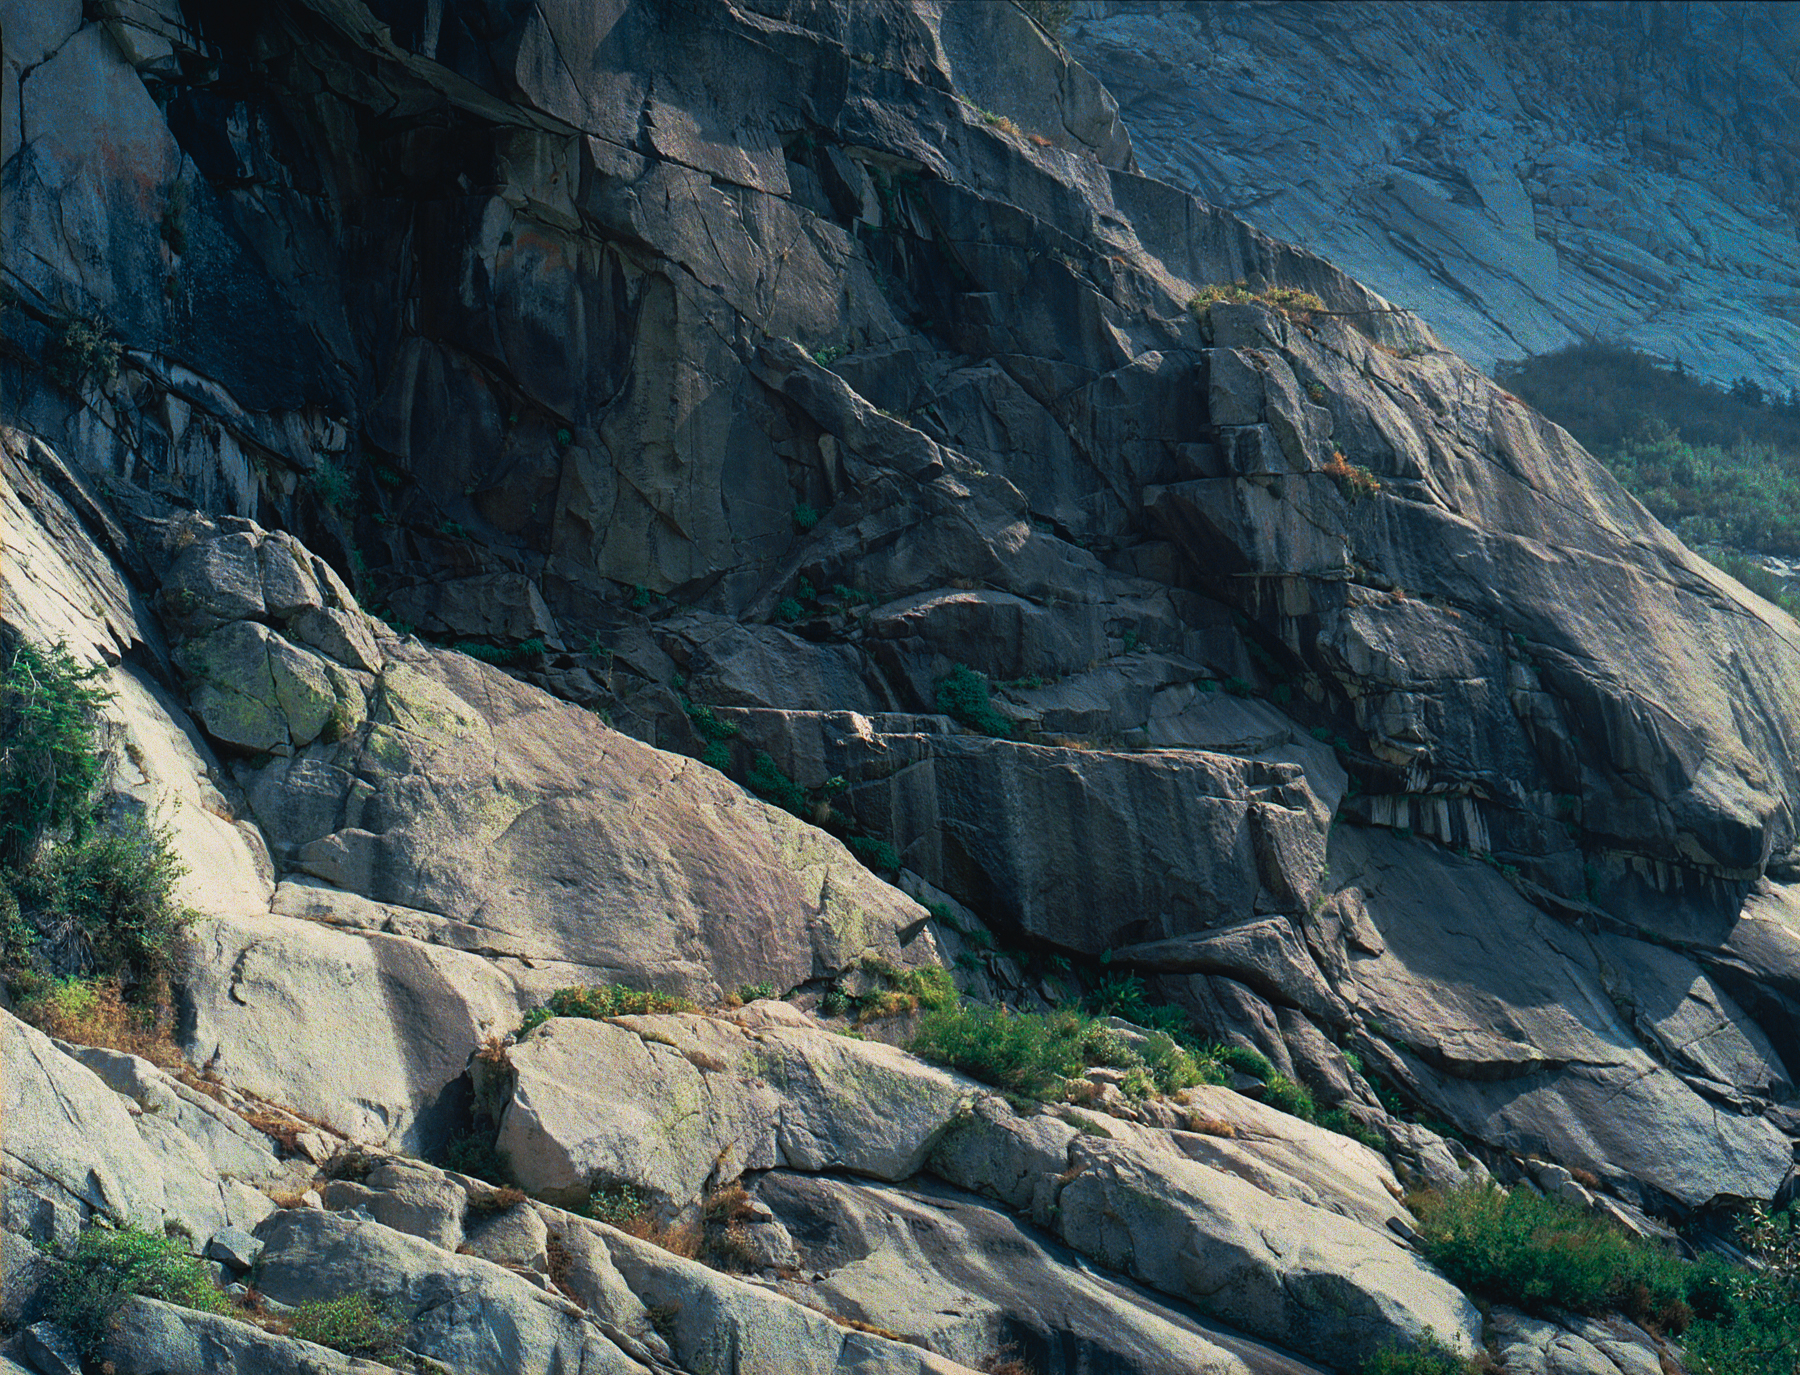
Last are some shot on the road and hiking view. The last two is actually a waterfall without water. We came in the dry season so there’s no water to shoot a long exposure for silky waterfall like last time. Better check the waterfall next time before carry the tripod on a hike ๐Ÿ™‚ . I cannot feel the beauty of rock so to me this 2 photos are not beautiful at all but here to demonstrate the atmosphere.

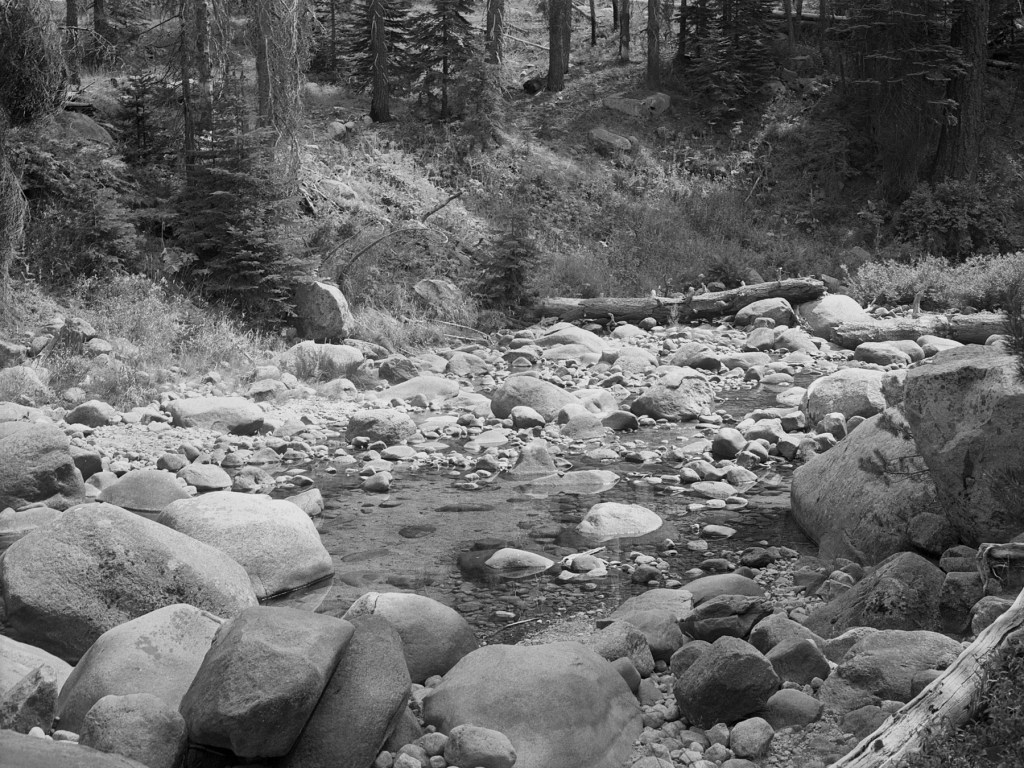
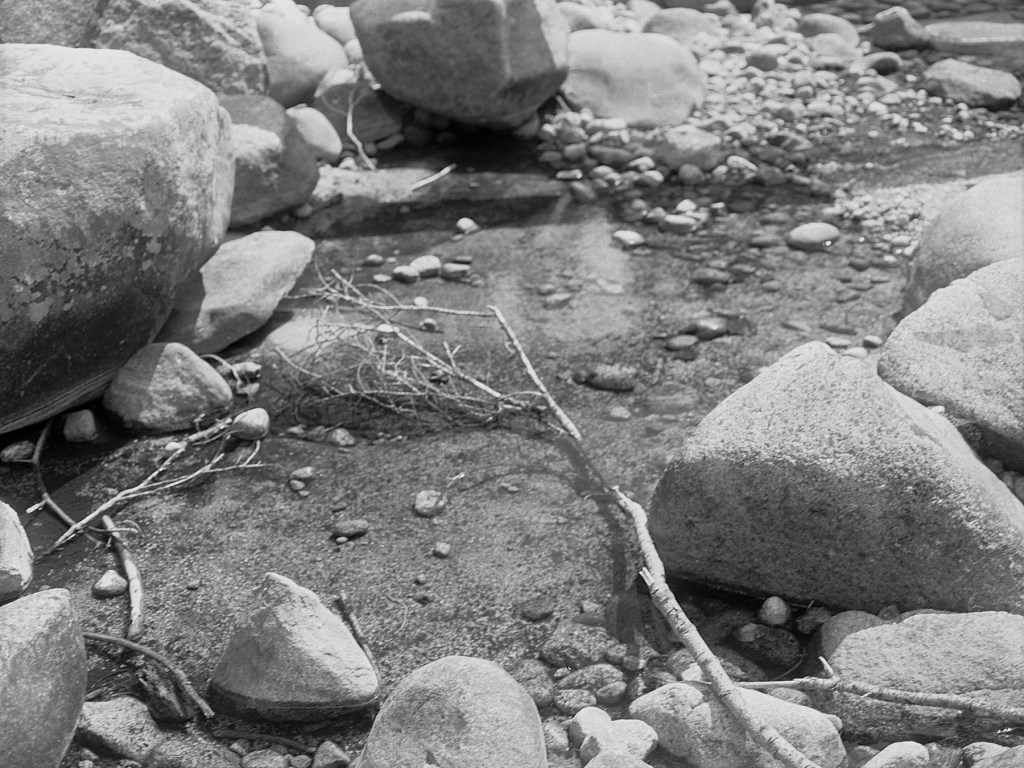
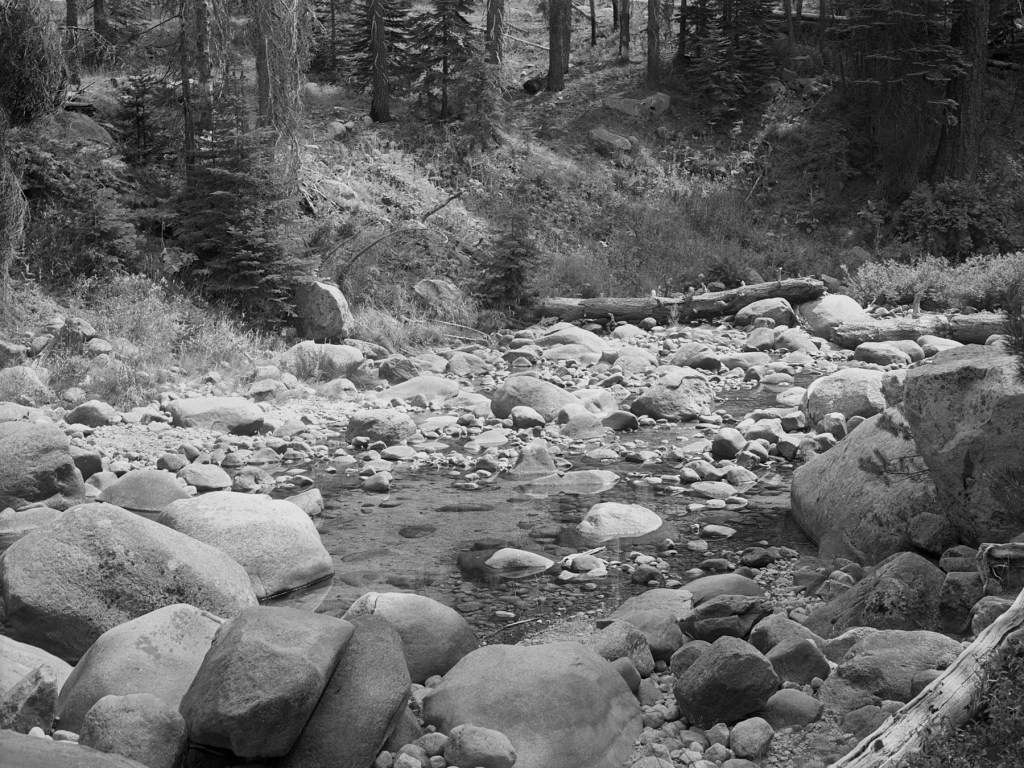
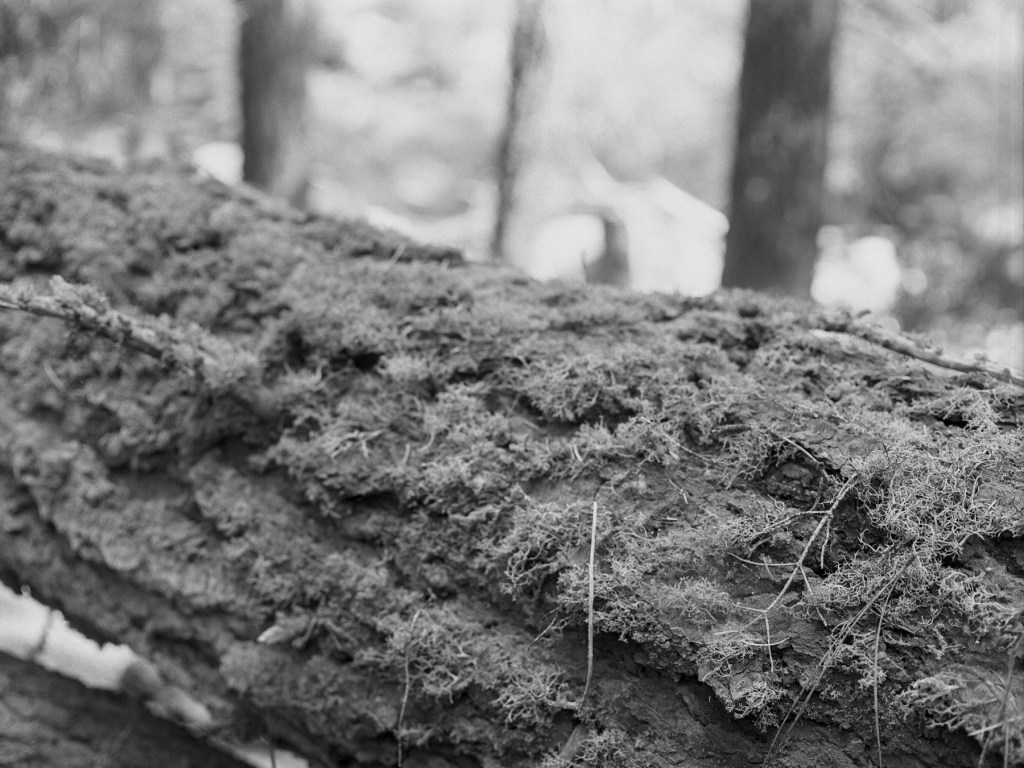
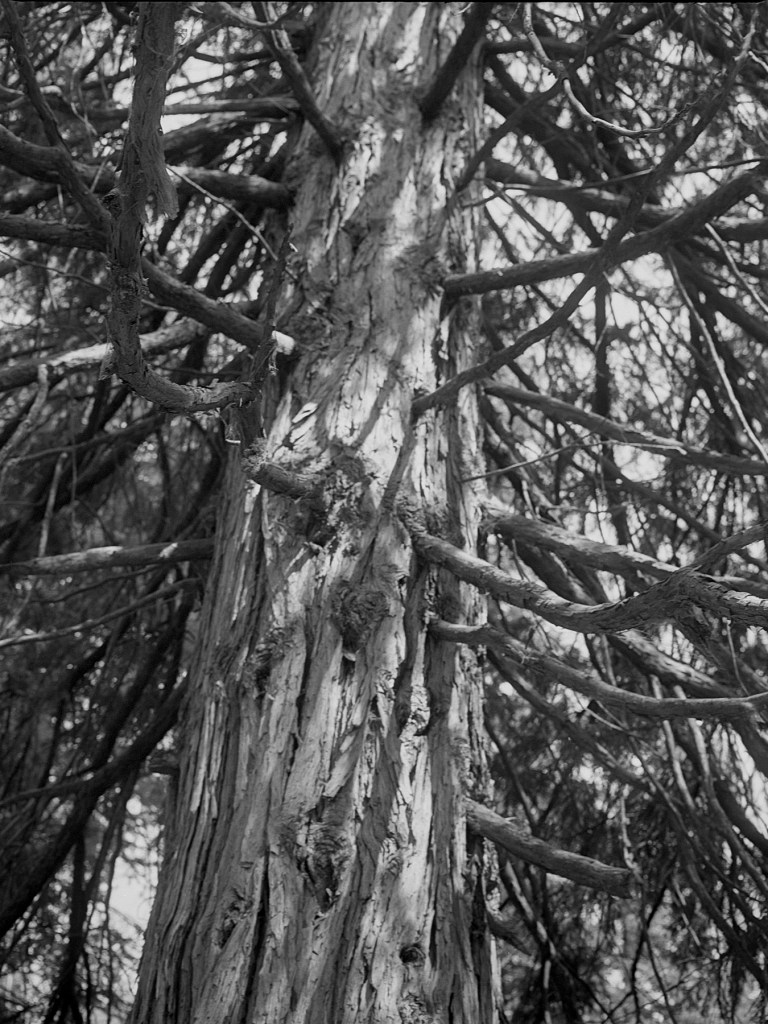
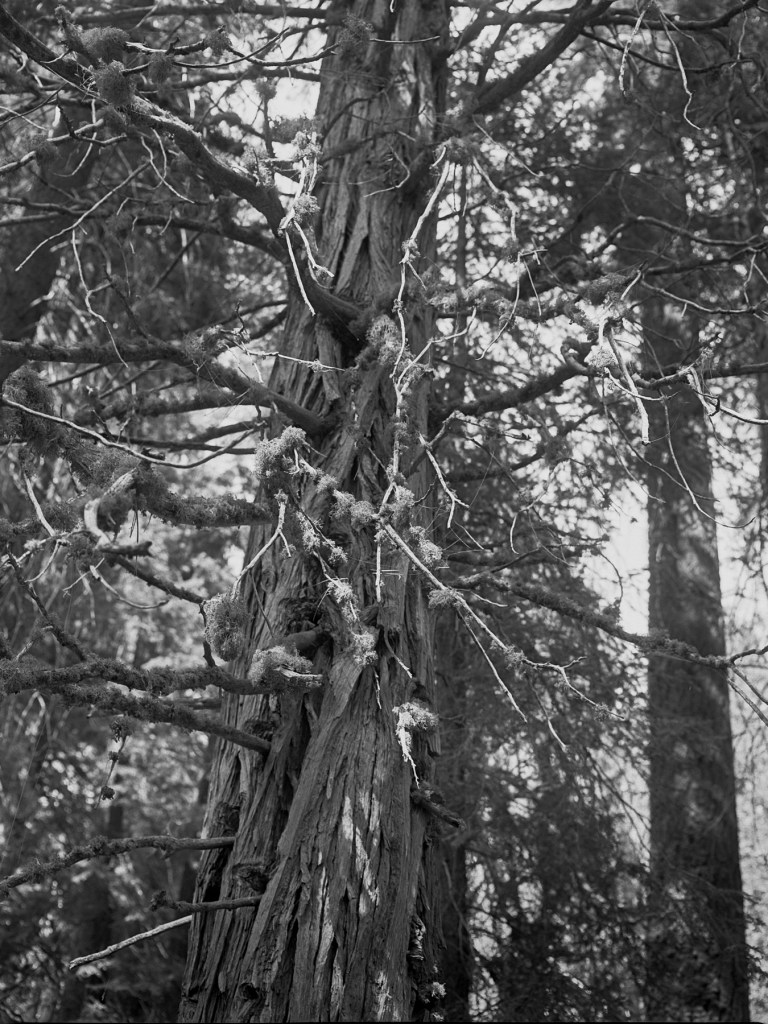
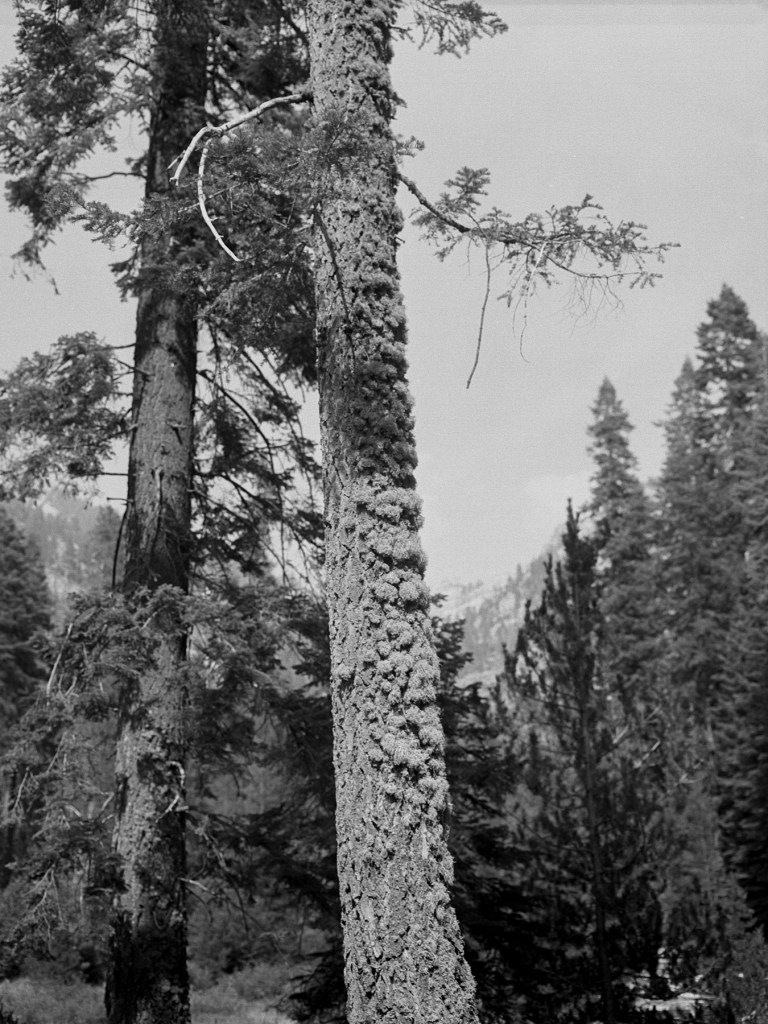
And here’re the only roll of black and white in my career, so far ๐Ÿ™‚ I know I should shoot black and white differently than with color photos but sometimes I just take the shoot as color negative and yeah, of course the subject is not well separated from the background, or you cannot tell what is the subject either. There’re so much I have to learn here.

Thank you for making it here. I appreciate any comment and feedback in these photos, or if you want to share something just leave the comment. Cheers!